Creating events on your OneCMS website is a breeze. You can maintain a comprehensive events calendar, providing your website visitors with details about various types of events.
To get started with event creation, follow these simple steps:
Creating Events
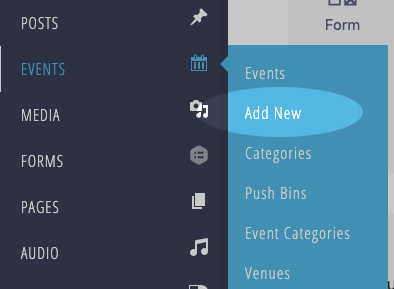
Go to Events > Add New
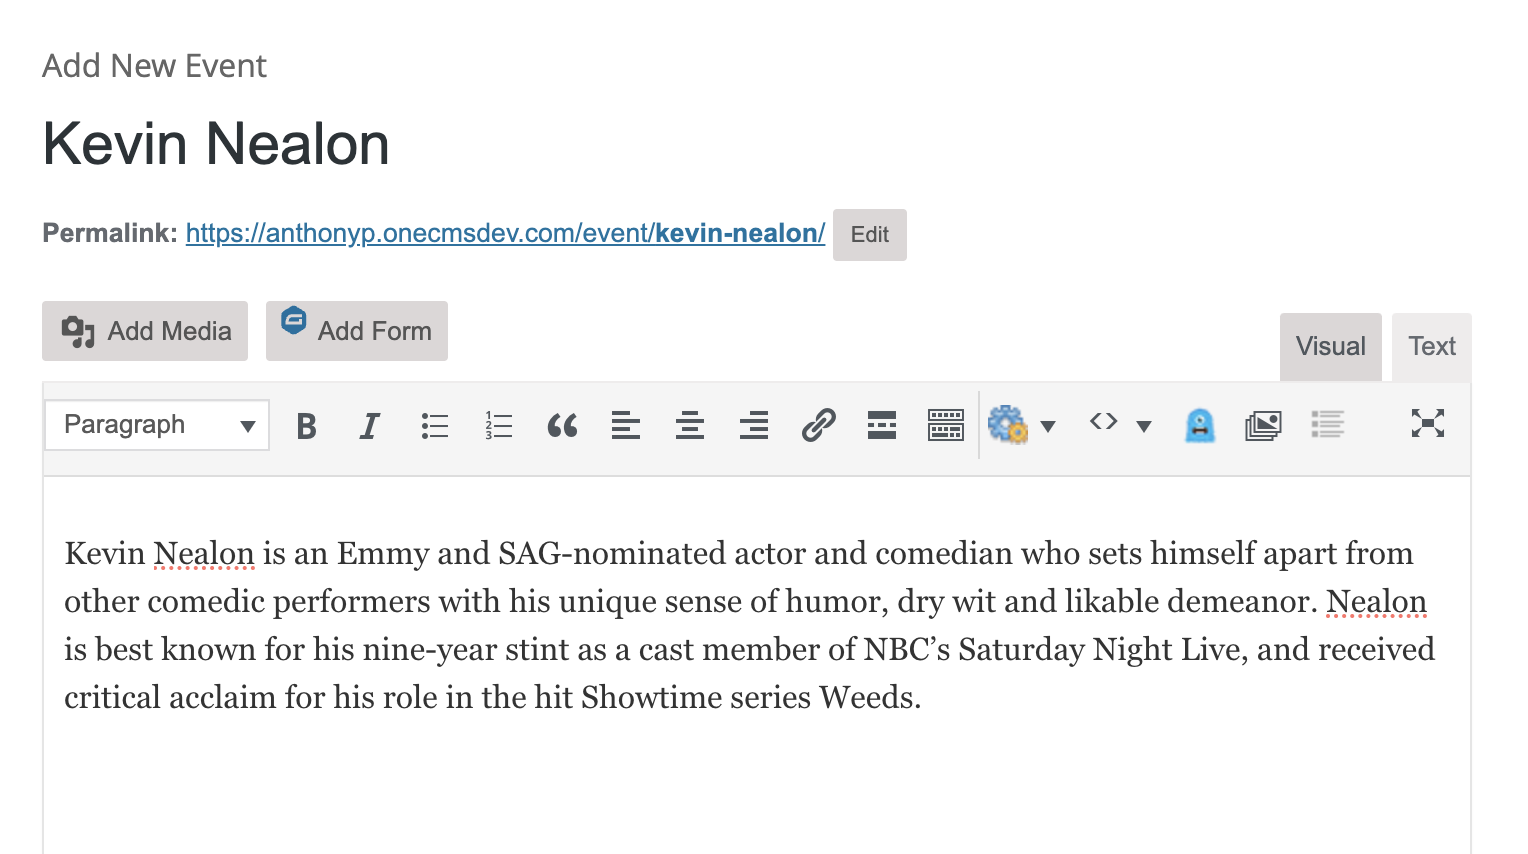
This action will direct you to the Add Events page, designed similarly to other OneCMS pages.
You can begin by entering the Event Title and Description in the editor.
Event Time & Date
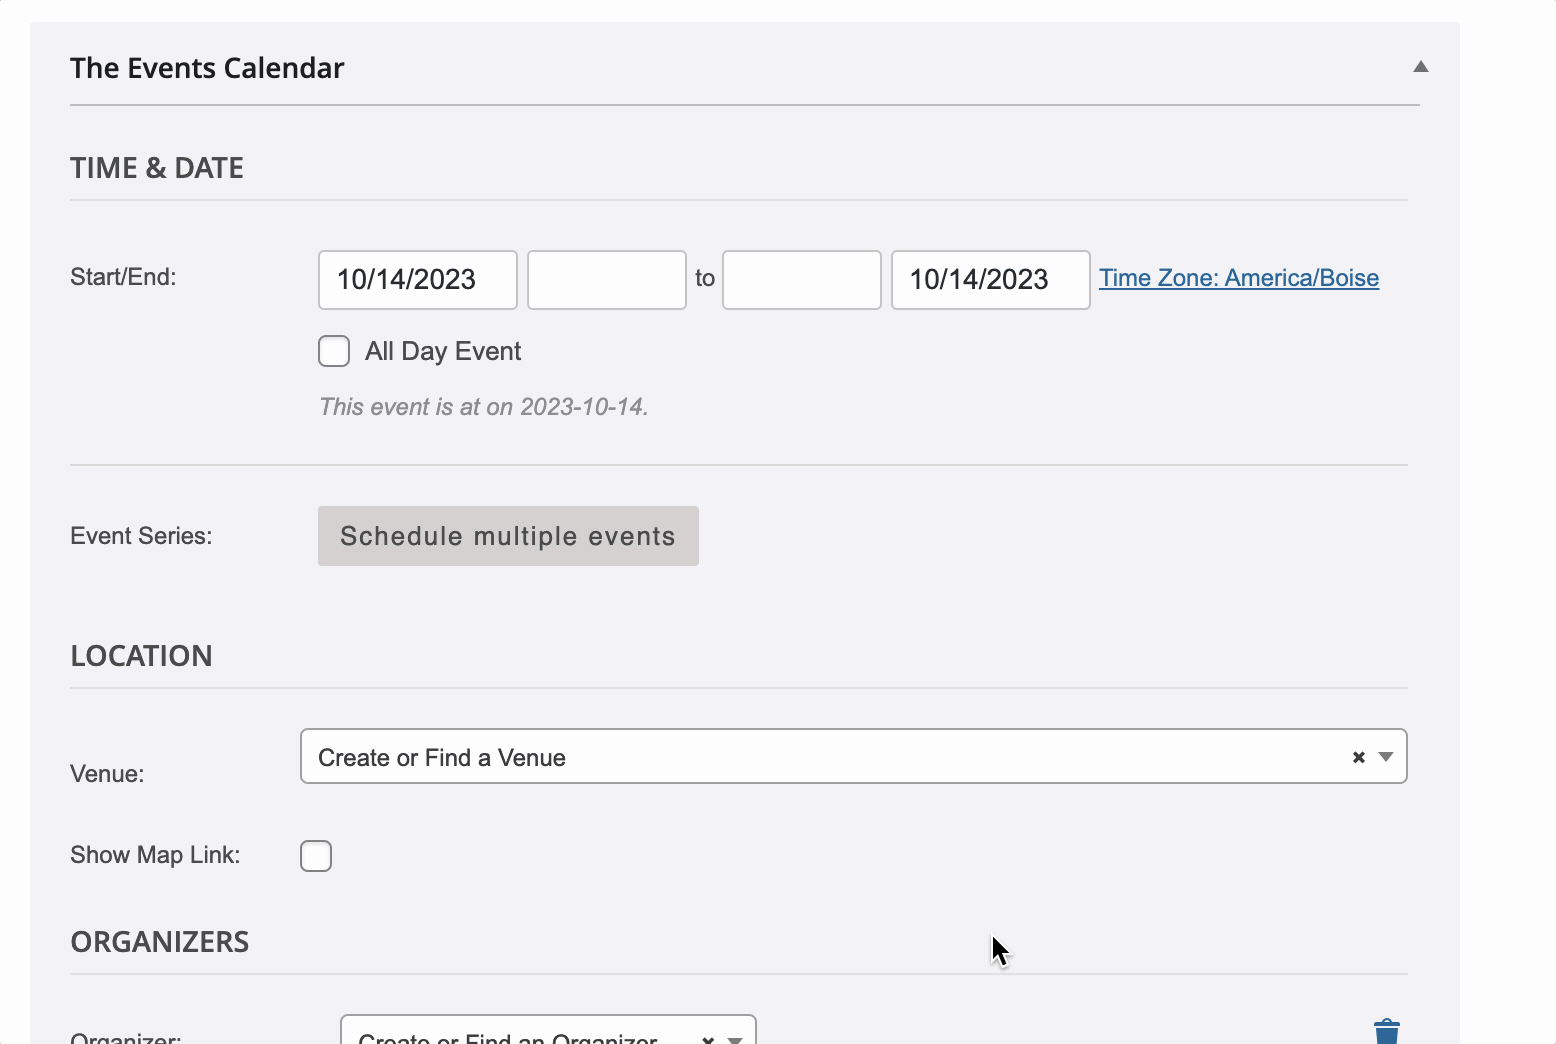
Next, specify the Date and Time of the event, including Start and End Times. If it’s an all-day event, check the All Day Event checkbox.
Recurring Events
OneCMS allows you to easily create recurring events. For instance:
- Schedule a weekly cooking class every Wednesday for 10 weeks.
- Organize a summer camp from 9 am to 1 pm daily for a week.
Below the Date and Time section, select the Schedule Multiple Events button to reveal the initial set of timeframes for your recurring event. You can then configure the specifics of your recurring event according to the chosen option.
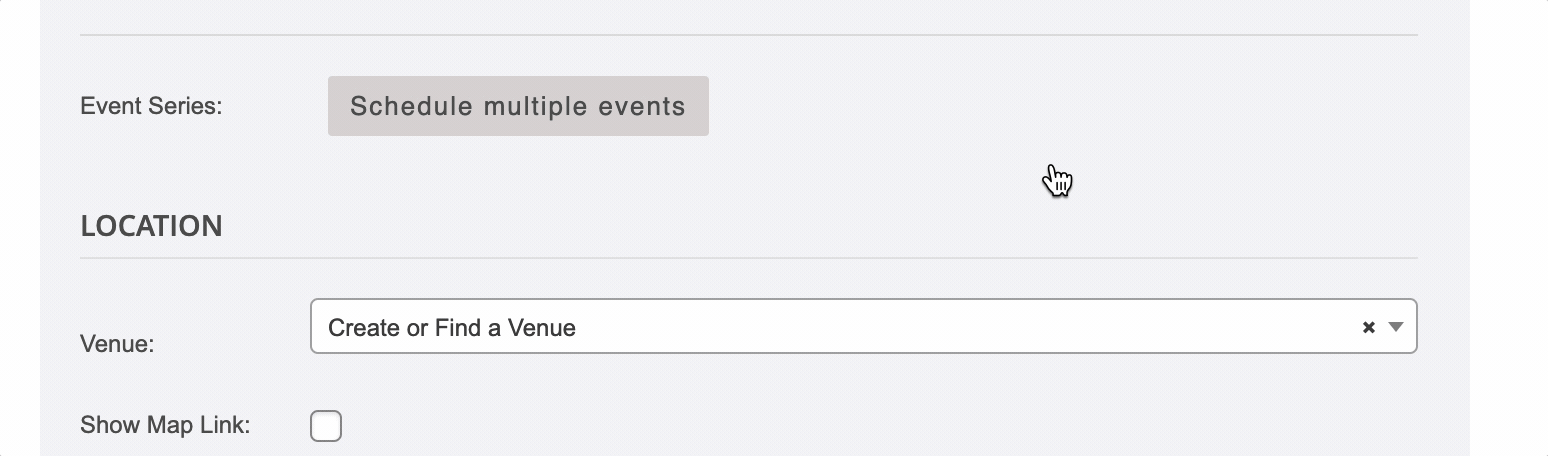
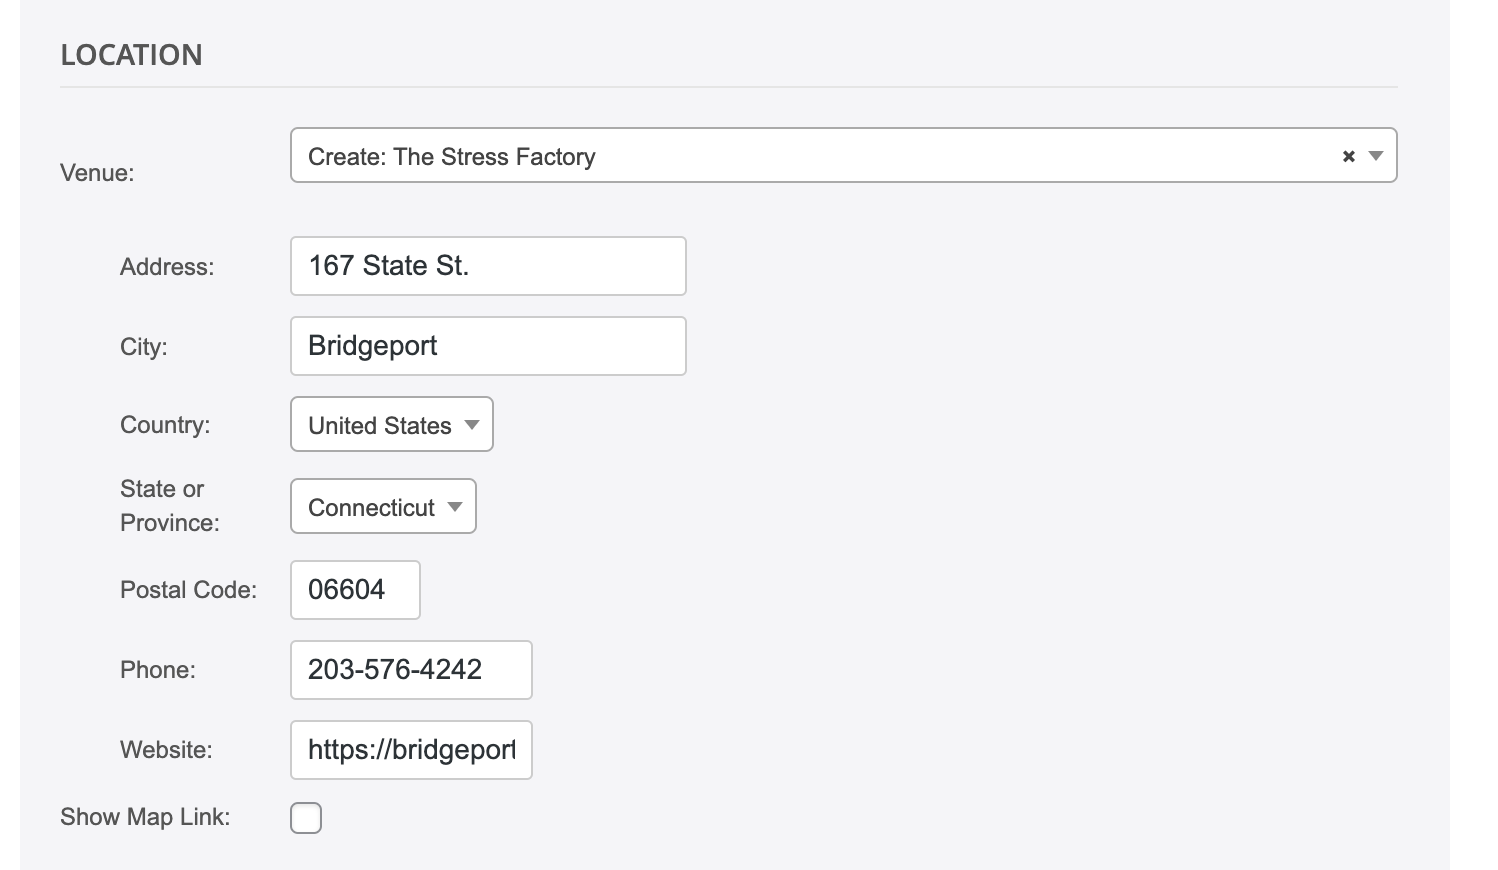
Venue Location
Enter the Event Location details. If it’s a location you’ve used before, you can choose it from the Use Saved Venues dropdown.
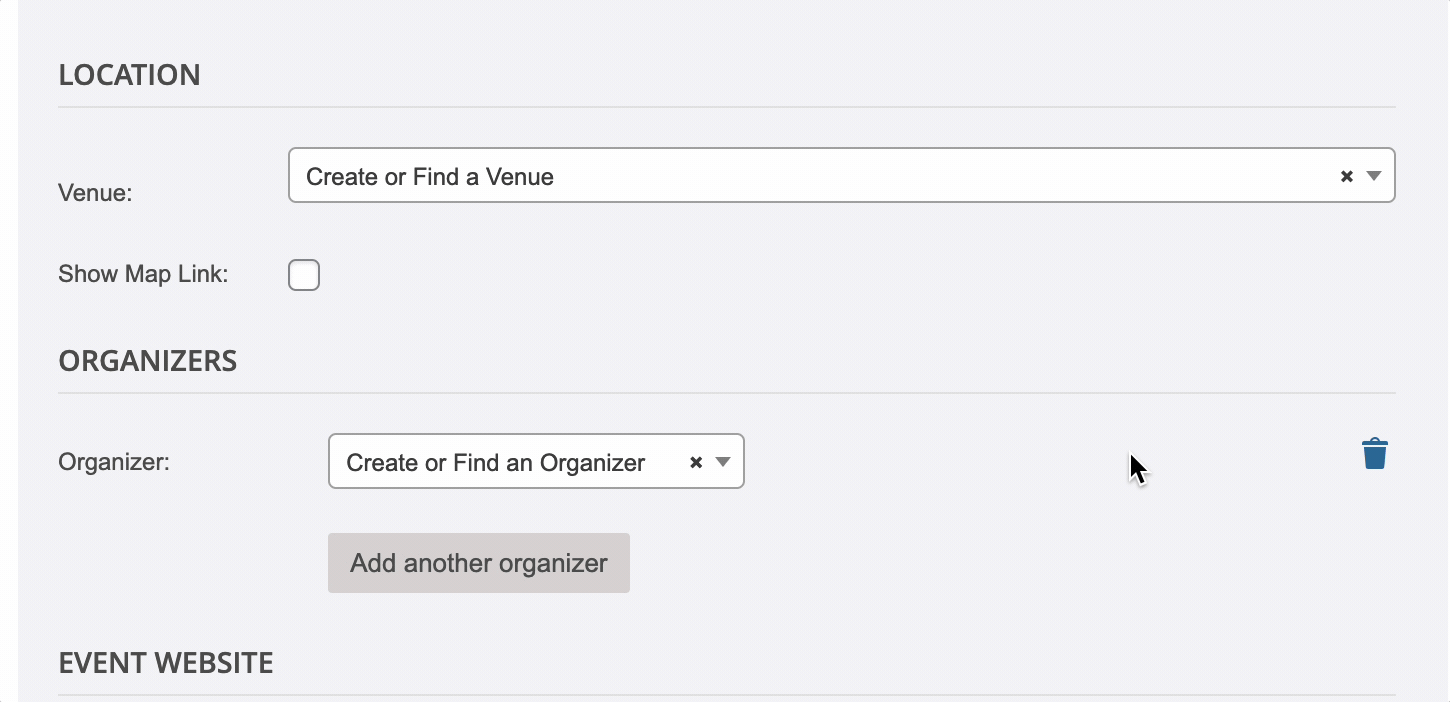
If it’s a new venue,type the name of the venue in the Create or Find a Venue field and click Create.
Fill out the address, phone, and website fields. You can even display a map of the venue on the event page by checking the appropriate boxes.
Event Organizer Details
If the event has an Organizer or Sponsor, you can include their information.
Similar to Venue information, you can choose a saved Organizer from the dropdown or enter their contact details manually.
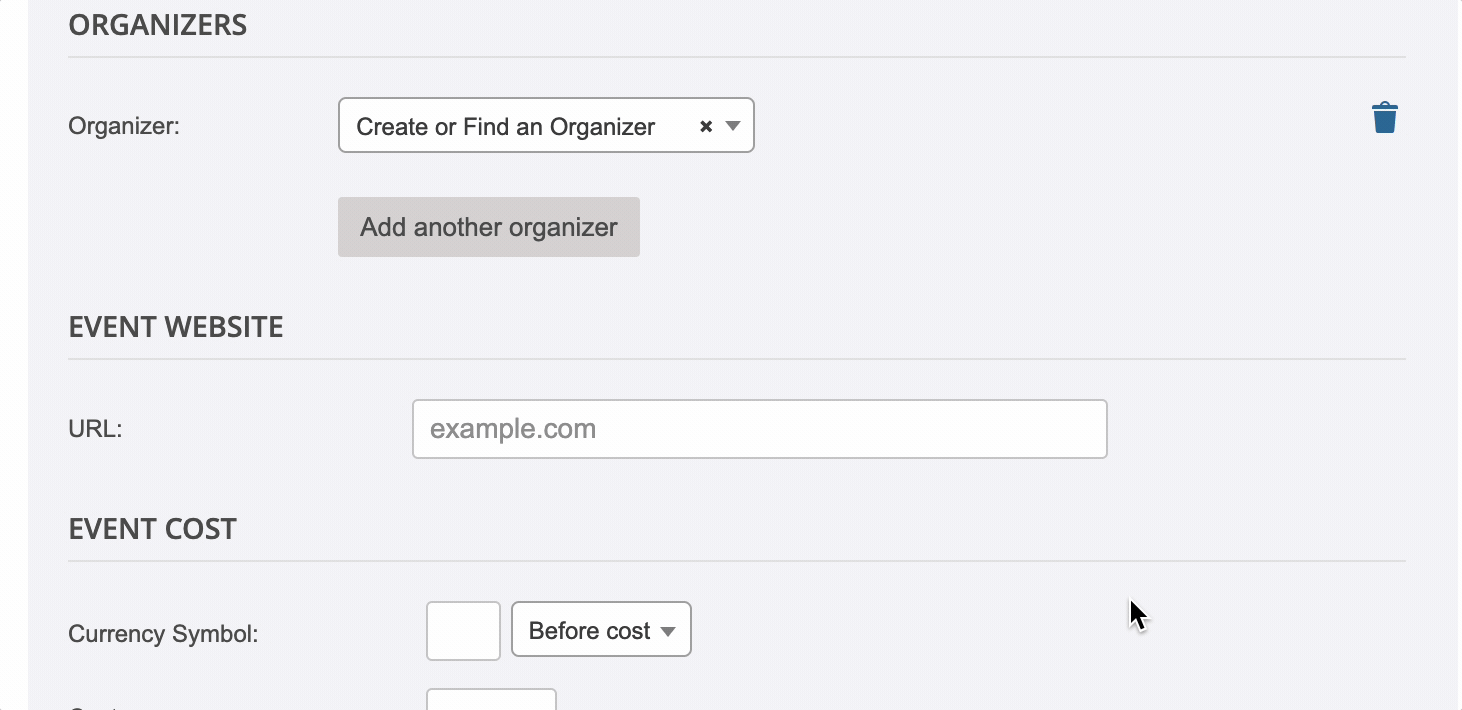
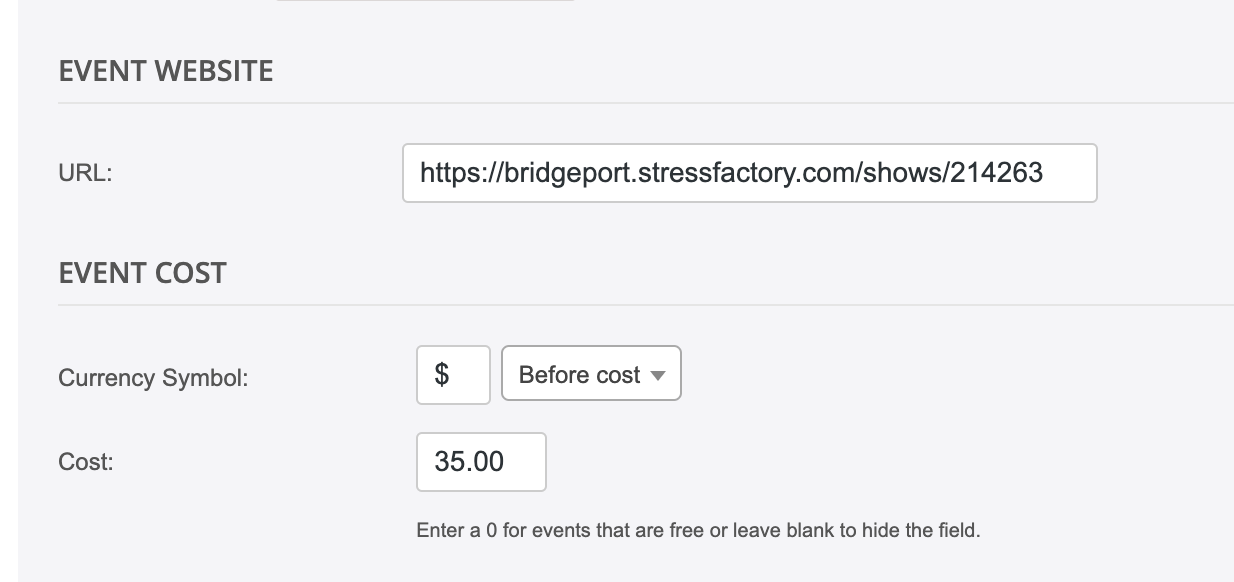
Event Website and Cost
If the event has a website, provide its full URL.
If there’s an entrance fee, enter the cost (e.g., 10.00) in the Cost field.
- For free events, enter 0 or leave the field blank.
- You can choose the currency symbol’s placement (before or after the amount).
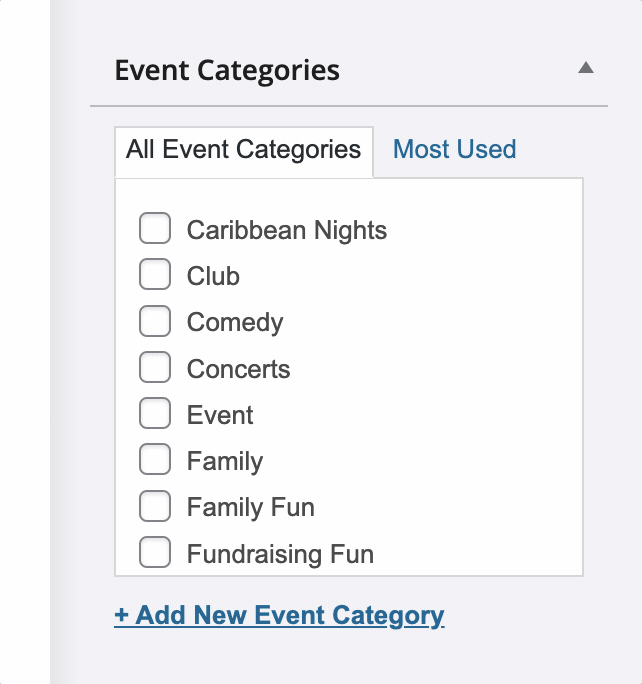
Event Categories
Categorize your events to help website visitors find specific event types easily. Just like post categories, you can create new Event Categories and assign your event to them.
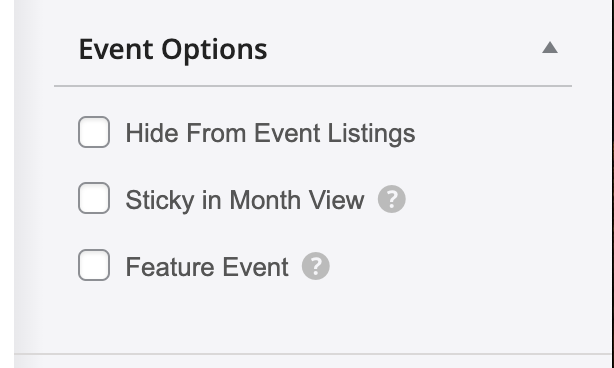
Event Options
You can choose to create an Event that doesn’t appear in the main listing of events on your website. It will only be accessible via a direct link.
You can also “sticky” an event to keep it at the top of the event listing until it expires.
Featured events are prominently highlighted on the frontend.
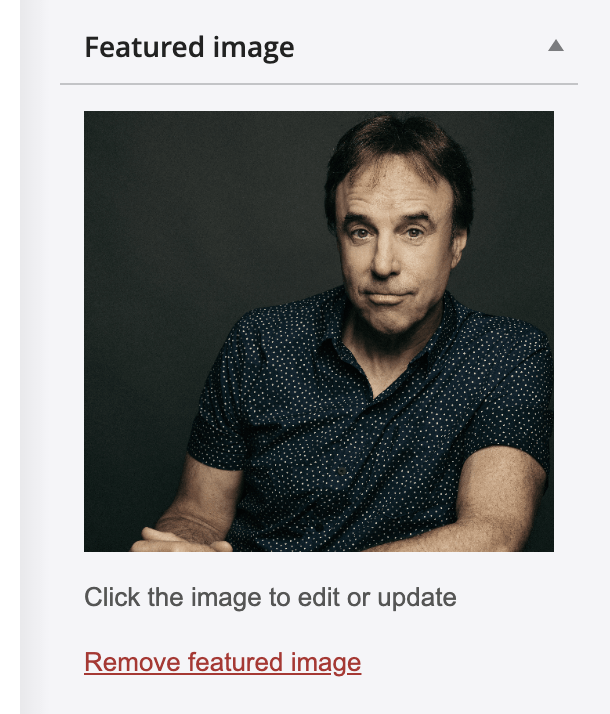
Featured Image
As with other OneCMS content, you can add a Featured Image to your Event. This image will be displayed alongside the event on your website.
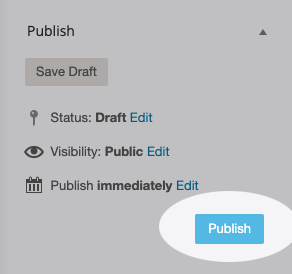
Publishing Your Event
Once you’re ready to publish your event, click the “Publish” button. Just like other content, you can save the Event as a draft or schedule it to go live at a later time.
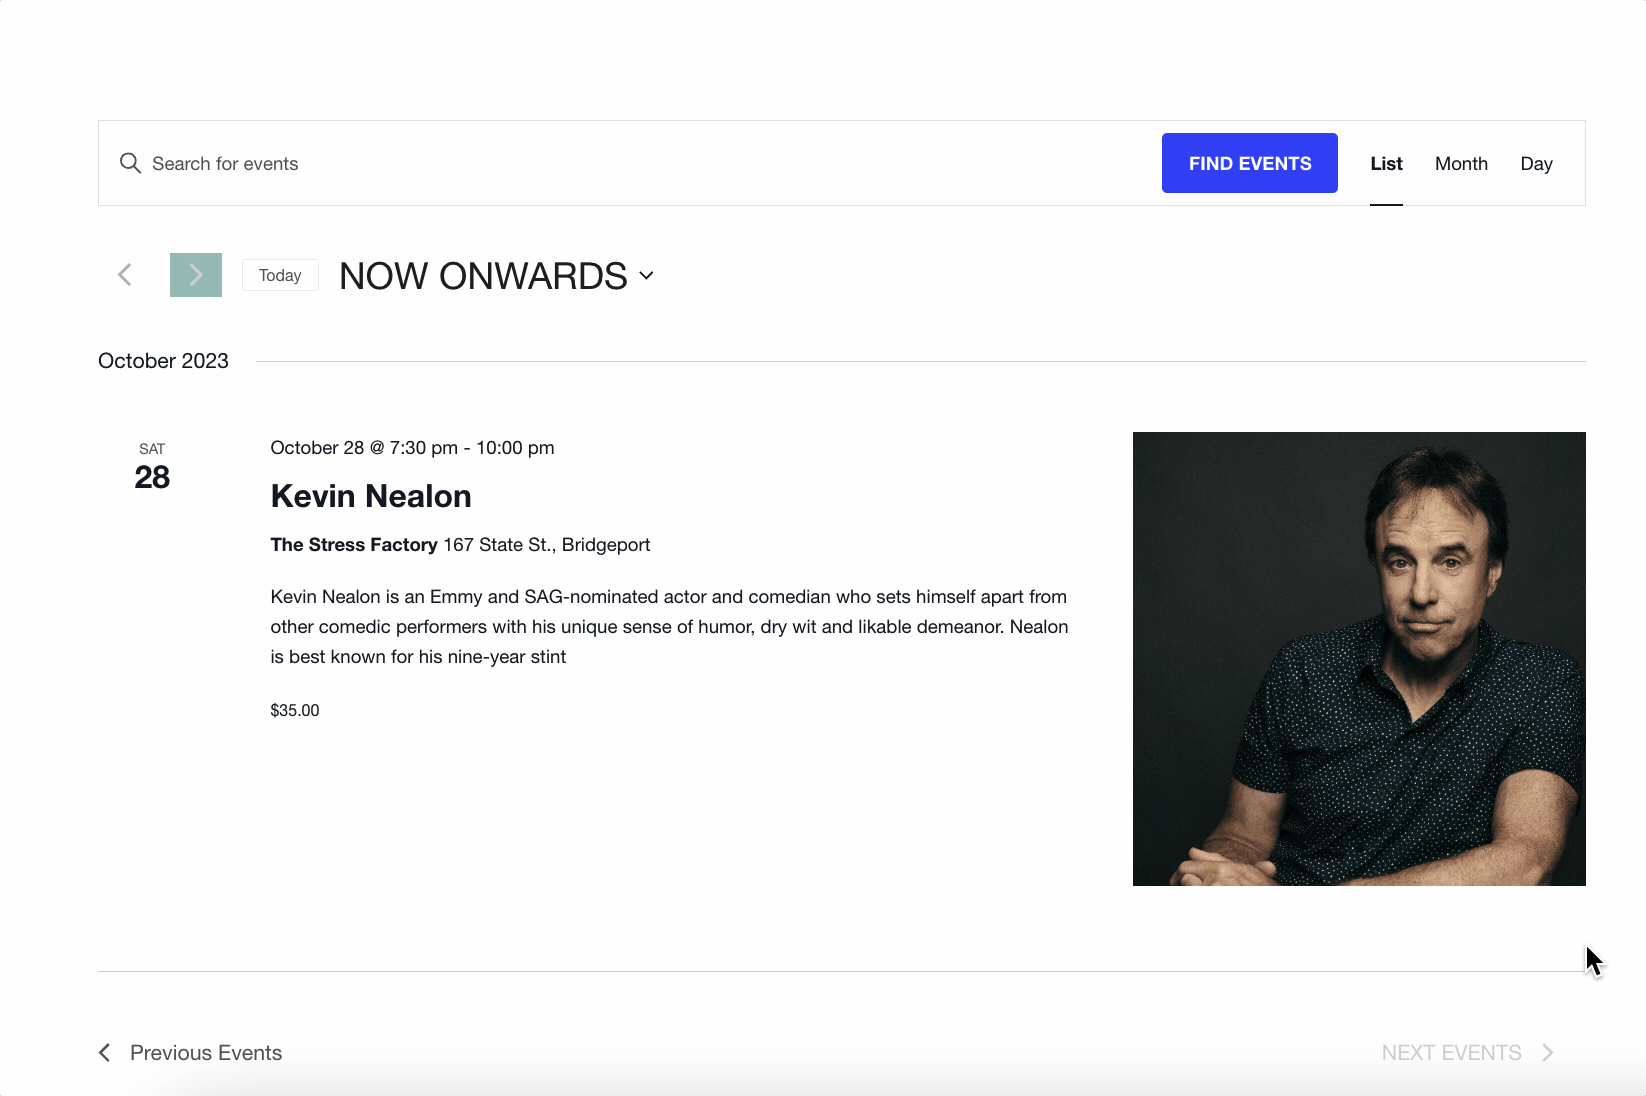
Viewing Your Event
Your event will be displayed on its own page, showing all the information you’ve provided. If you’ve added a Venue address and opted to show a map, a Google Map will be displayed as well.

On your “Upcoming Events” page, there will be a listing of all upcoming events with basic event information. Typically, this can be found at yourdomain.com/events.
Your website visitors can alter the view of the listing by using the List / Month / Days links.