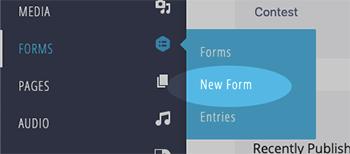
To start creating a new Form, navigate to Forms > New Form.
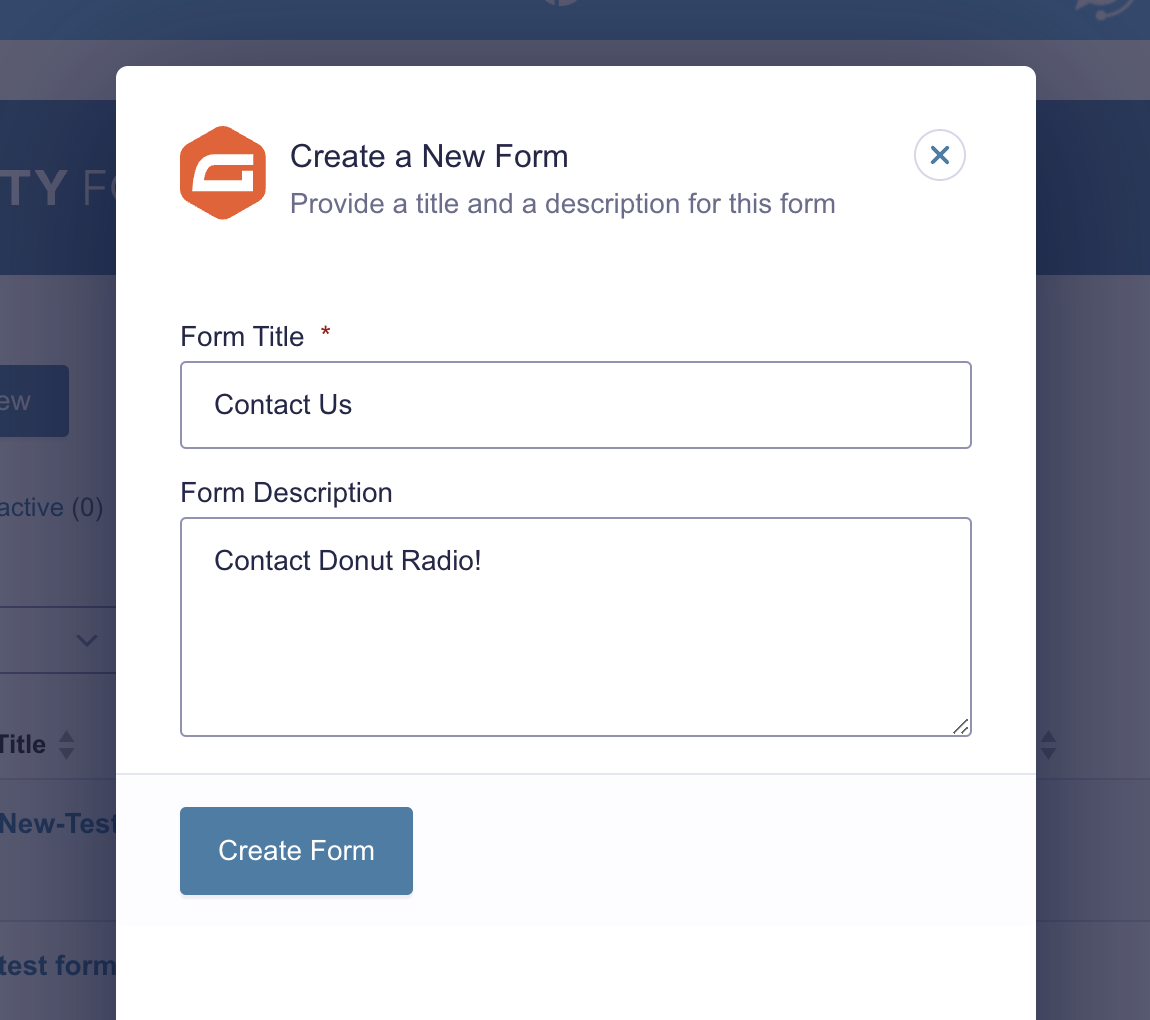
After clicking New Form, you will be prompted to provide a Title and Description for your new form.
It’s required to assign a name to your form before you proceed, but you can always modify it later if necessary. Once you’ve completed these fields, click Create Form.
Constructing Your Form
The “Create Form” page consists of two main sections:
- Form Builder (on the left side): This is where your form takes shape.
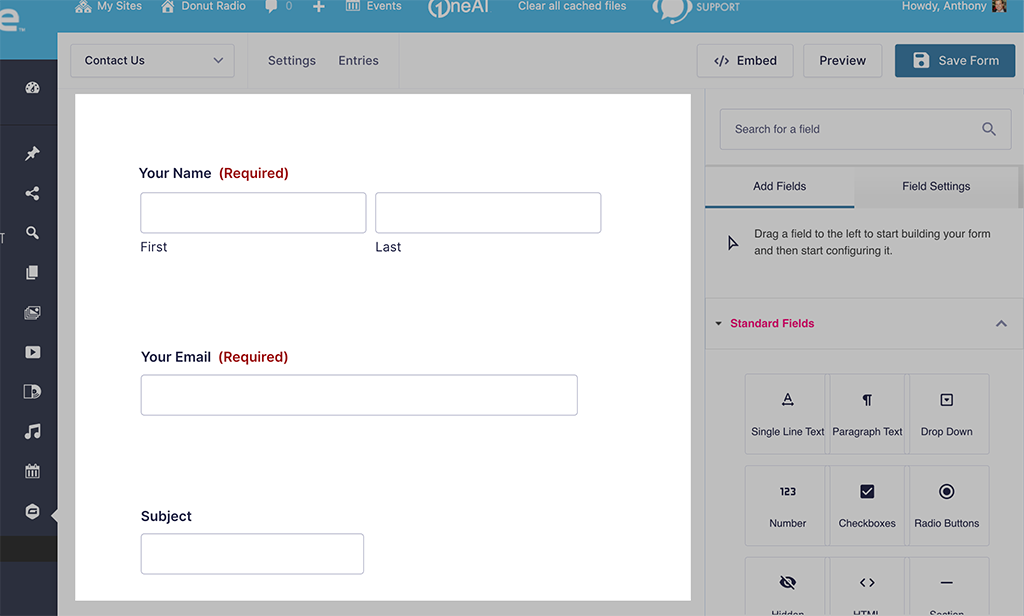
- Form Field Toolbox (on the right side): This is where you can select form fields and drag them into your form.
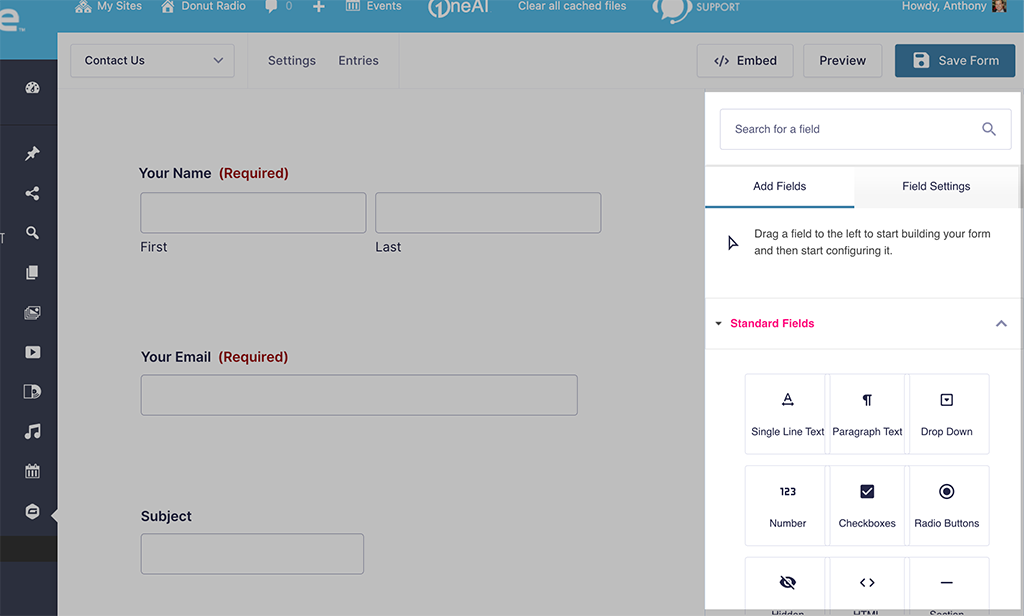
To add a form field, simply click on the desired field and drag it to where you want it to appear within your form.
You can edit individual form fields by clicking the field you want to work on. This will open the field editor interface on the right, allowing you to fine-tune the available field options.
For example, you can set a label for a form field or make it required.
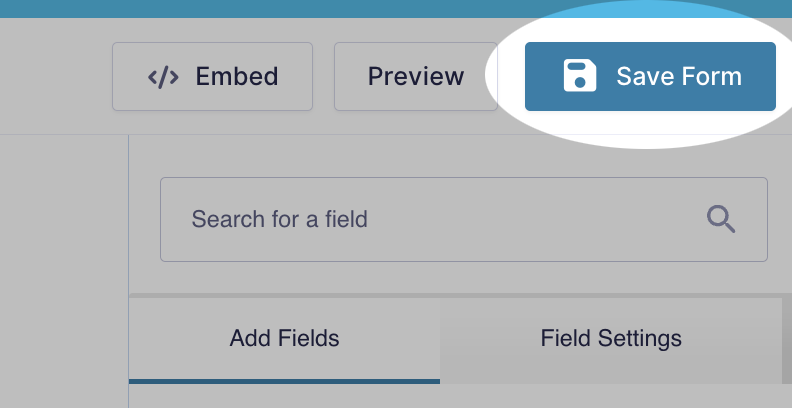
Saving your Form
After you’ve added your preferred Form Fields, click the Save Form button at the top of the right column to save your newly created form.
Adding a Form to a Post or Page
After you’ve created your form, you can easily insert it into a post or page with just a few clicks. When editing a post or page, you’ll find the Add Form button right above the editor.
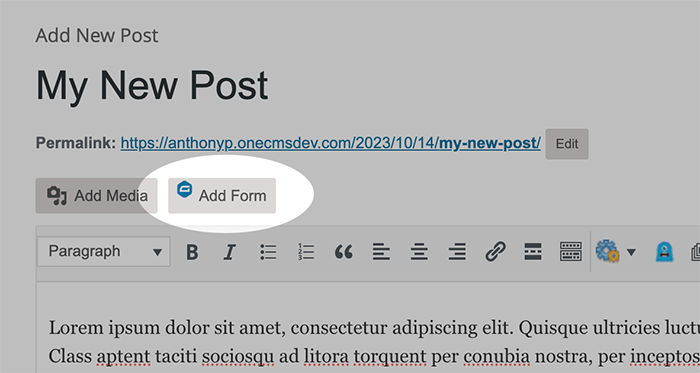
Click the Add Form button and select the form you want to add into your post or page.
- You can choose to display the form title and description.
Once you’re prepared to embed the form, click the Insert Form button, and the form shortcode will be inserted into the post editor at your cursor’s location.