Let’s dive into some advanced features that can enhance your post creation. These features provide added capabilities to help you make the most of your content:
Excerpts
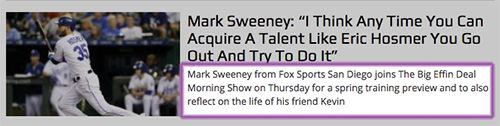
You can use the Excerpts box to add a short summary or excerpt for your post. If you don’t add an Excerpt, the first few hundred characters of your post will serve as the excerpt automatically wherever it’s featured.
- An example of a post Excerpt is shown below.
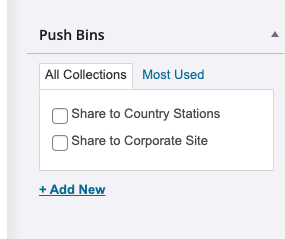
Push Bins
Push Bins are generally used for content sharing with other websites of yours within the OneCMS network. You can read more about using Push Bins to share content with other websites in the Syndicating Content tutorial.
Post Expirator
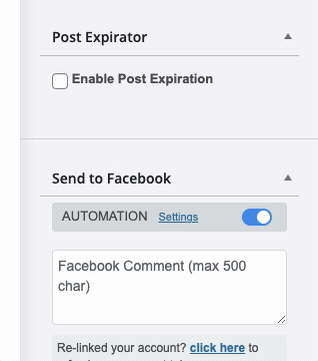
The Post Expirator lets you schedule when a post should no longer be available on your website.
- First, check the Enable Post Expiration checkbox to activate the feature.
- Then, enter the date and time or specify how many days in the future the content should expire.
- You can choose how the system handles expired content, such as setting it to Draft status or deleting it.
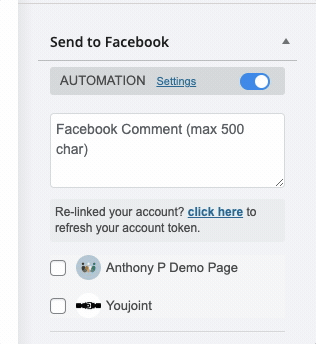
Social Sharing
You can share your posts on Facebook and X (Twitter) at the same time you publish them on your website.
- In the right column, select one or more of your linked Facebook and Twitter accounts to share the post and even include a status update.