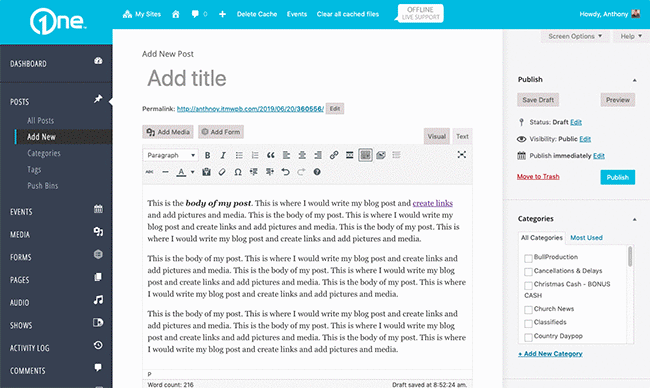
OneCMS uses a simple editor for creating content, and it is used in various places like posts, pages, events, and galleries. This editor is called a WYSIWYG editor, which stands for “What you see is what you get.” It’s a great way to format your content before saving it.
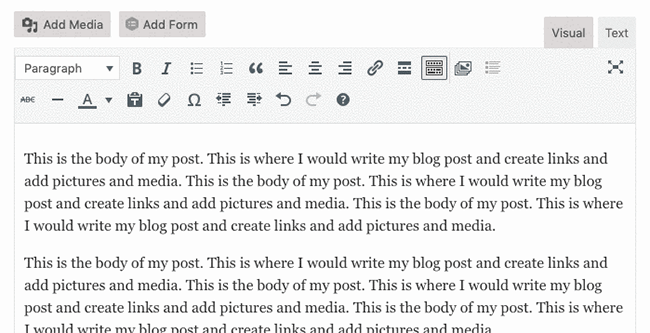
The editor has two main views: Visual and Text. You can switch between them by clicking on the tabs.
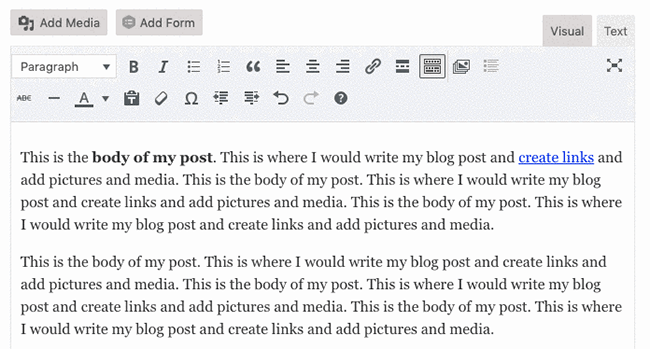
- Visual View: This shows you a preview of how your content will look. It’s like a “What you see is what you get” view, including your formatting and design choices.
- Text View: This displays the HTML code that’s used to format your content. If you prefer to use HTML to style your content, you can do that here.
The Editor Toolbar
Above the content area, there’s a toolbar with various features to format your text, like making it bold, italic, or underlined. You can also add media (photos and videos), create links, and align text.
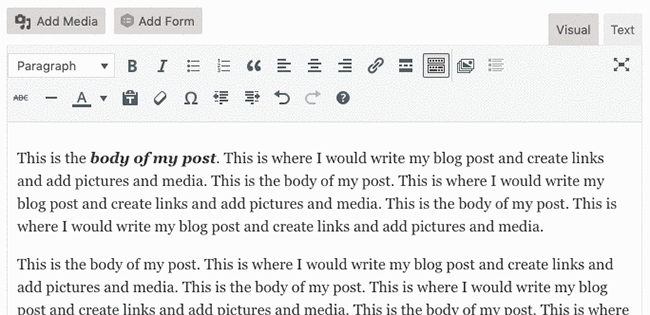
Some examples:
Marking up text to be bold and italics:
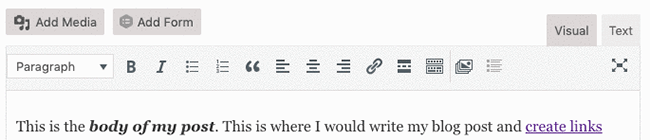
Create links by highlighting text or media and clicking the link icon. Paste in the destination URL to activate the link:
Access more advanced editor features by clicking the Toggle icon:
Add Images and Media to Your Post
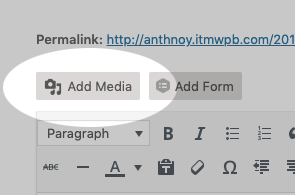
To add images to your content, click where you want to insert the image and then click the “Add Media” button.
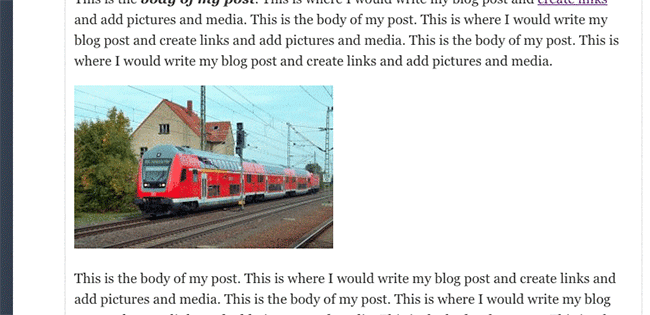
You can either choose images from your site’s library or upload new ones from your computer. Once you select an image, you can set its alignment, link, and size before inserting it into your content.
Here’s the entire sequence:
If you need to make changes to an inserted image, simply click on it in the editor. You can adjust its alignment or access editing features by clicking the pencil icon.
AutoDraft
As you write, OneCMS automatically saves your work as a draft. You can see the last auto-save time at the bottom of the editor. This way, you don’t have to worry about losing your progress.
