Note about Sliders
Generally, the sliders in the following tutorial are only used on older websites (pre-Elementor).
If you have an Elementor-based website, you can easily use the Posts Extra widget and set the skin to Carousel to create your slider
Many websites have sliders on their home pages, which are interactive slideshows. They’re useful because they let website owners engagingly showcase important content at the top of the page.
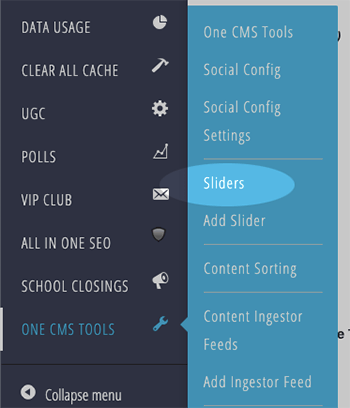
To create and manage sliders, go to One CMS Tools > Sliders
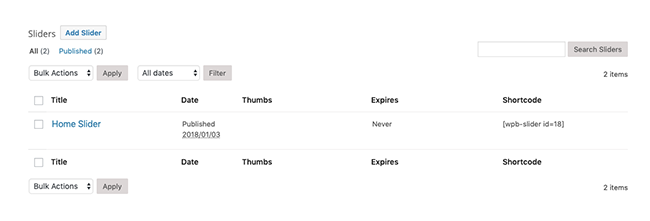
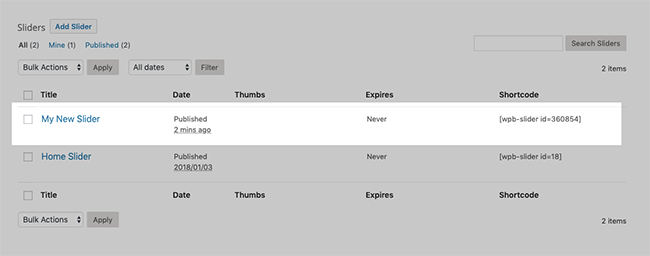
Once you click on Sliders, you’ll see a list of sliders. If your homepage already has a slider, it will appear here. You can either edit an existing slider or create a new one.
Creating a New Slider
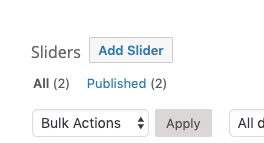
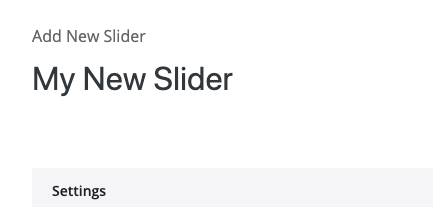
To make a new slider, click the Add Slider button at the top.
You’ll be taken to the ‘Add New Slider’ page, where you can customize all the slider settings.
- Start by giving your slider a Name.
Layout and Slider Size
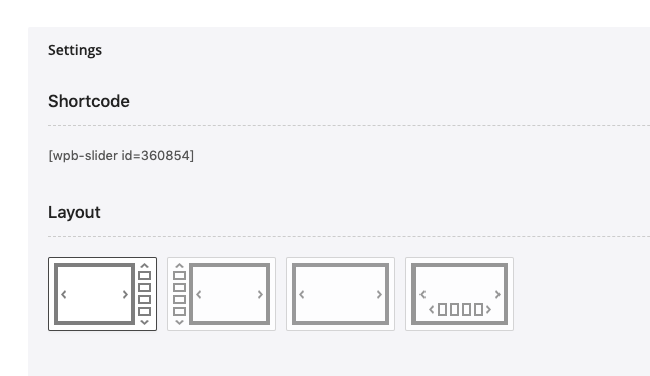
Next, you’ll see the slider’s shortcode. You might wonder why you need it before setting up the slider. Here’s the benefit: You can put your slider on a page and see how it looks as you make changes while creating the slider.
You can also pick the Layout for the slider. There are four options: thumbnails on the right, left, bottom, or no thumbnails at all. Just click on the layout you prefer.
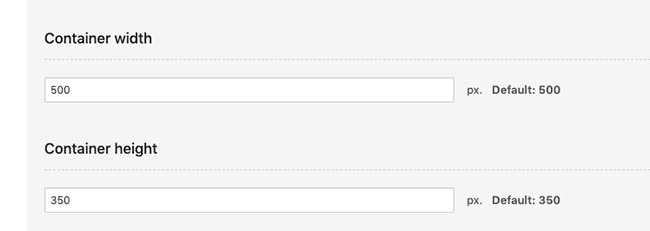
Next, select the width and height of the Slider Container. Typically, you’ll want it to fit nicely within a specific part of your website. Adjust these settings until it looks the way you want it to.
Content Settings
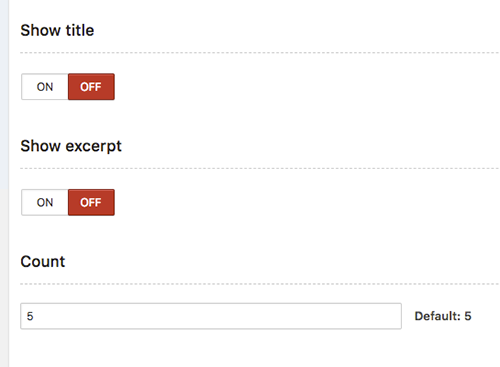
Since you’ll usually be featuring posts in the slider, you can choose whether to display Post Titles and Excerpts. Use the toggles to show or hide these fields.
Additionally, you can set how many posts to display in the slider at once using the Count field.
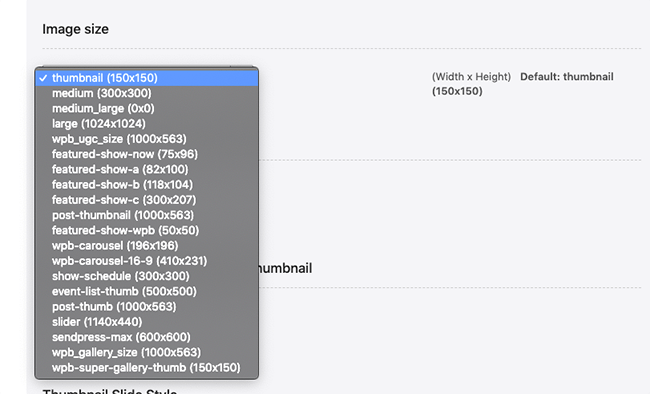
Next, pick the size of the main image you want to display in the slider from the dropdown. This is the main image, not the thumbnails, so consider the size depending on your slider’s dimensions.
Thumbnail Settings
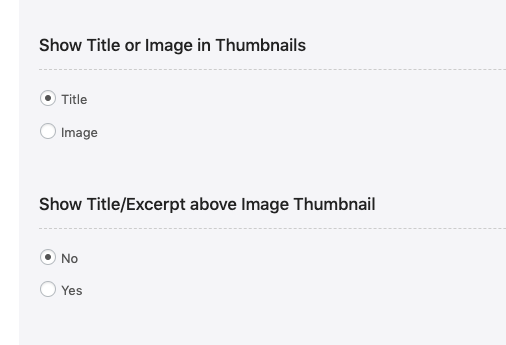
You can select how to show the content Title and Excerpt in relation to the Slider Thumbnails.
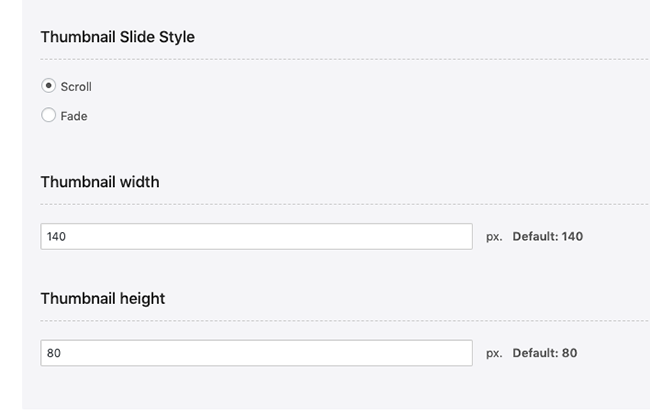
Now, configure the Slide Styles for Thumbnails. This determines how the thumbnails will transition when moving to a new set of them. You can also specify the width and height of your thumbnails.
Slider Effects
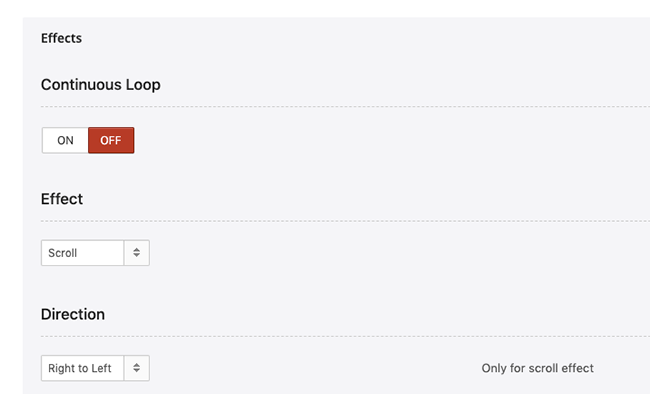
In the Slider Effects section, you can define how your slider behaves visually.
- Continuous Loop: When turned on, the slider will repeat from the beginning after reaching the last piece of content, creating a continuous loop.
- Effect: Choose how the slider transitions between pieces of content. It can either scroll horizontally or fade.
- Direction: Specify the direction of the scrolling transition.
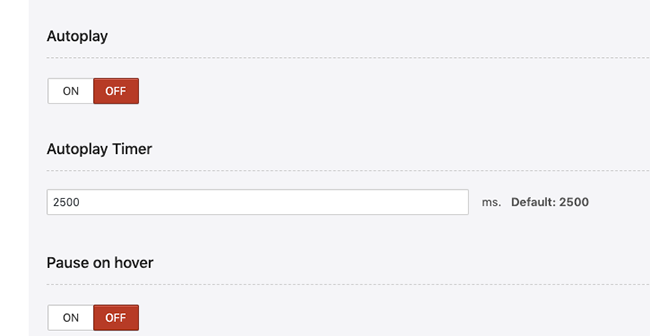
Autoplay Settings
- When Autoplay is enabled, the slider will automatically switch between content without requiring any user input.
- You can determine the duration (in milliseconds) for each piece of content to remain on screen before moving to the next.
- Enabling Pause on Hover will temporarily halt slide transitions when a user hovers their mouse over the slider.
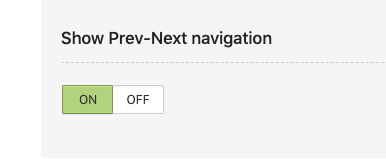
You can choose whether to show Previous and Next Navigation Arrows on the slider. These arrows let the website user manually advance the slides.
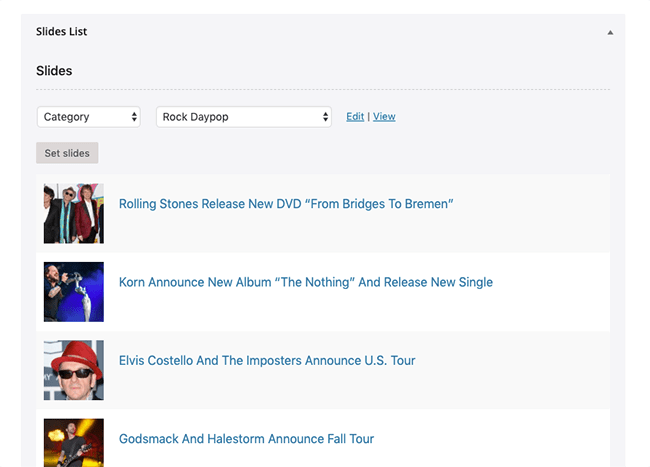
Selecting What Content to Show in the Slider
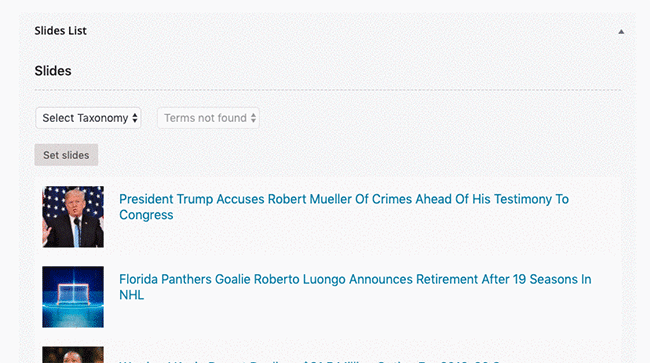
In the Slides List, you can pick what kind of content you want to show in the slider. You have three options:
- Categories
- Tags
- Push Bins
Once you’ve chosen a Taxonomy, you can then select the specific content from that Taxonomy to display. For example, in the animation below, I’m selecting the ‘Rock Daypop’ category.
After you’ve entered the Taxonomy information, click the Set Slides button.
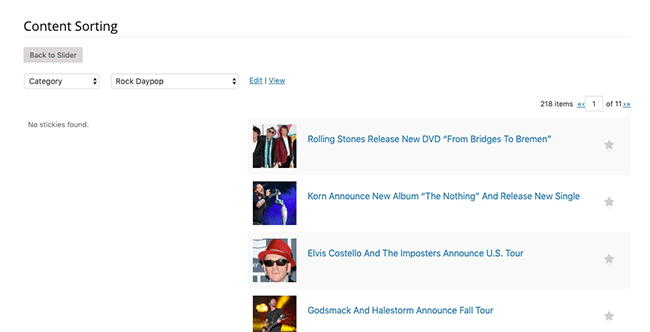
After you’ve set the slides, you’ll be taken to the Content Sorting screen, where you’ll see a list of content from the Taxonomy you chose. If you wish, you can select specific content from the list to ‘stick’ or pin to the slider so it always shows up. For more details on content sorting, you can refer to the Content Sorting tutorial. If you don’t want to pin any content, click the Back to Slider button.
When you are redirected back to the Slider screen, a feed of content from the Taxonomy you selected should be listed in the Set Slides section.
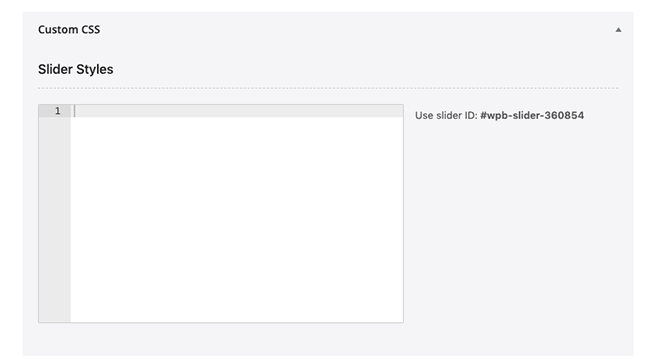
Slider Custom CSS
Even after you’ve configured all the settings, you might still want to fine-tune your slider for that perfect look. If you’re familiar with CSS, you can add your own custom CSS styles for the slider in the provided textarea. These styles will be applied to your slider when it appears on your website.
Saving Your Slider
We’re finally done! Click the Publish button to save your slider.
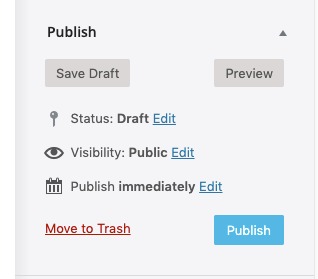
Your slider is now ready and will be visible in the Slider Listing screen. If you haven’t already, copy the shortcode provided, and paste it wherever you want the slider to appear. You can embed it in an HTML widget, a post, or a page.
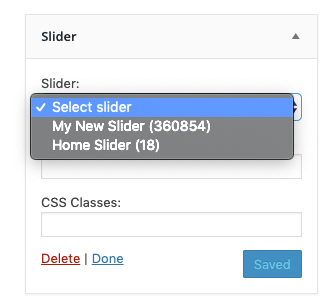
Slider Widget
Instead of shortcodes, you can also add a slider to your website using the Slider Widget. Simply drag and drop the widget to your desired location and choose the slider you want to display. It will automatically use the settings you configured when you created the slider.