For advanced users looking to add a touch of style to their emails, VIP Club offers the option to create customized email templates.
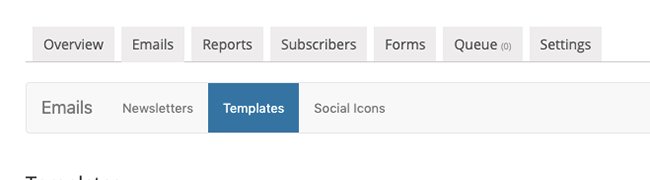
From the Email tab in VIP Club, click the Templates tab.
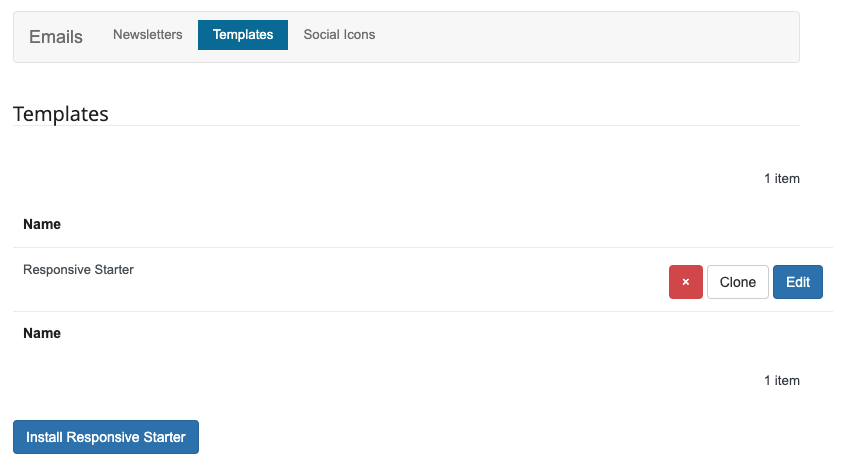
By default, you should have a template named “Responsive Starter.” If it’s not available, you can easily install it by clicking the Install Responsive Starter button.
This default template is suitable for most websites. However, you might want to create specialized templates for particular campaigns or purposes.
Cloning Templates to Create New Ones
Creating templates from scratch isn’t supported, but you can clone the “Responsive Starter” template and customize it according to your needs. Here’s how to do it:
- Click the Clone button next to the Responsive Starter template.
- Provide a Name for your cloned template and click Save & Next.
Customizing Your New Template
After saving your cloned template, you’ll be directed to the email template editing page. This is where you can modify the template to suit your requirements.
- On the left side of the screen, you’ll see a preview of your template.
- On the right side, you’ll find the tools to adjust the template.
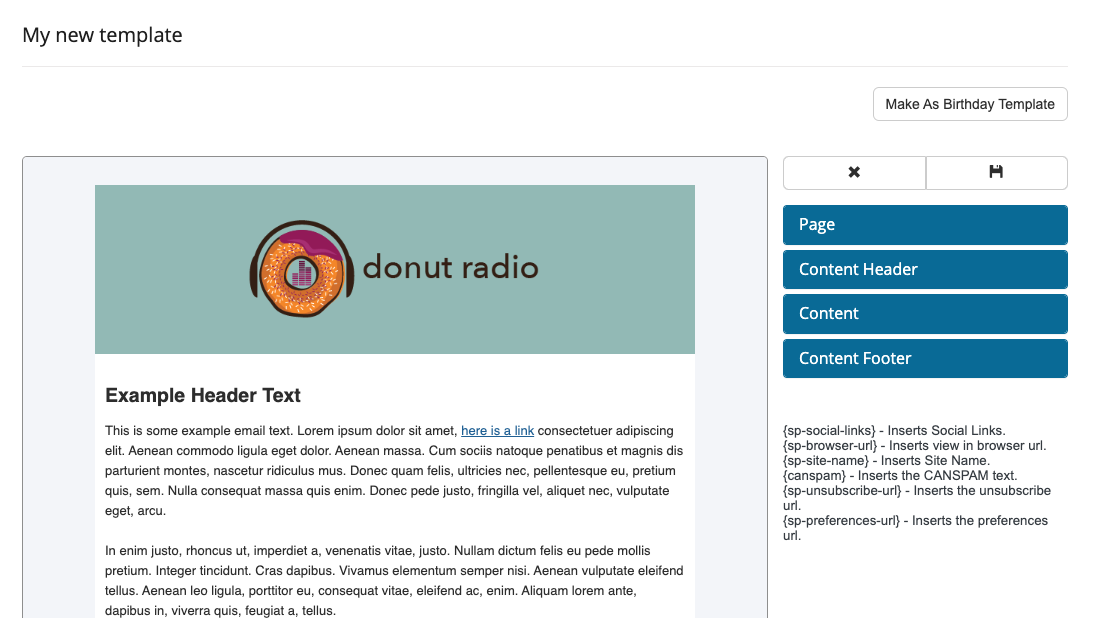
You have the flexibility to make various modifications, such as changing background colors, fonts, and link colors for different sections like the header, content, and footer. You can also add custom HTML to the header and footer sections.
The preview will update automatically as you make changes.
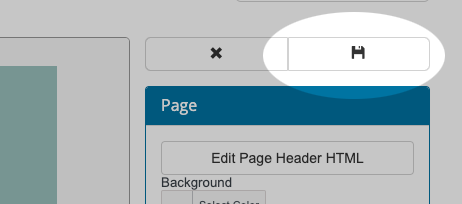
Once you’ve completed the template adjustments, save your template by clicking the Save icon.
Accessing Your New Template
Your customized template is now saved and accessible from the Template listing screen. You can also select this template when creating new emails.