In our previous tutorial, we explored menu creation. However, most users won’t need to create an entirely new menu. The default menus that come with your website are usually sufficient. However, you might want to add links to these menus. This tutorial covers adding pages, posts, categories, custom links, and more to your menu.
Adding Links
To add links to your menu, go to Appearance » Menus
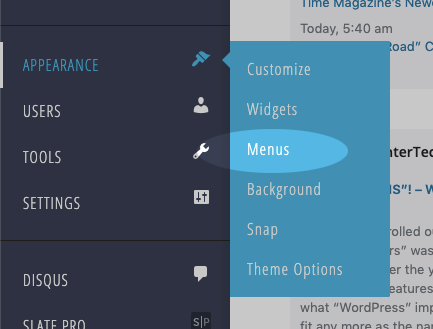
This will take you to the Edit Menus screen, which is divided into two columns.
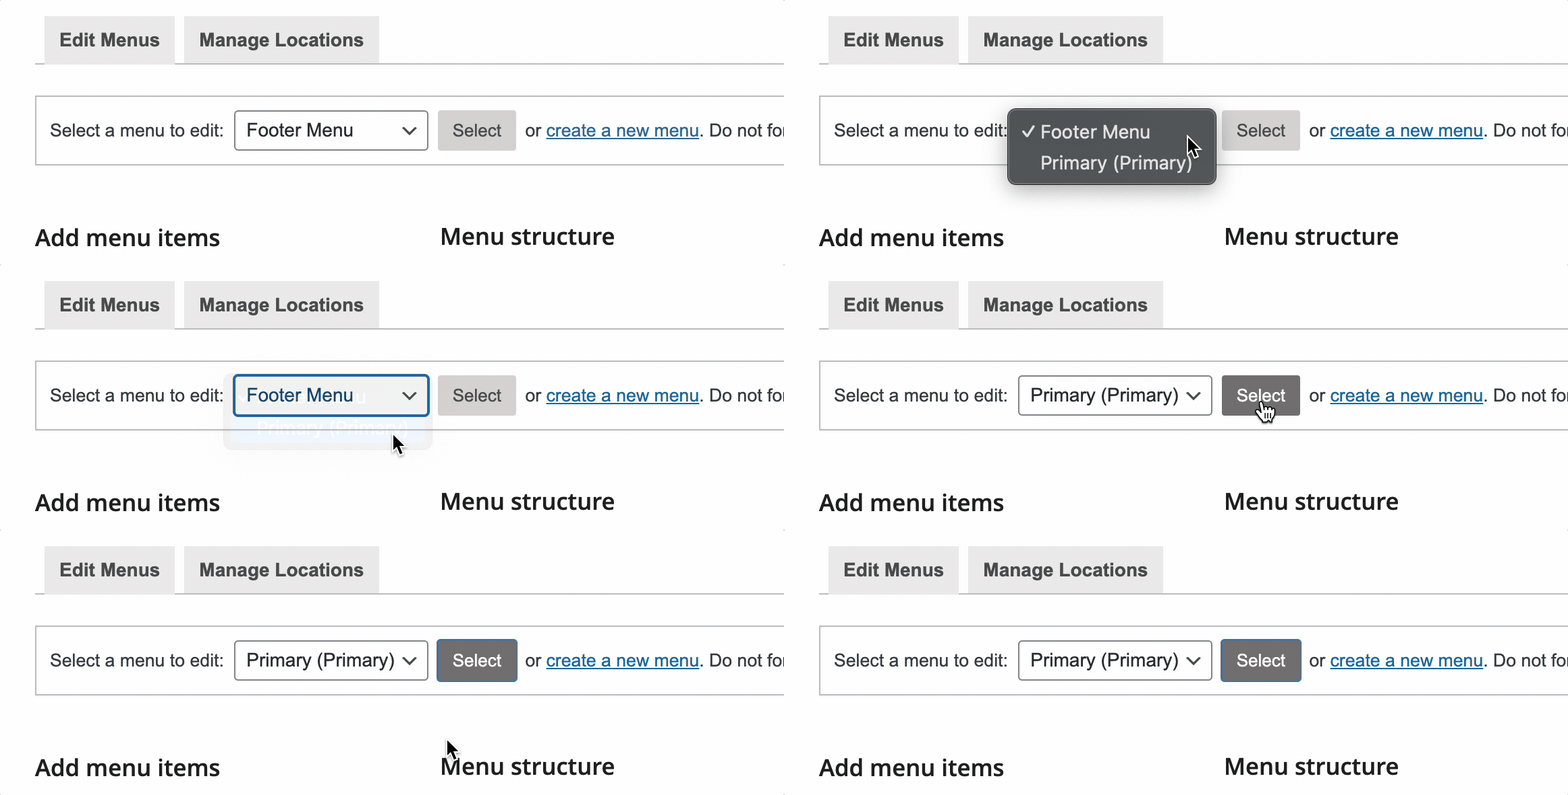
- On the left column, you’ll see the various items you can add to your menu. These range from links to the various pages on your site to category archive pages. You can also add custom links.
- The right column is where you can add and adjust menu items. If you already have an existing menu, it will be loaded automatically.
Select the Menu to Work On
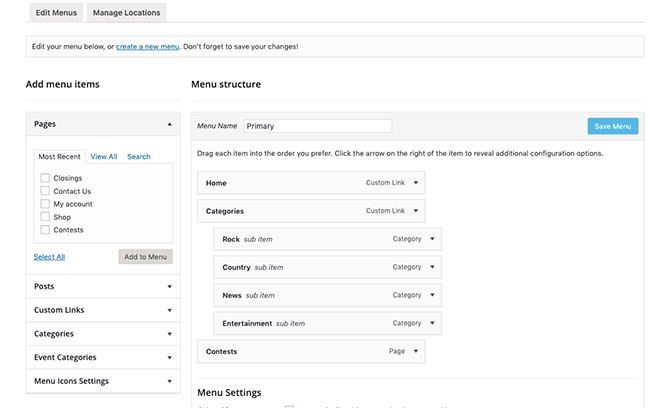
If you have multiple menus, choose the one you want to work on from the Select Menu dropdown and click Select.
Content You Can Add to a Menu
On the left side, you’ll find various items you can add to your menu. These options may vary depending on your website’s configuration. You can add Pages, Posts, Custom Links, Categories, Event Categories and a variety of other links.
Adding Pages or Posts
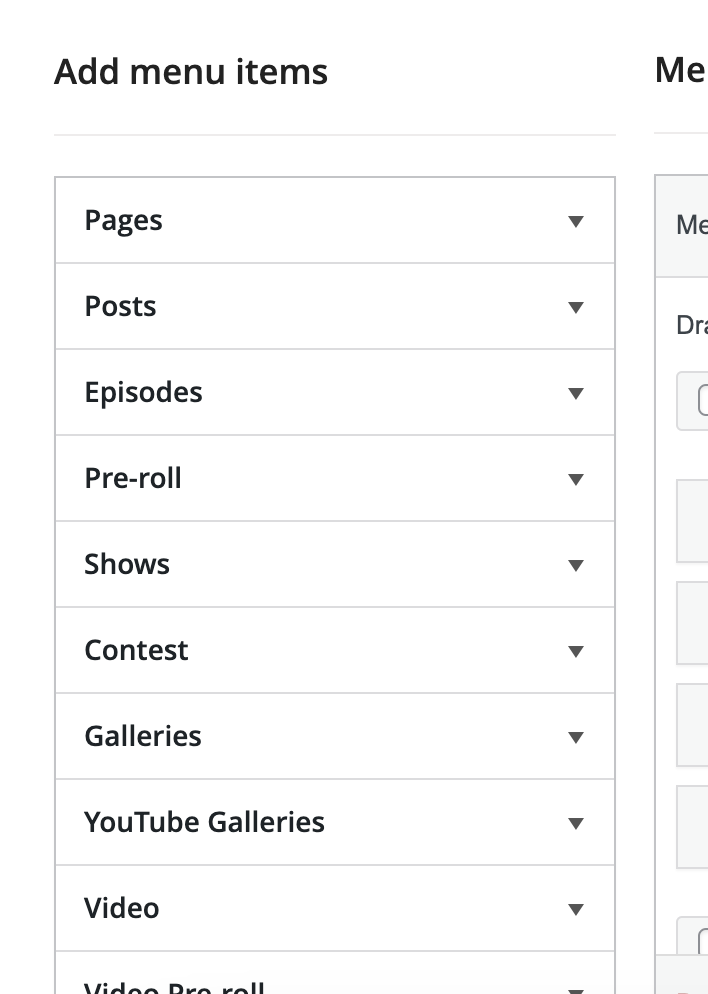
In the Pages or Posts section, you can browse through your most recently created pages and posts, view all of them, or search for specific ones.
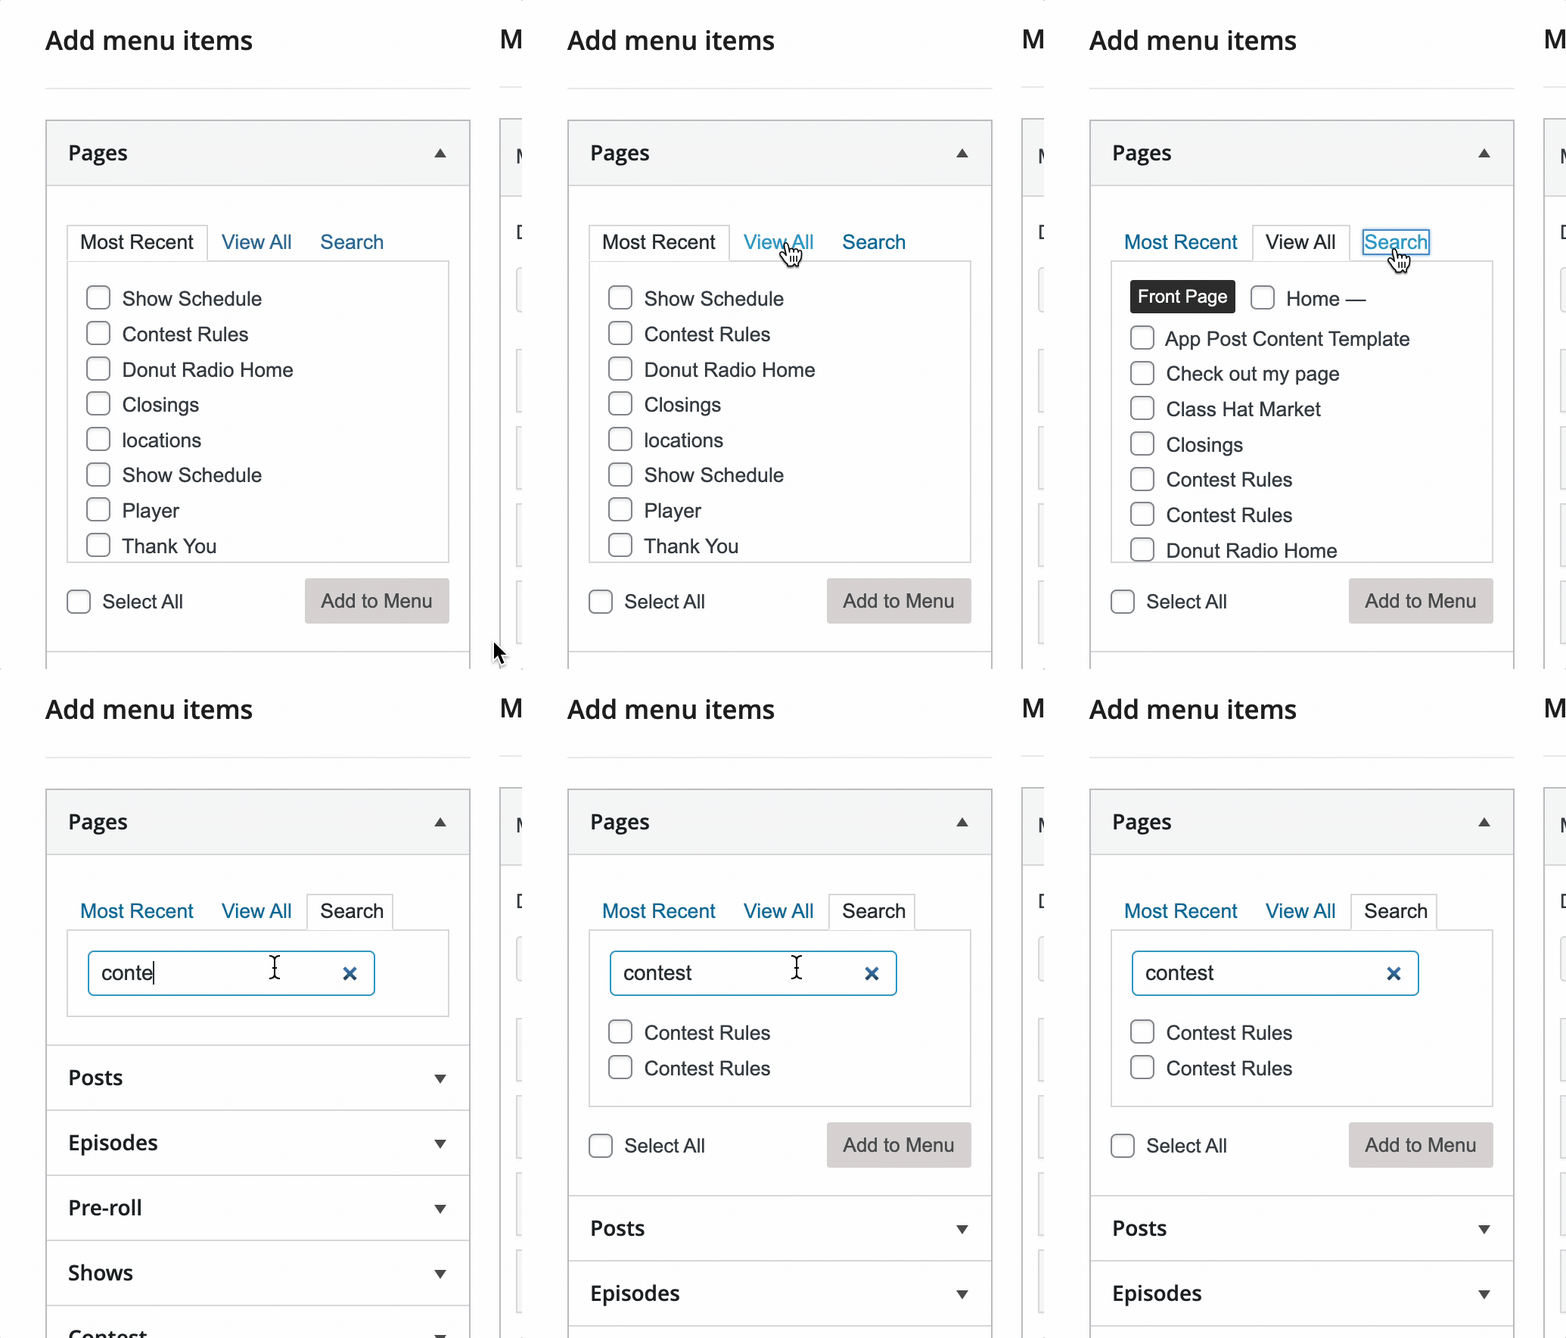
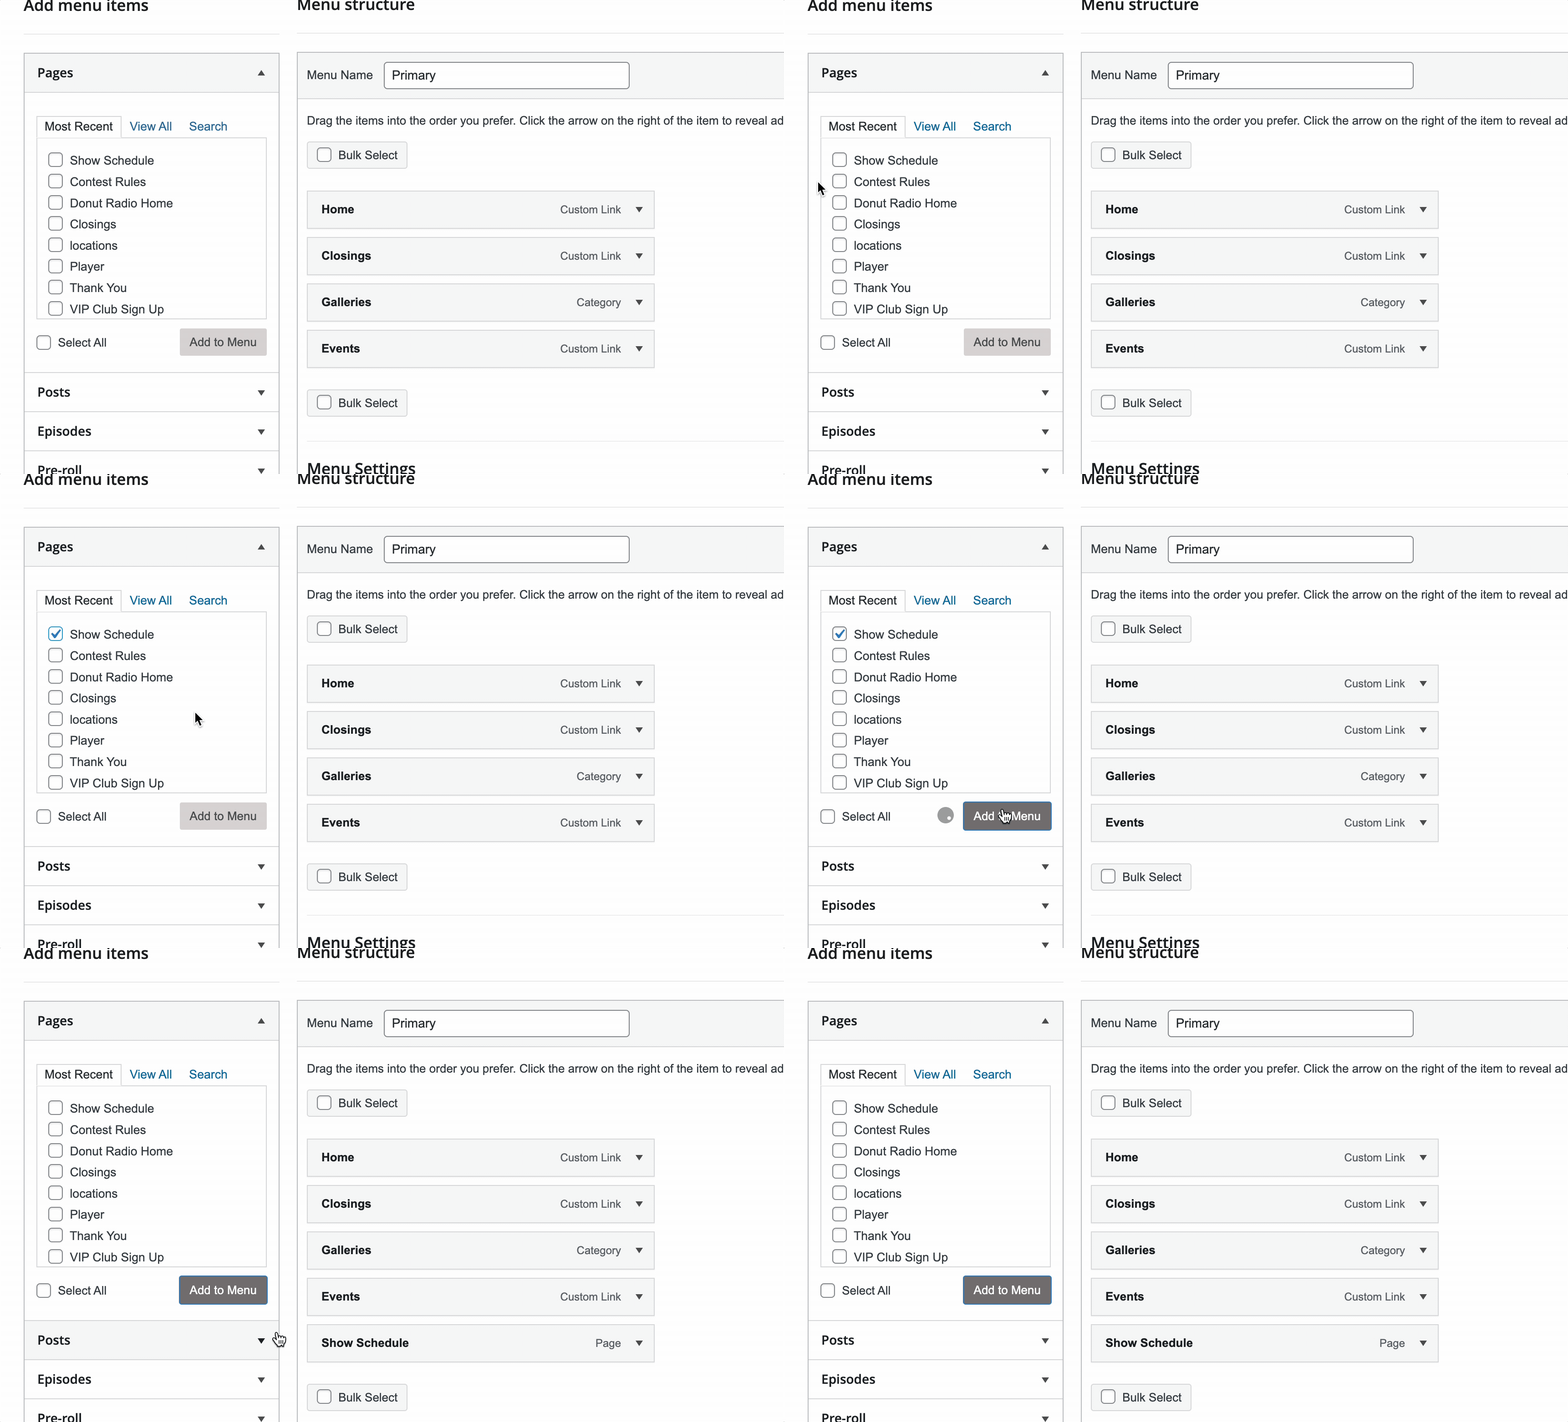
Select the checkbox next to each Page or Post you want to add to your menu, and they will be instantly added to your menu on the right.
Adding Custom Links
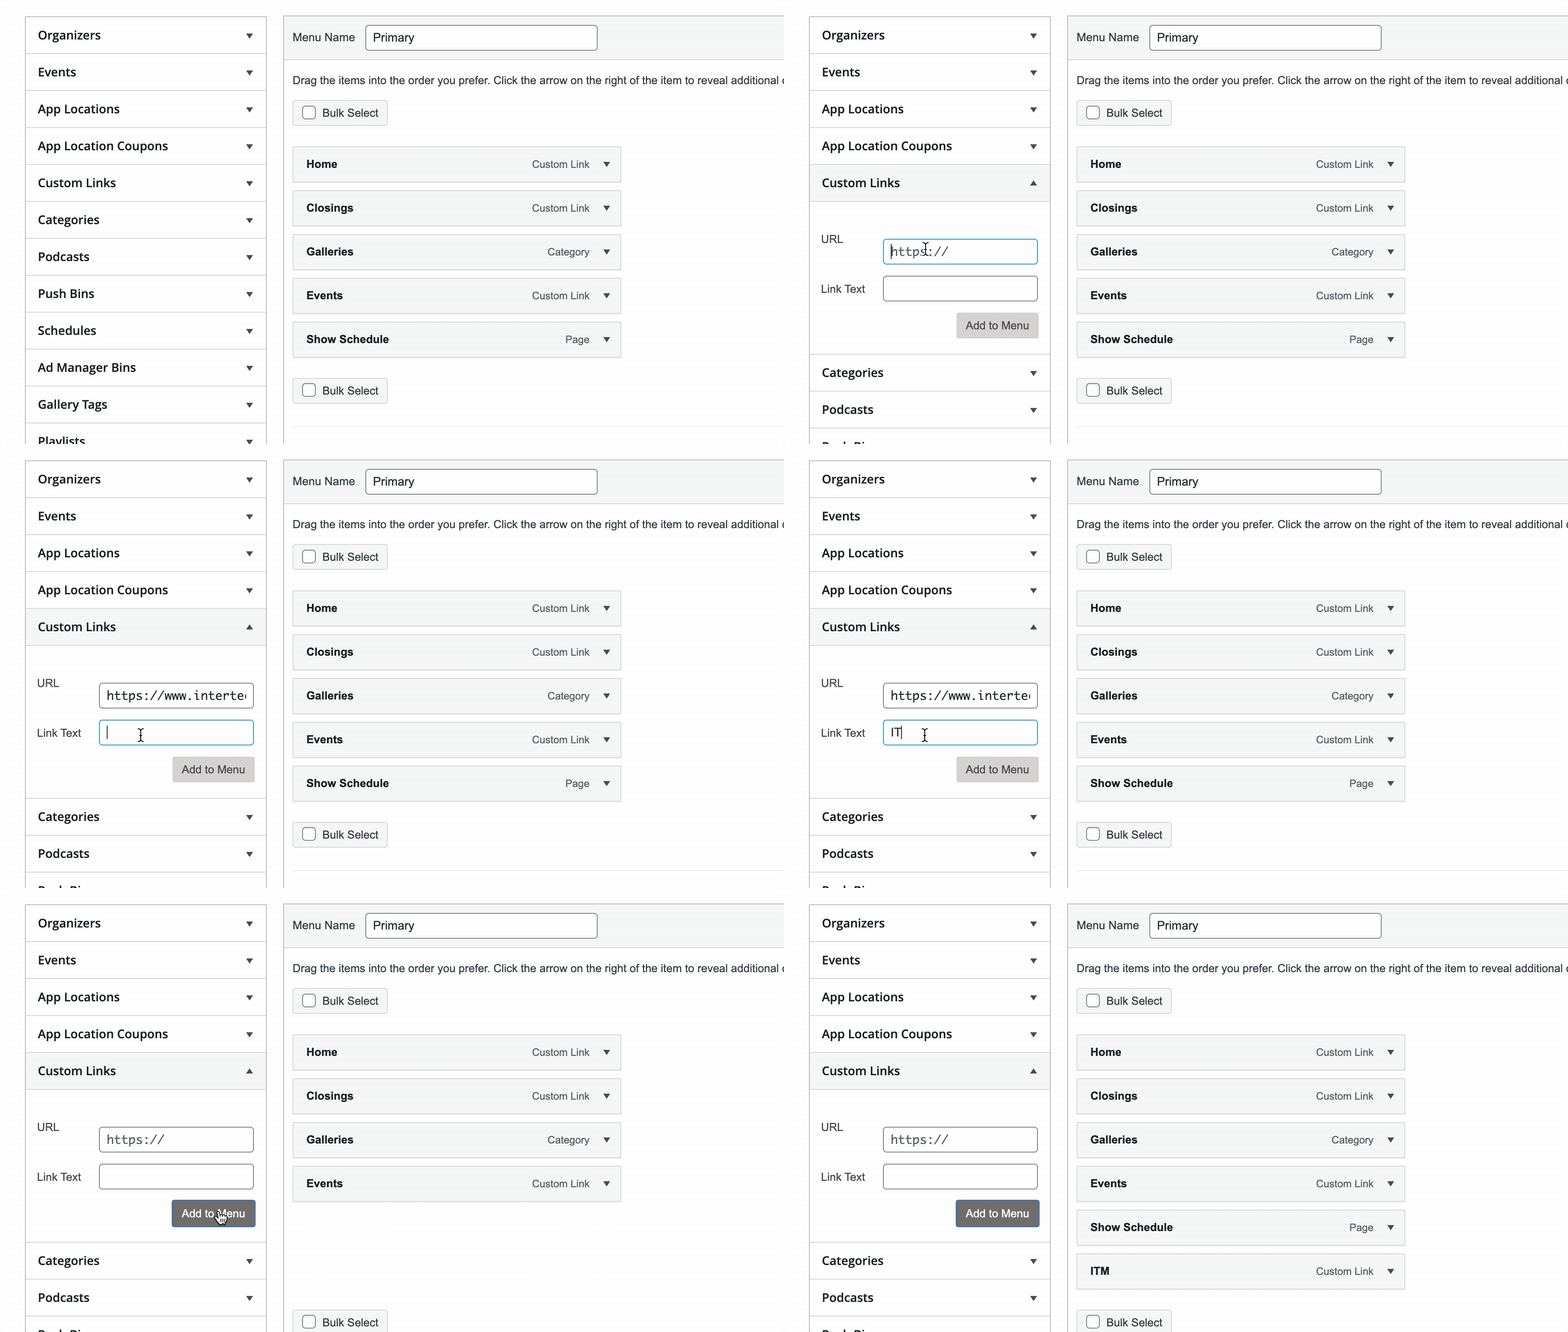
If you want to add a link to an external location (like your social media page, etc), use the Custom Link option.
- Click on the Custom Link tab in the left-hand column to expand it.
- Add the URL and the link text (the clickable text for the link), then click Add to Menu.
Adding Categories
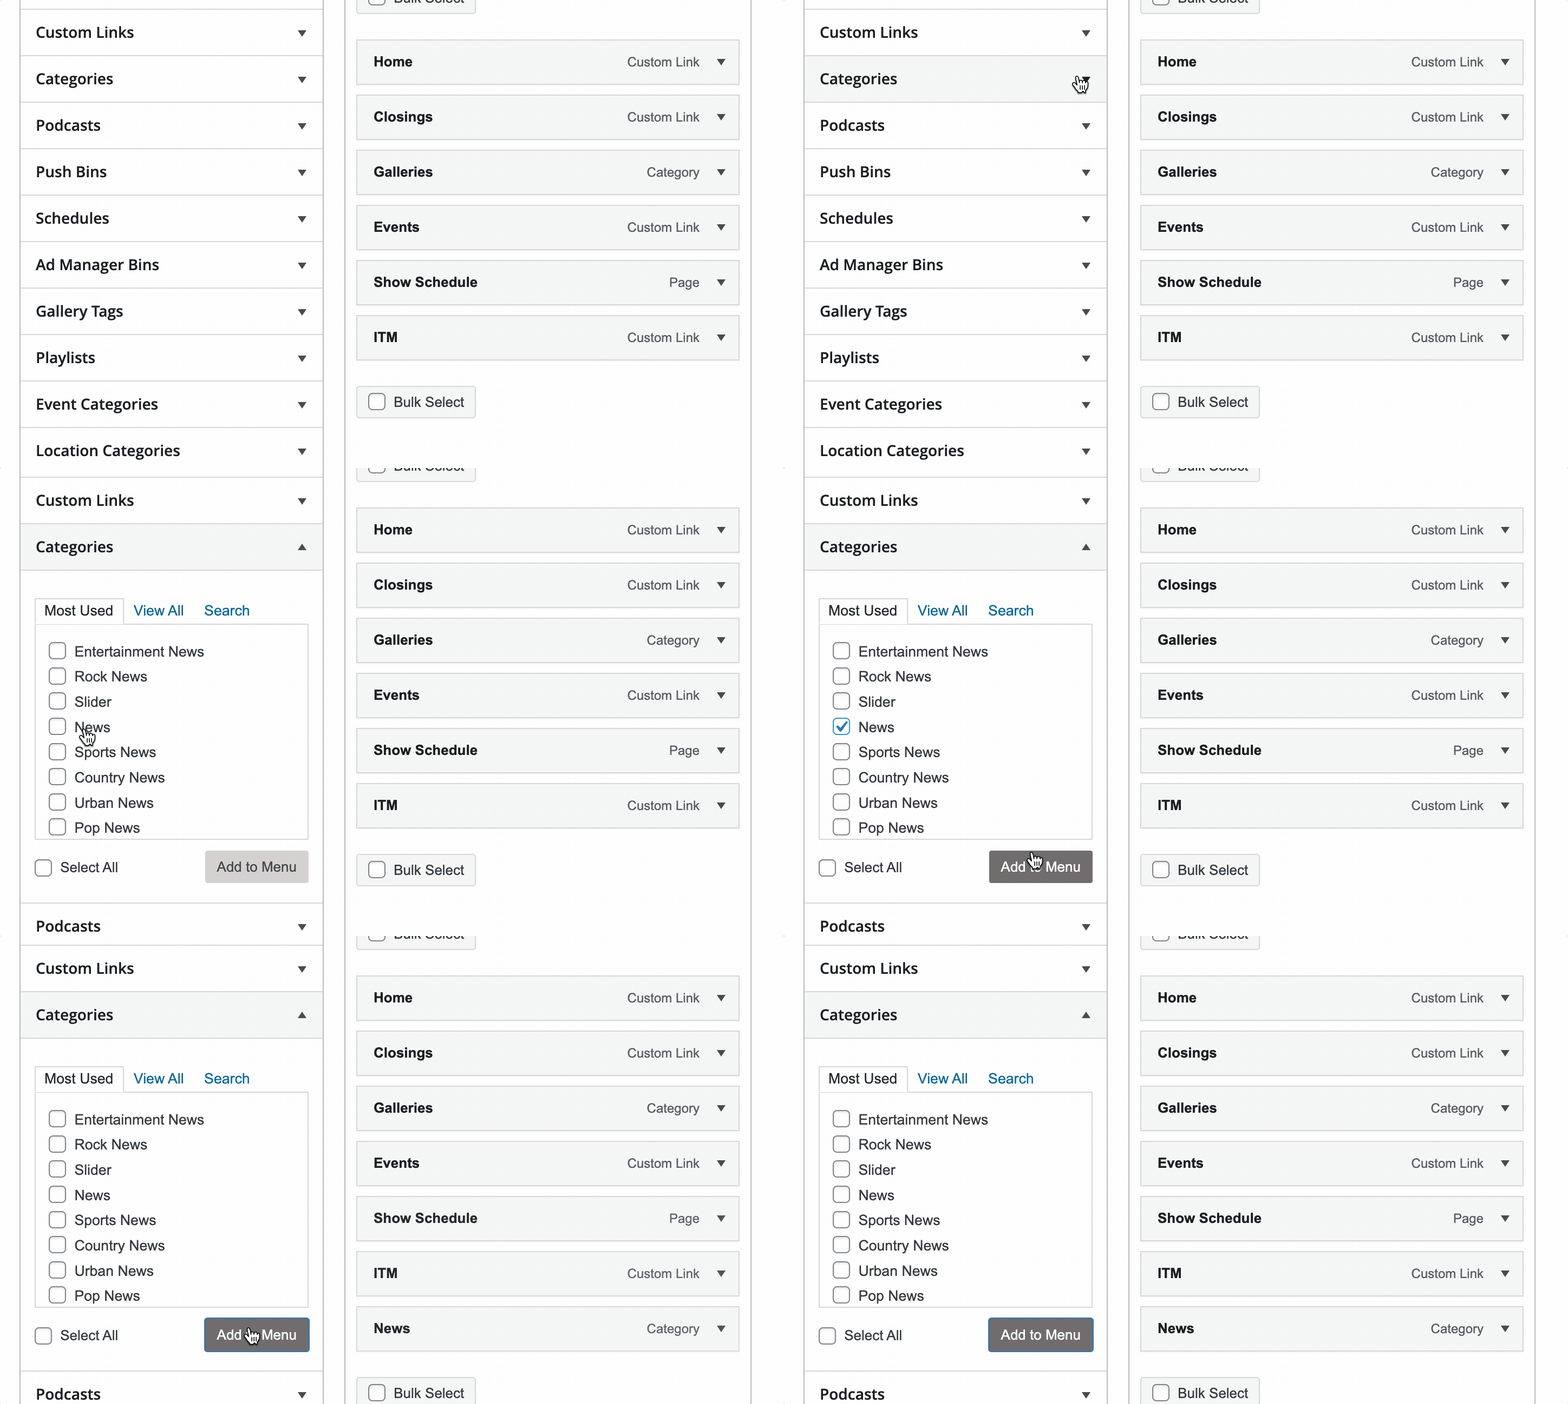
To add a link to a category archive page to your menu, click on the Categories tab to expand it. You will see your blog categories listed there.
What are Category Archive pages?
Category Archive pages display a list of posts linked to a specific category, typically with the most recent posts appearing at the top.
Select the categories you want to add to the menu, then click “Add to Menu.” This process works the same for Event Categories.
Editing Links:
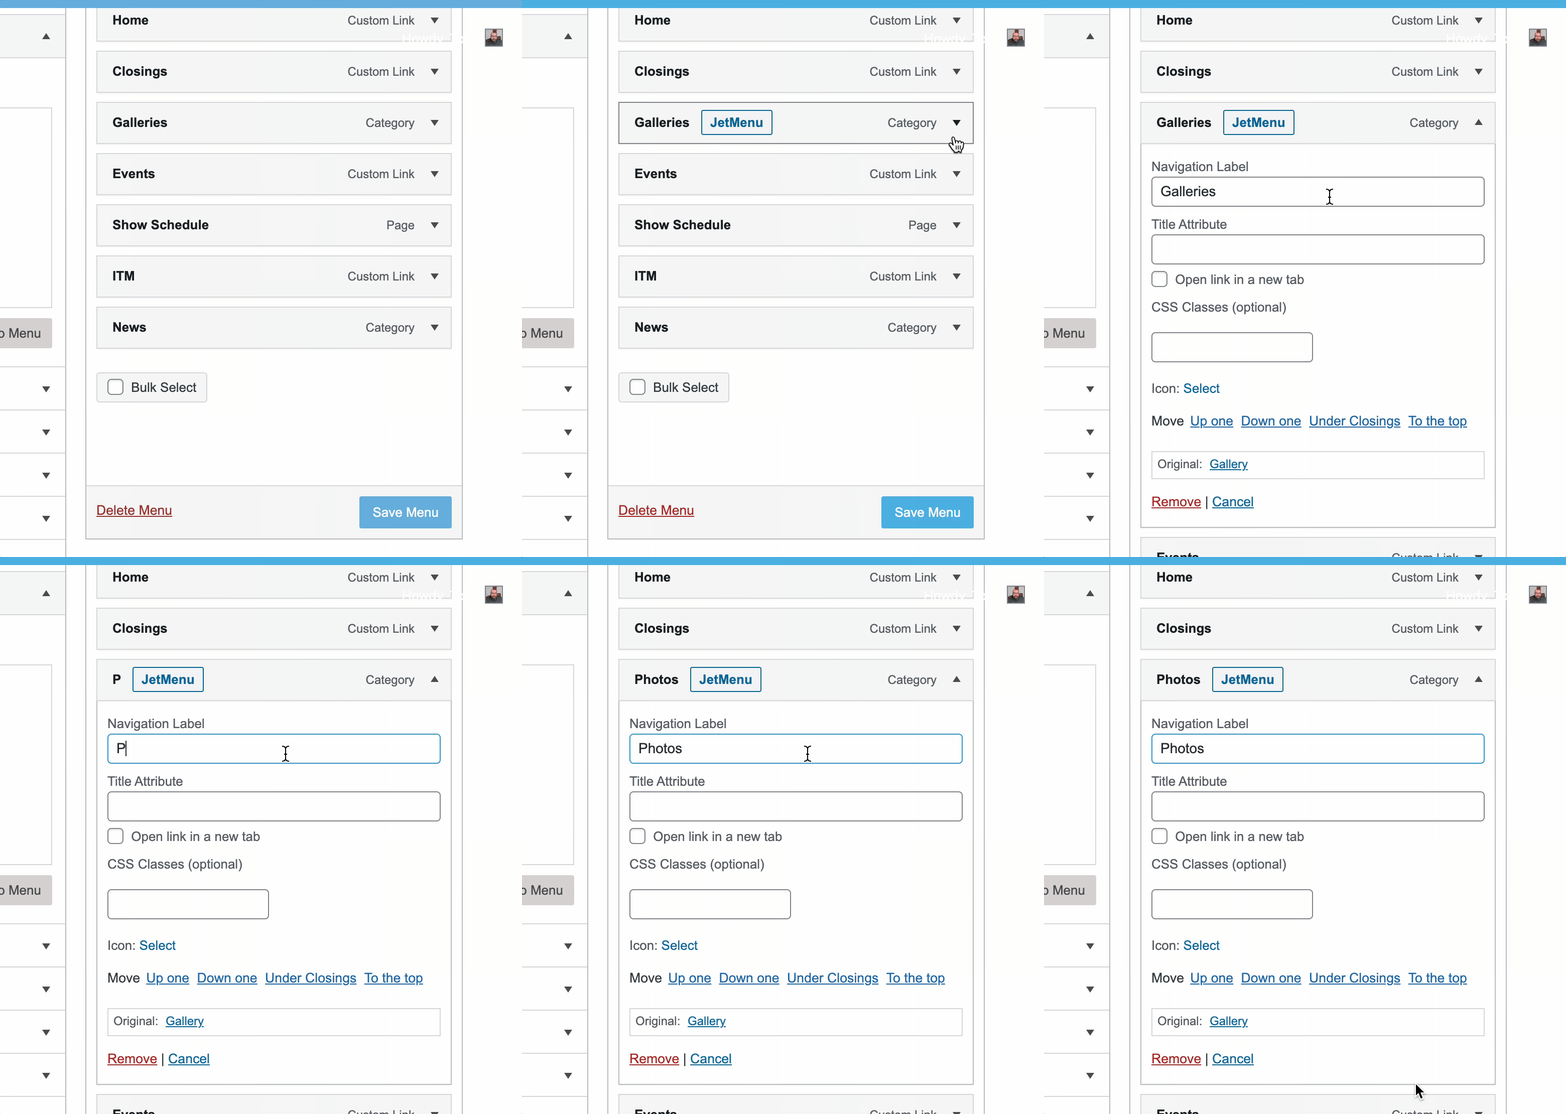
When adding pages or categories, OneCMS uses the page title or category name as the link text. However, you can edit these link texts easily.
Click the downward arrow next to a menu item, and it will expand. You can now modify the link text.
Creating Nested Drop-Down Menus
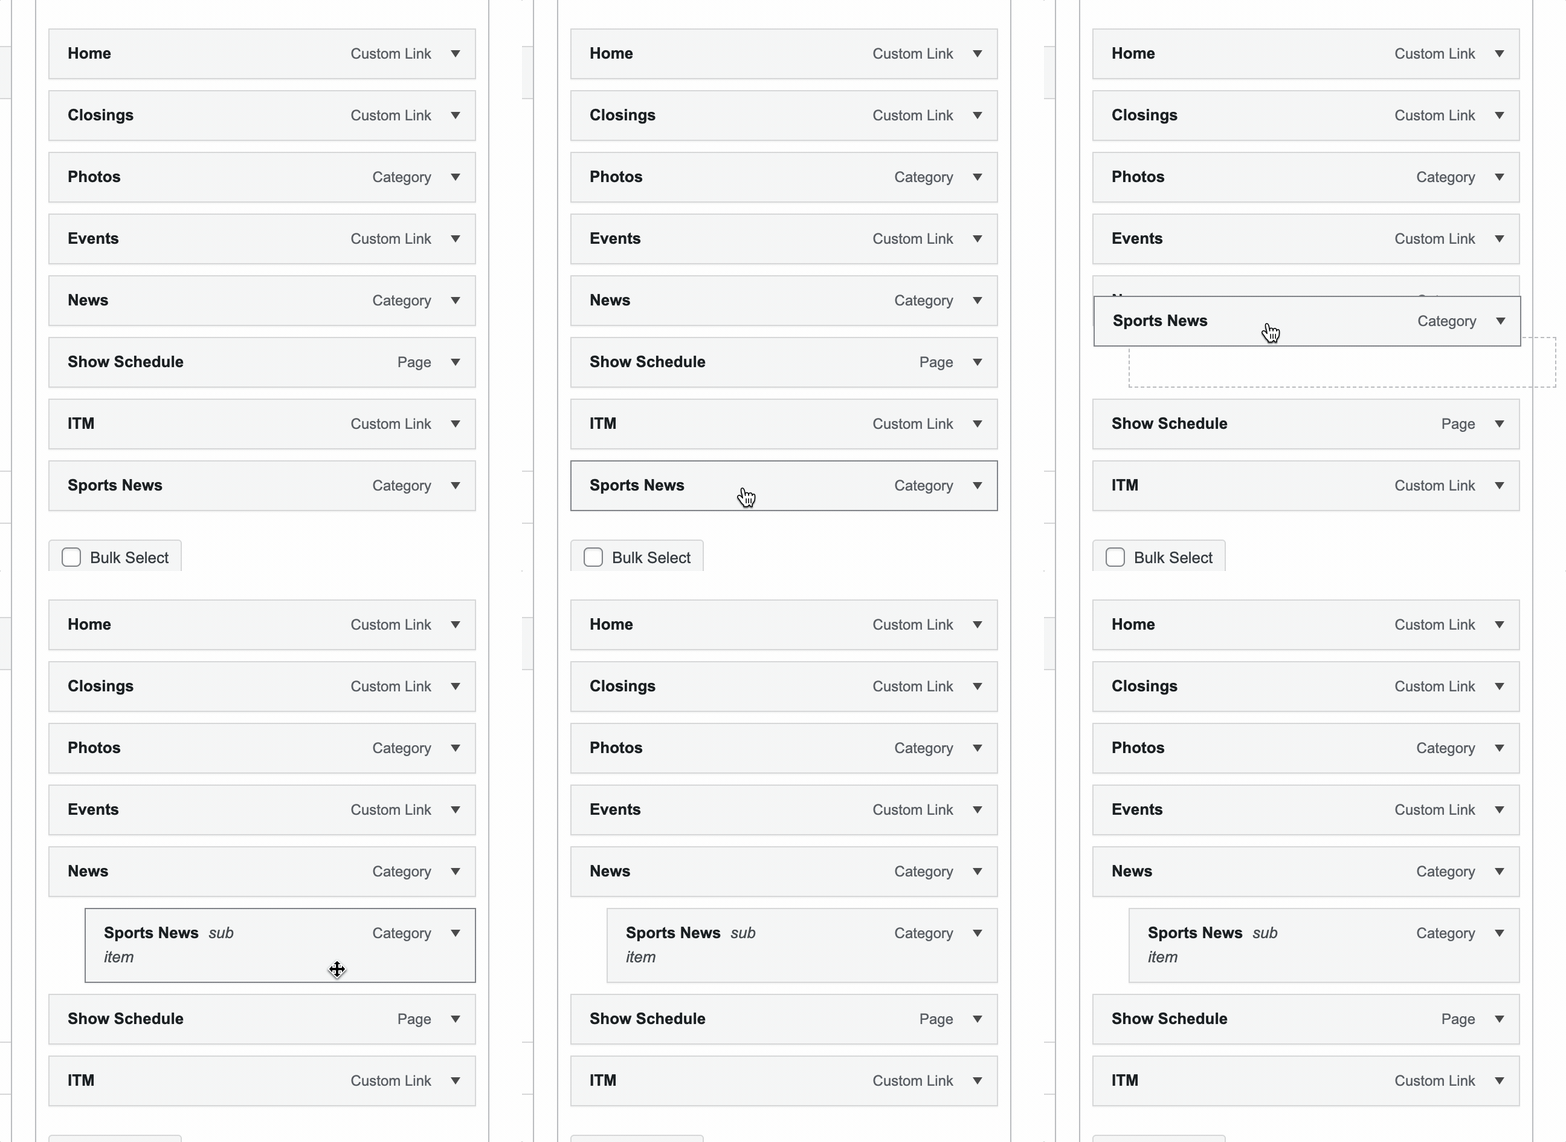
Nested menus, also known as drop-down menus, are a way to structure your navigation with parent and child menu items. Drag a menu item just below a parent item and slightly to the right to make it a sub-menu item.
Pro Tip
If you want to create a top-level menu item that doesn’t link anywhere, use a Custom Link menu item with “#” as the URL.
Removing a Menu Item
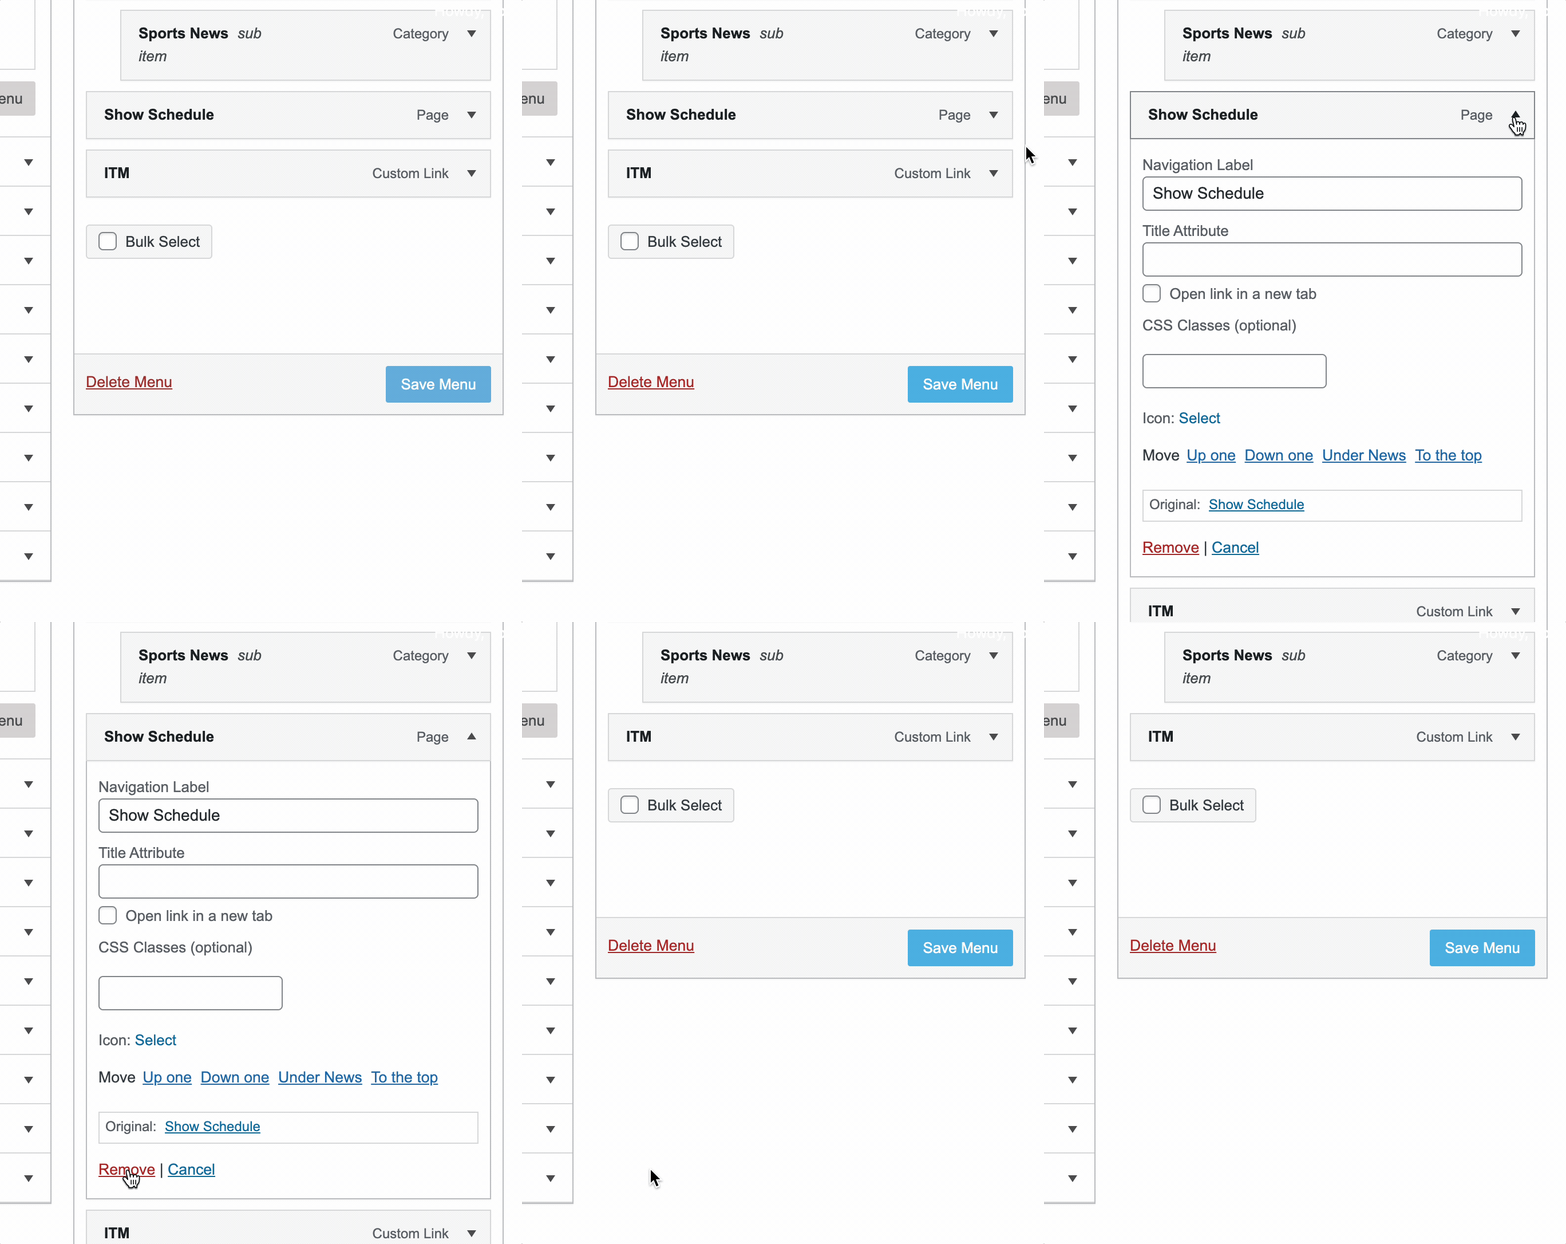
Removing a link is as simple as editing it.
- Click on the downward arrow icon next to a menu item, and you’ll find a Remove link.
- Click it to remove the link from your navigation menu.
Save Your Changes
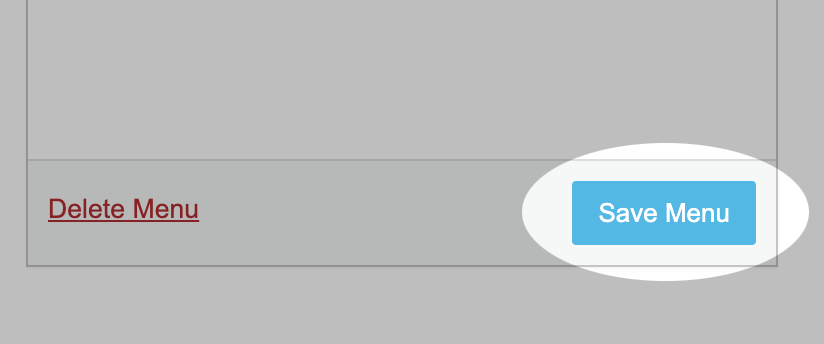
Once you finish editing your menu, click the Save Menu button.
Your changes will be applied to your website. In some cases, this may require clearing the cache.

