Effective communication of school and business closings is crucial. The OneCMS Closings system simplifies this process.
To start marking schools or businesses as closed or delayed, you must first add the Schools/Businesses to your Closings database. You only have to add each school or business once, and you can mark them as closed at any time in the future.
Creating a School or Business in Your Closings Database
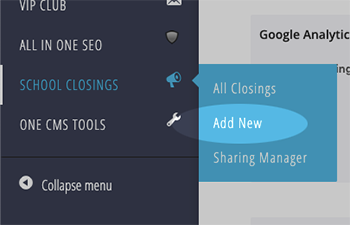
Begin by clicking School Closings > Add New.
This action will take you to the Add New screen for your closings database.
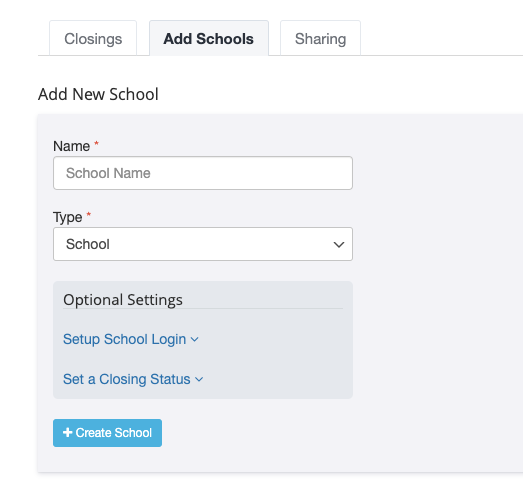
To create a new school, you only need to complete one field: School Name. All other fields are automatically set for schools.
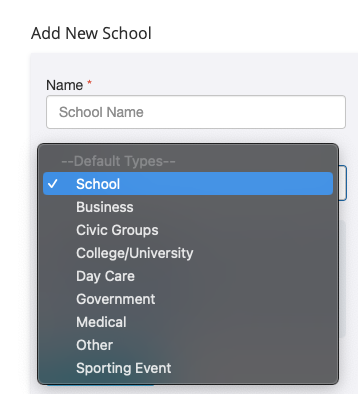
If you are creating an entity other than a school, select the appropriate Type from the dropdown menu. Default types are available, or you can create custom types, as explained later in the tutorial.
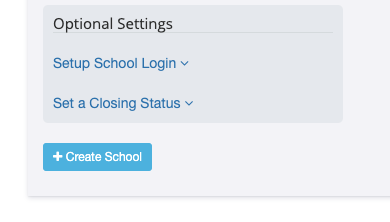
You can fill out additional fields if you want to set the school as closed when creating it (e.g., Date, Status, and Comment). For this tutorial, we are only creating the school.
- If you want the school to manage their own closings, you can create a login for them (Username/Passcode). More information on this can be found in the Allowing Schools to Manage Their Closings tutorial.
Once you’ve entered the necessary information, click the Create School button to create the entity.
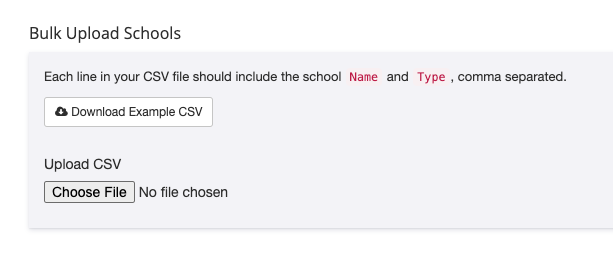
Bulk Upload of Schools/Businesses
If you have a list of schools and businesses to upload in bulk, save the list as a CSV file and upload it in the “Upload Closing” section.
The correct format for the CSV file is “Name, Type”:
Name,Type
ABC School, School
XYZ Office LLC, Business
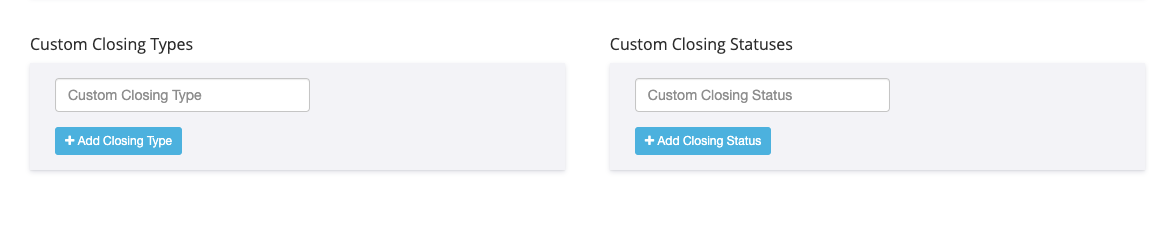
Creating Custom Closing Types and Statuses
You can create Custom Closing Types to expand the basic set of default types provided by OneCMS Closings (e.g., school, business, etc.).
You can also add Custom Closings Statuses beyond the default items available (e.g., Closed, Delayed, etc.).