Share Bins enable you to easily share content between websites by associating it with a Category or Push Bin. Once you publish a post, it will be automatically syndicated to any site linked within the Share Bin.
Before you set up a Share Bin
In order to set up a Share Bin, ensure that you have user access on BOTH the sending and receiving websites.Your user credentials are what is used to post the syndicated content
Determining Your Share Bin Trigger
Begin by creating or selecting a specific category or push bin that you want to use for sharing content between the two (or more) sites.
For instance, you might want all content in the “Entertainment” Category to be syndicated to multiple sites in a Share Bin.
When you create a Share Bin, you’re instructing OneCMS to syndicate any content added to your ‘trigger’ taxonomy (a specific Push Bin, Category, etc.) to other websites you designate.
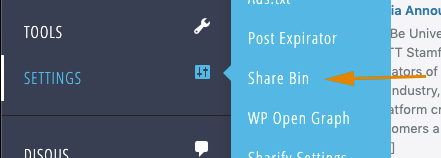
After creating the Push Bin or Category for content syndication, go to Settings > Share Bin.
Here, you’ll find a section with settings and a list of recipient websites for each Share Bin you create.
Setting Up Share Bins
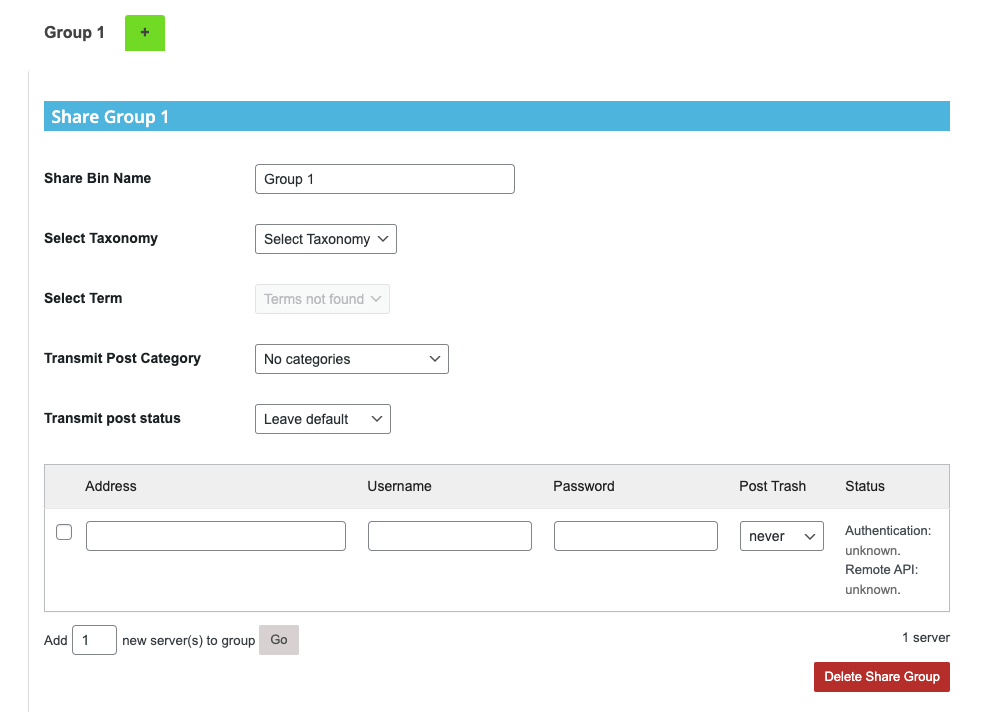
When setting up a Share Bin, you’ll need to provide the following information:
Name: Give your Share Bin a descriptive name.
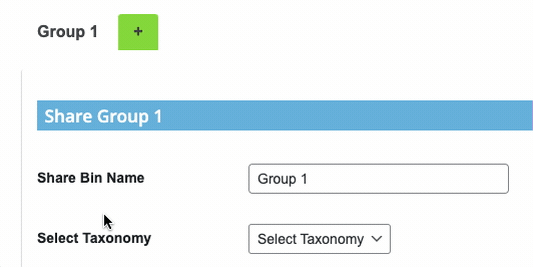
Taxonomy: Choose either category, push bin, podcast or event category.
Term: Enter the name of the category or push bin you want to trigger the syndication.
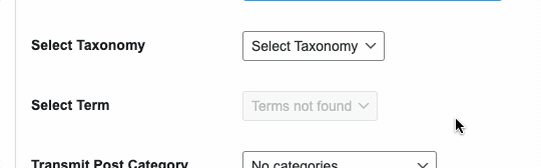
Transmit Post Category: Choose whether all categories are shared or only the syndicated categories.
Transmit Post Status: Decide if the post will automatically publish on the receiving site or if it will be set to draft for review.

Add Websites to Share Bin
You can now set up the websites to receive the syndicated content by entering the following details:
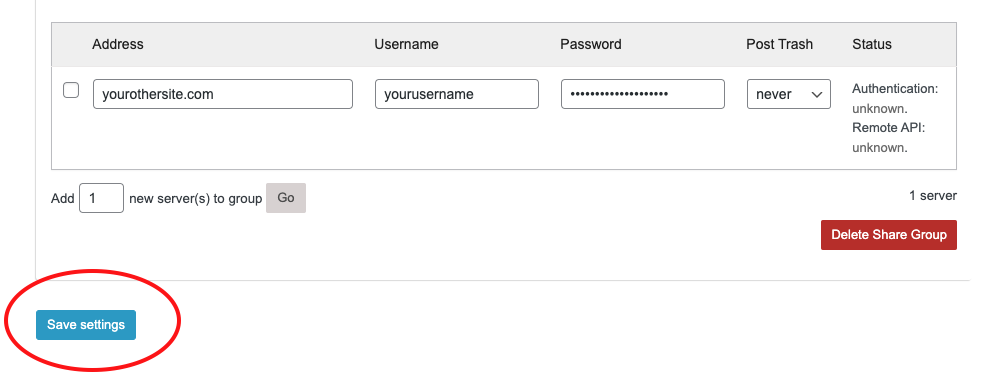
- Address: The web address where you want to send your posts.
- Username: The username of a user with access to both the sending and receiving sites.
- Password: The password of the user chosen in the previous step.

Click the blue Save Settings button at the bottom left corner to save your configuration.
After saving, if the information was entered correctly, the Status will display Authentication as OK. If there’s a different message, contact Customer Support for assistance.

- If Authentication is OK, but the Remote API is blank, click the Save Settings button again to generate the Remote API. The Remote API shows the WordPress version of the receiving station.
When both Authentication and Remote API are green, everything is set up correctly, and you can start sharing content effortlessly.
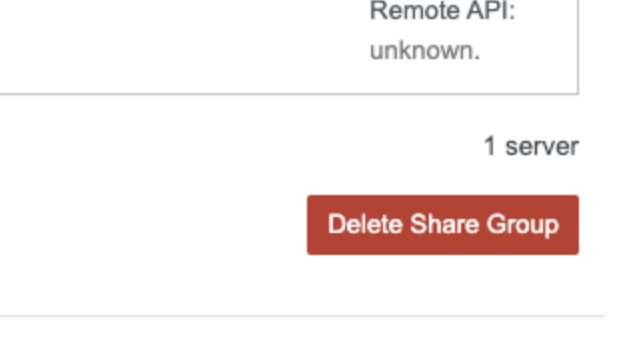
Deleting the Share Bin
- To delete the entire Share Bin, click the Delete Share Group button at the bottom of the screen. Note: This cannot be undone.