Creating a page is quite similar to creating a post, (but remember that pages are intended for static content!)
Adding a Page
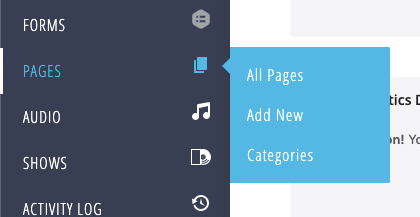
To add a new page to your OneCMS site, locate the Pages menu in the Navigation menu and click Add New.
Enter the title of your new page.

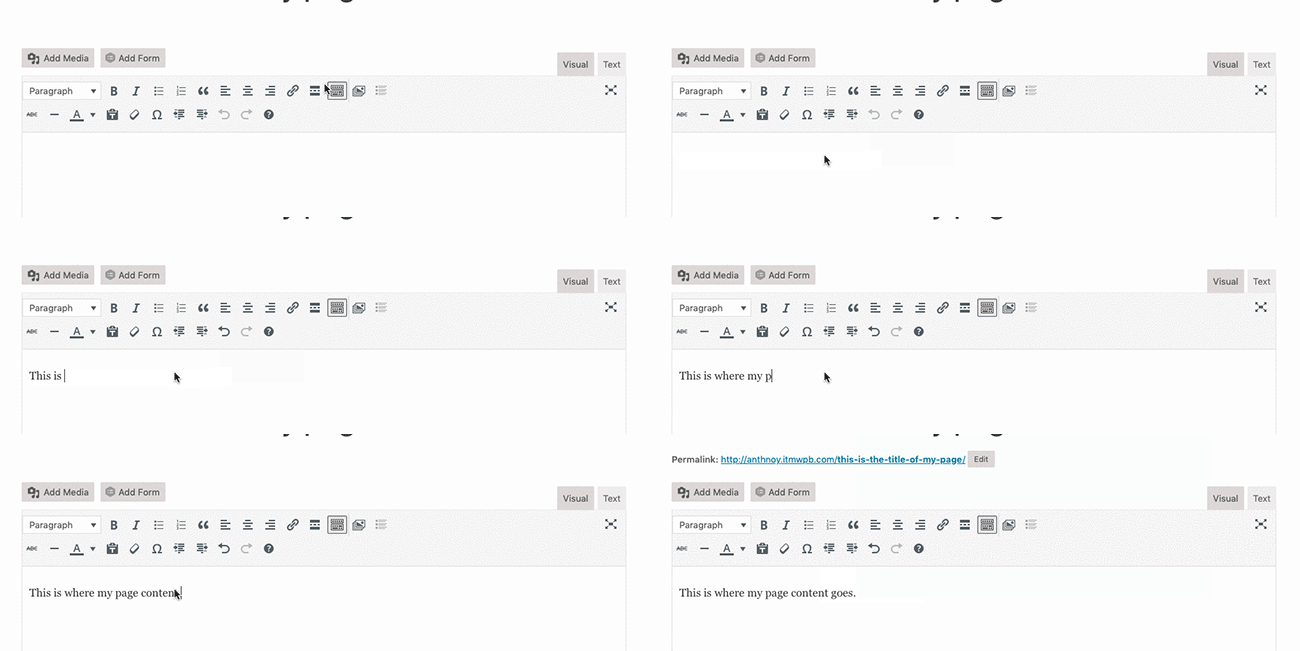
In the editor area, you’ll input the content of your page and insert images. (Need a refresher using the Editor Tools?)
Building your page in Elementor?
If you are using Elementor to build your page, you won’t be using the normal Editor. For more information on using Elementor to build pages, check out our Elementor Course!
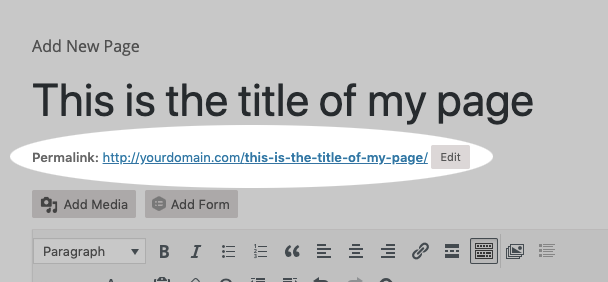
As you fill out the various fields, you’ll notice a Permalink (URL) field under the title. OneCMS automatically generates the permalink based on your title. If you want to change it, click the Edit button next to it.
Page Attributes
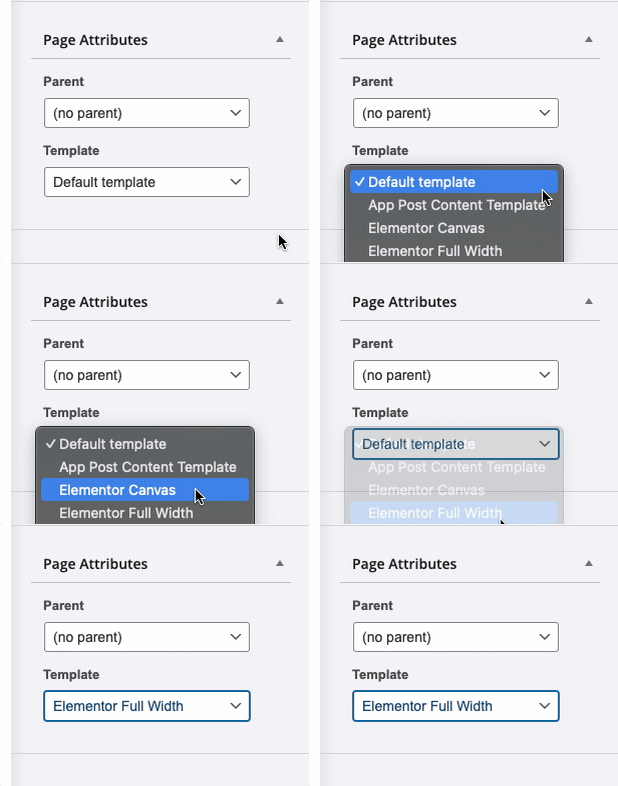
The Page Attributes section allows you to assign a parent page and/or a custom template to your new page.
- Unlike posts, you can nest OneCMS pages under a parent page to create logical groupings. This helps with organization, user experience, and SEO.
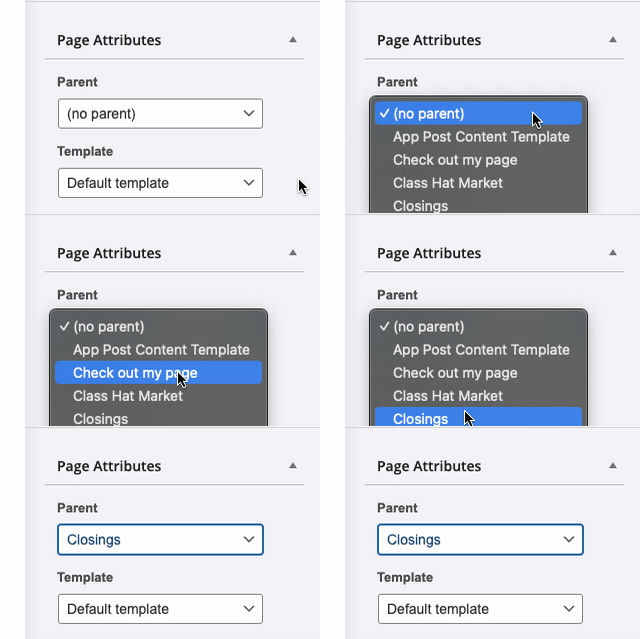
- Custom templates can give different page designs (based on your site’s theme and design).
Template Tip
If you are using an Elementor built site, selecting Elementor Full Width will use your site’s header and footer, but remove any sidebars.
Featured Image
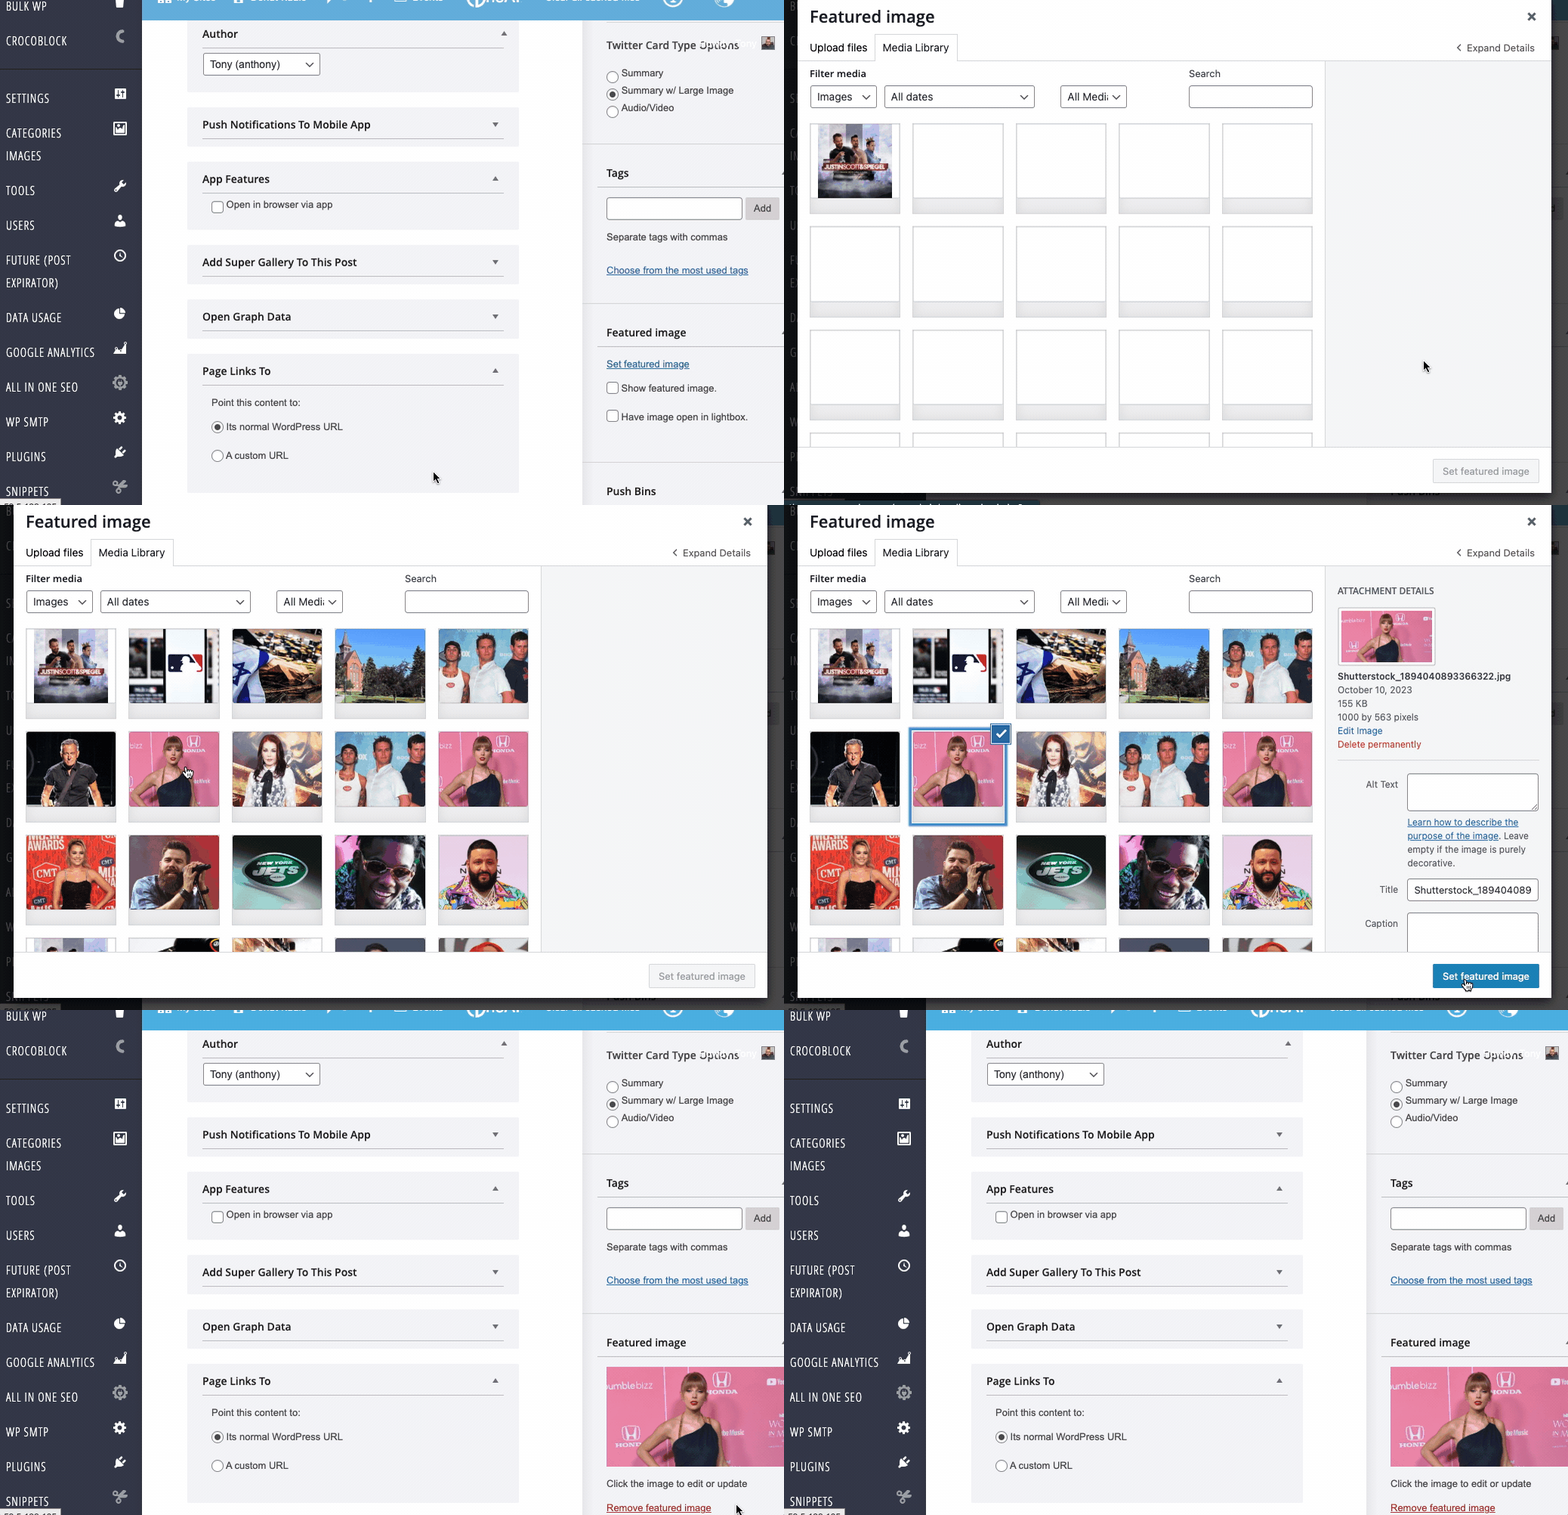
You can add featured images to your pages just like in posts.
- To add a featured image, click Set Featured Image and use the Media Uploader to choose or upload an image.
- Depending on your site’s design, the featured image may appear at the top of the page content.
Post Expirator
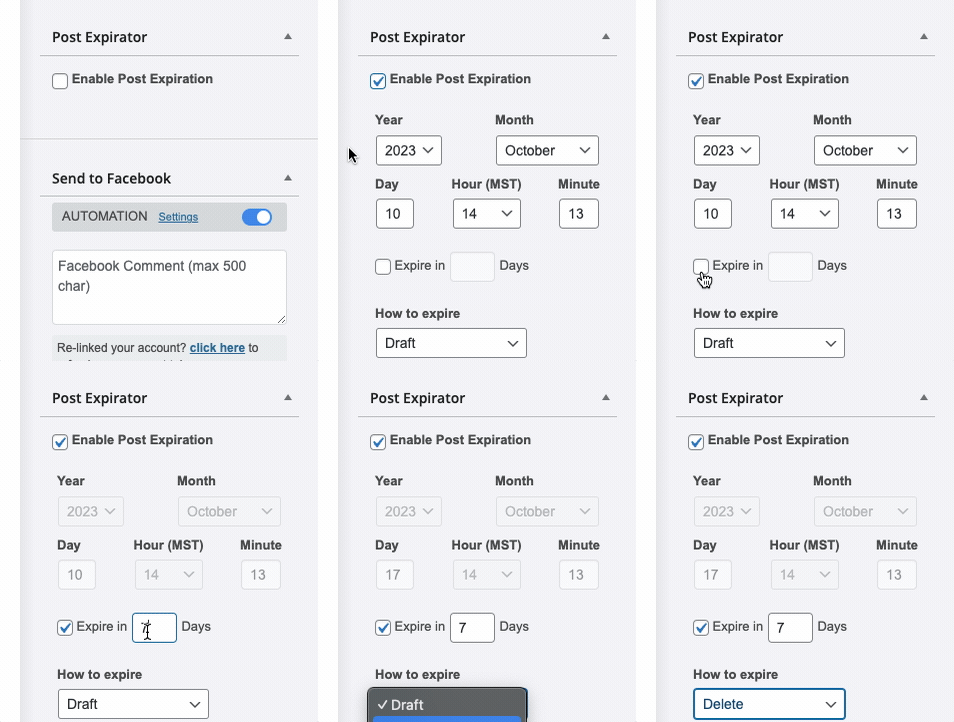
The Post Expirator lets you schedule when a post should no longer be available on your website.
- First, check the Enable Post Expiration checkbox to activate the feature.
- Then, enter the date and time or specify how many days in the future the content should expire.
- You can choose how the system handles expired content, such as setting it to Draft status or deleting it.
Publishing Your Page
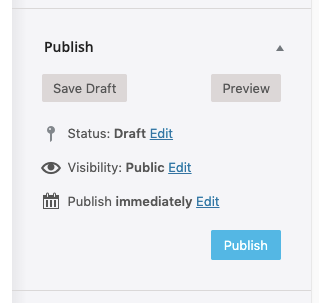
- The Publish section of the page functions the same as for posts.
- When you’re ready to publish, you can do it immediately, save it as a draft, or schedule it for future publication.
