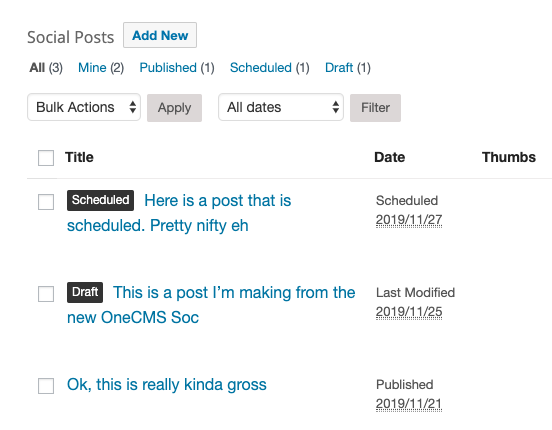
With OneCMS, you can easily share content on your connected Facebook and Twitter accounts. This tutorial will guide you through the steps of selecting which social accounts to post to and how to share stories or images with your audience.
Posting to Your Social Accounts
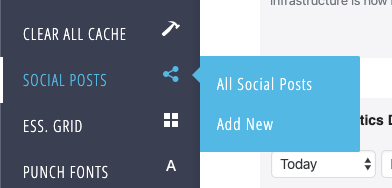
To access the Facebook & Twitter posting interfaces, click Add New in the Social Posts menu.
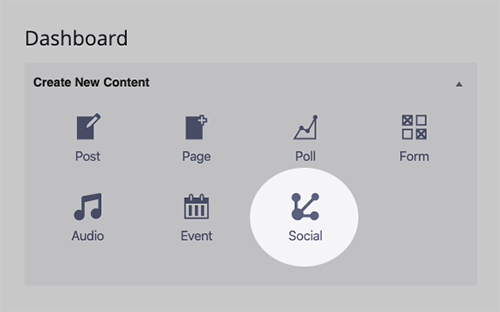
… or alternatively, you can use the Dashboard shortcut to make a new Social Post.
The Social Posts Dashboard
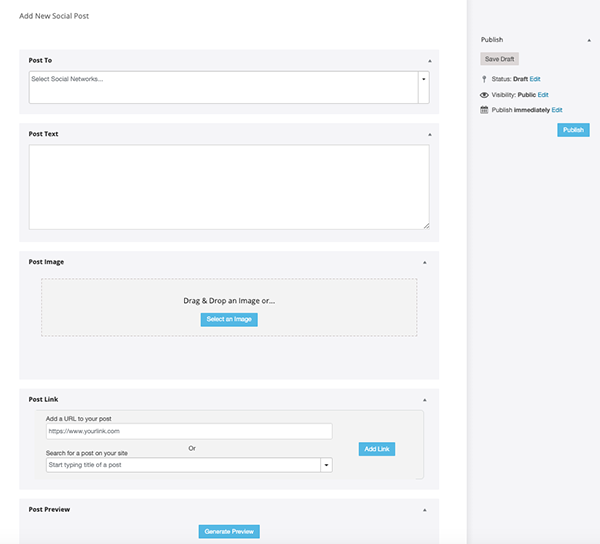
The Social Posts Dashboard simplifies posting to your social accounts, making it intuitive and fast. It consists of four main sections:
- Selecting the Social Accounts: Choose which social accounts you want to post to in the Post To section.
- Your Status Message Text: Craft your post’s text in the Post Text section.
- Adding Images: Include images in your post using the Post Image section.
- Adding Links: Attach links to your post in the Post Link section.
Selecting Which Social Accounts to Post to
You can post to as many Facebook and Twitter accounts as you want, provided you have linked your social accounts with OneCMS. If you see a message in the “Post To” section prompting you to link your accounts, follow the link to access the Social Configuration pane and connect your Facebook and Twitter accounts.
(Read more about linking your social accounts with OneCMS in the Linking your social accounts to OneCMS tutorial)

Once your accounts are linked, you can choose which accounts to post to using the Facebook and Twitter selector menus.
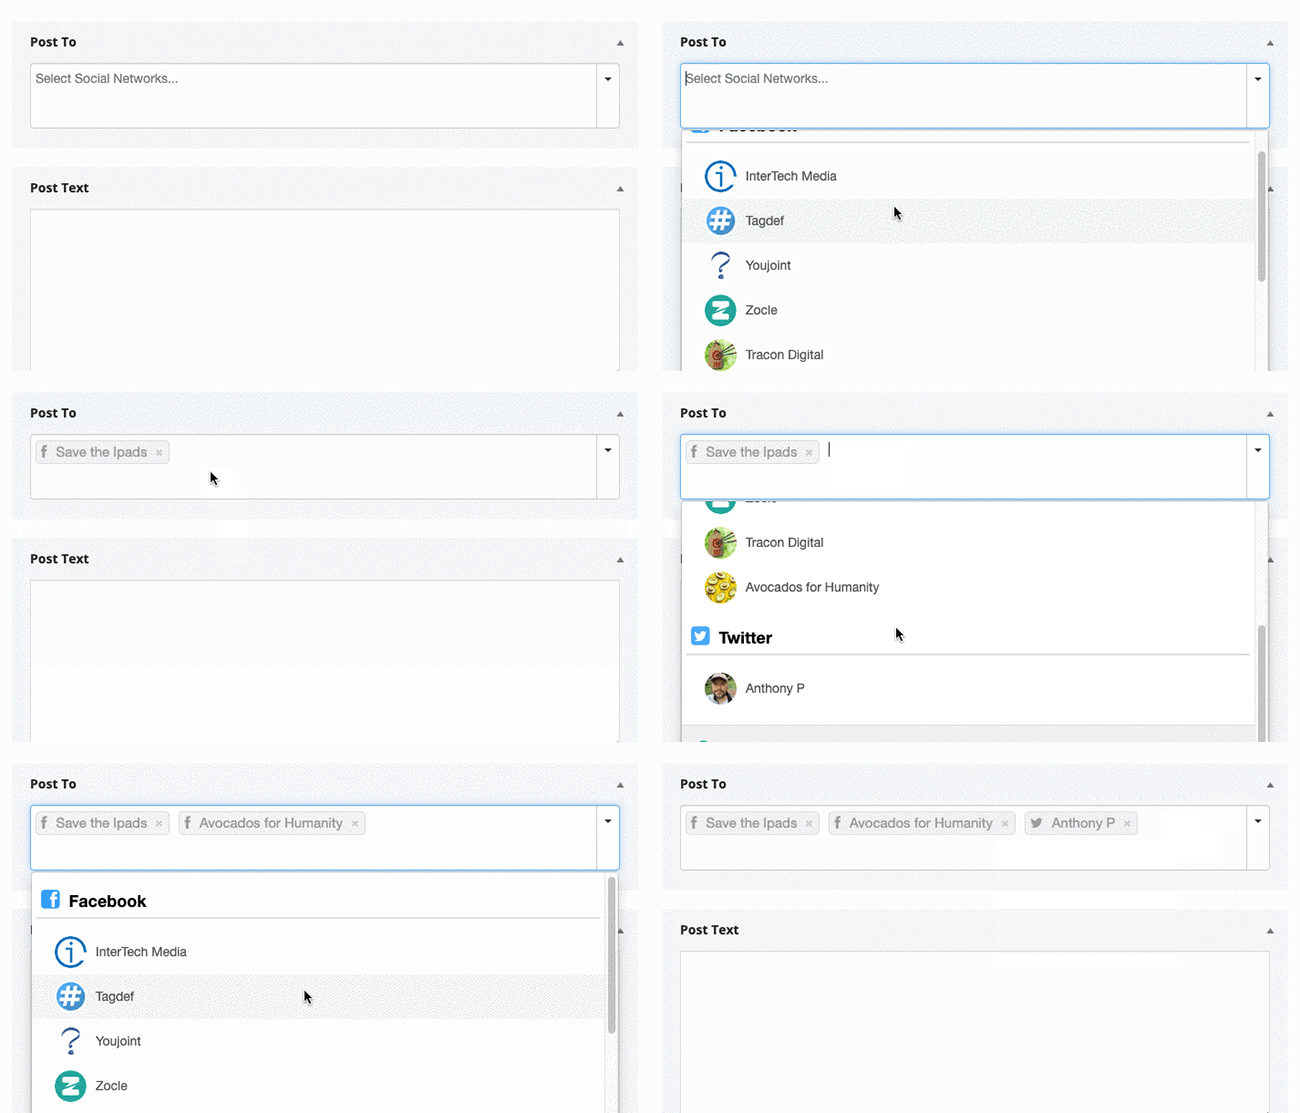
You can add more accounts by using the dropdown, or you can remove accounts by clicking the x icon on a social account name.

Composing your Post
You have various options for creating your social posts. You can choose to create posts with just text, include images, share links from your website, or manually enter a link. Let’s explore each method for customizing your posts.
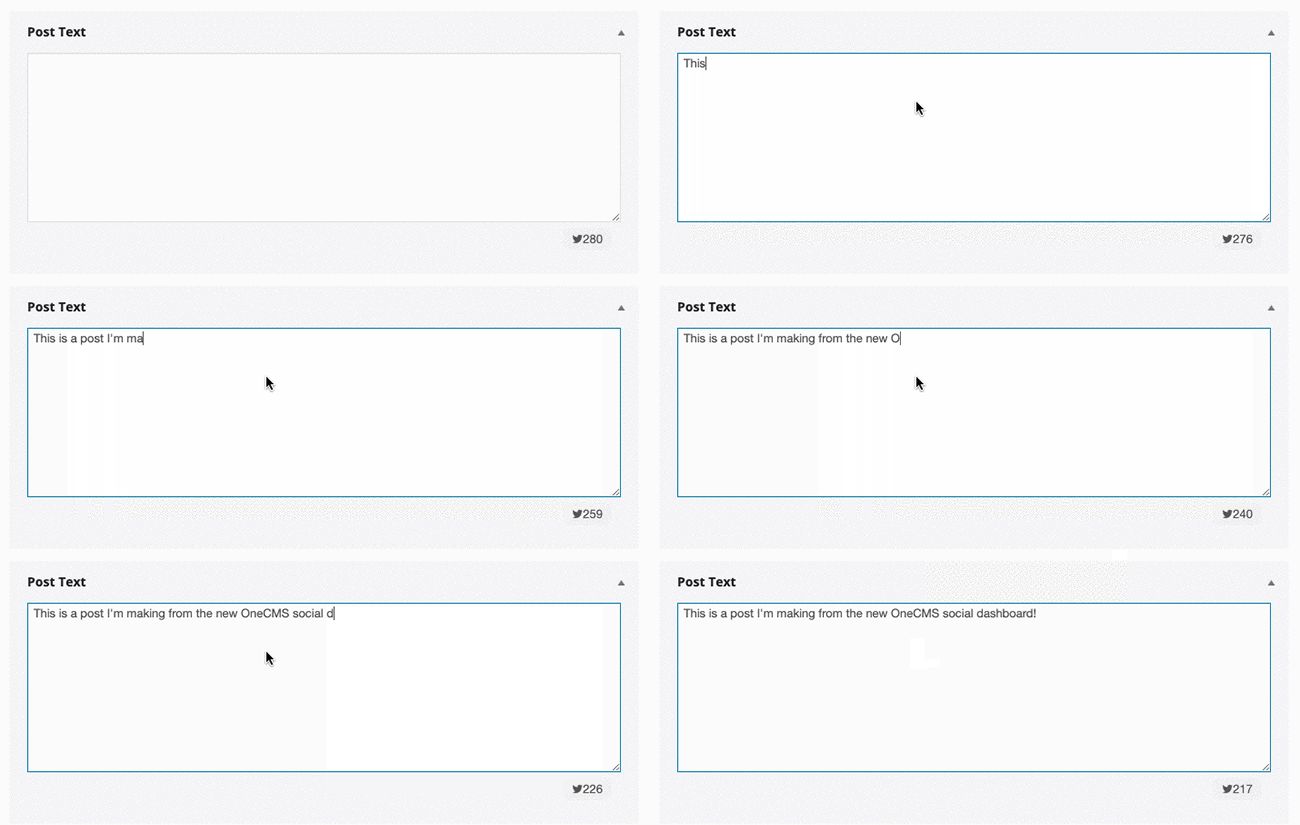
Post Text: When posting to multiple accounts, you only need to write the post text once, and it will be published to all selected accounts. Note that if you include at least one Twitter account, you’ll be limited to 280 characters. Without a Twitter account, your text is not limited.
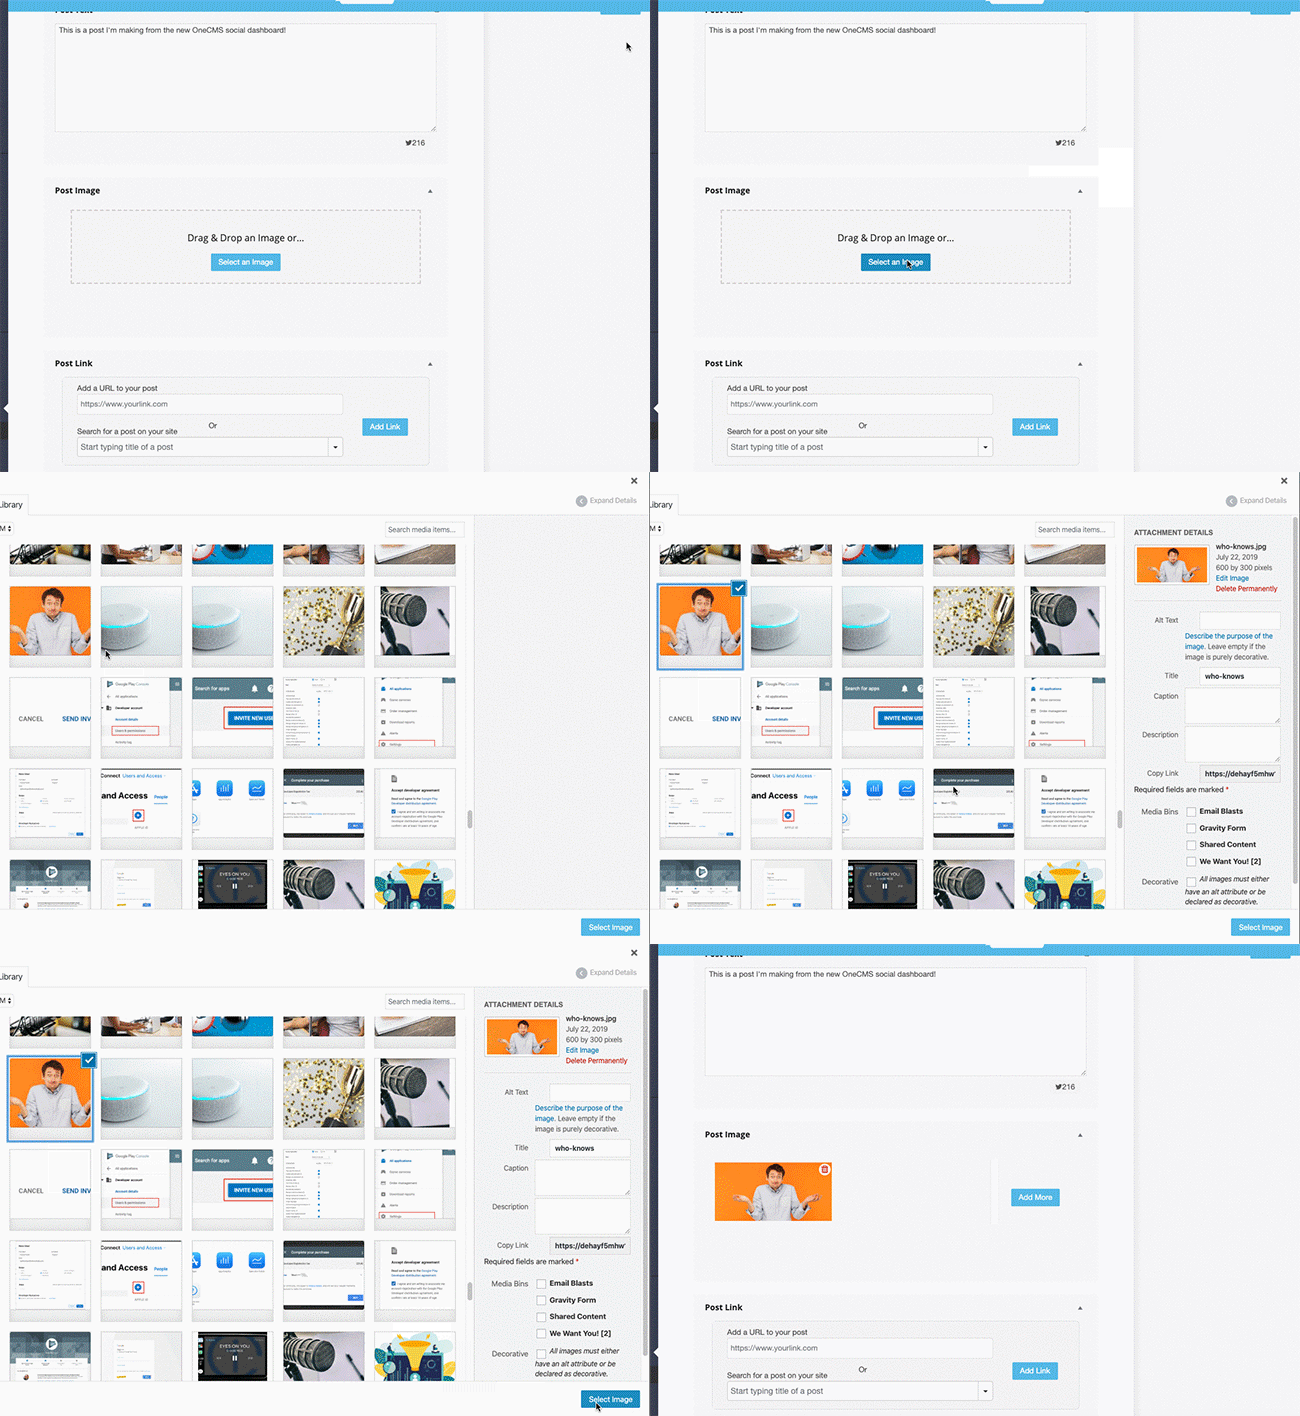
Adding Images: You can enhance your posts with images. You can add up to 10 images for Facebook or up to 4 for Twitter. Upload images by dragging and dropping them into the “Post Image” section or using the “Select an Image” button.
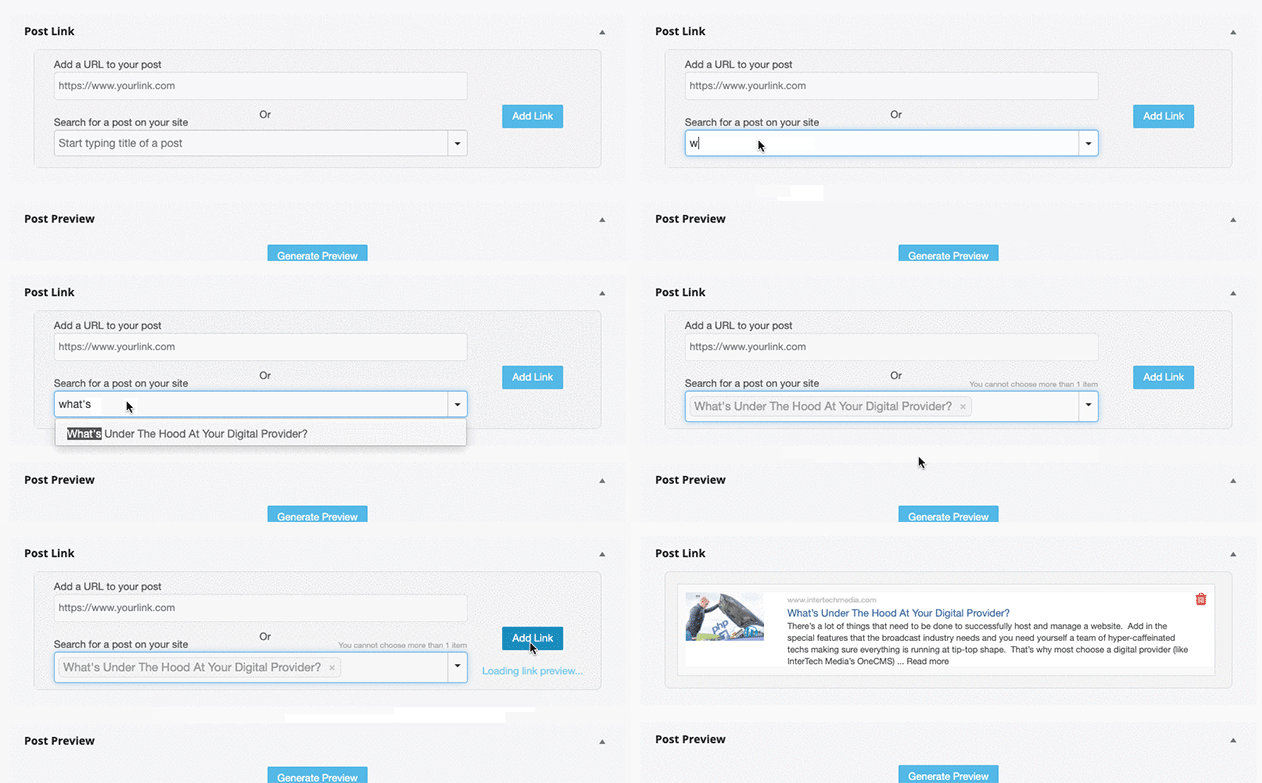
Adding a Link: You can include links to both Facebook and Twitter simultaneously in the Post Link section. You can manually add a link by pasting the URL into the Add a URL to your post field and clicking Add Link.
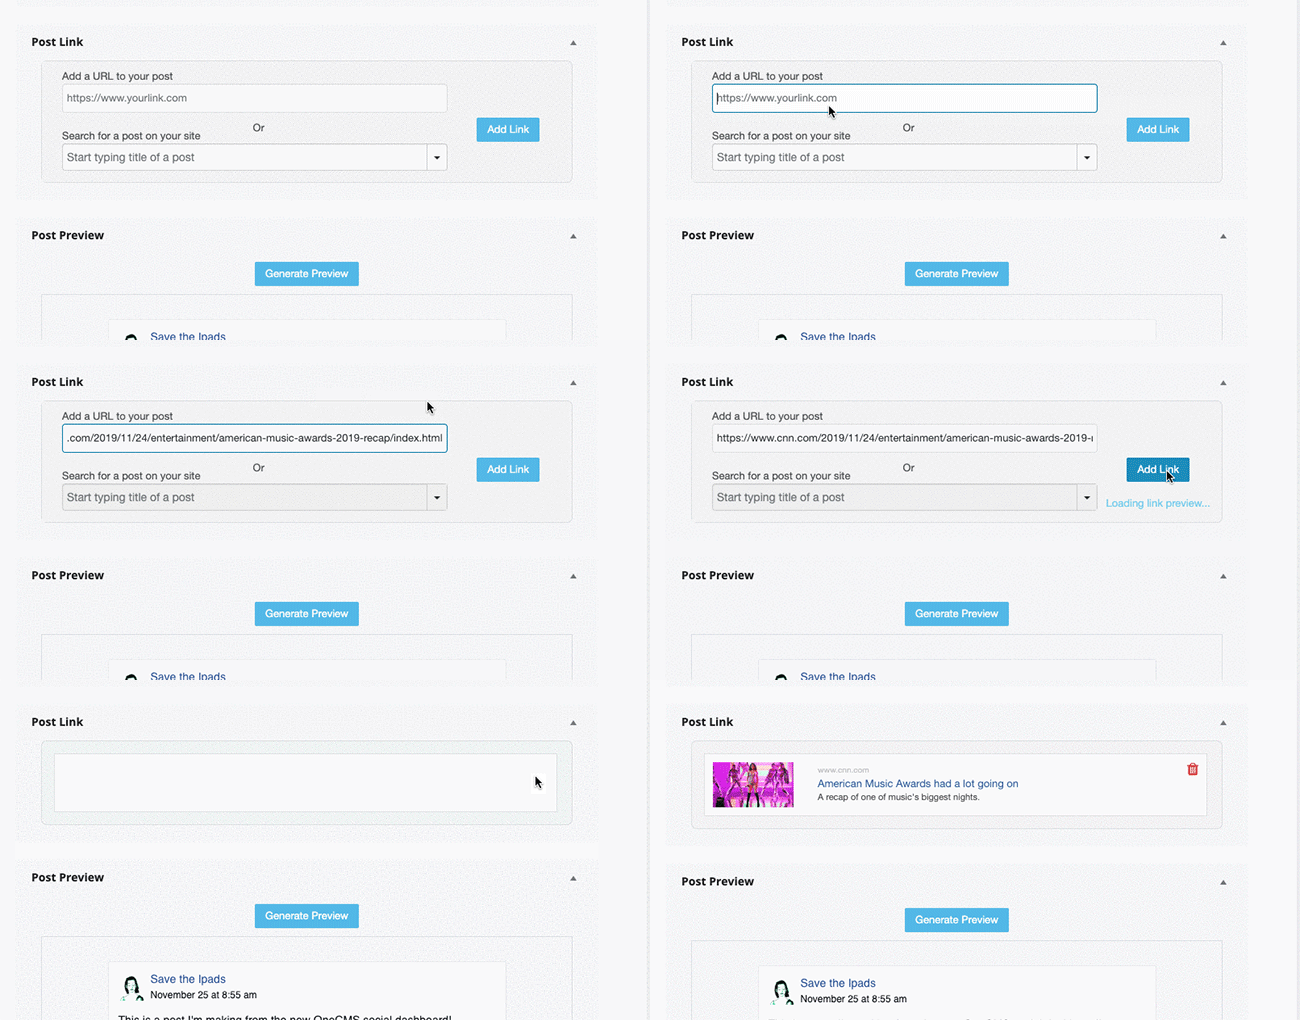
You can also search for and add a post from your website by using the “Search for a post on your site” field.
Previewing Your Post
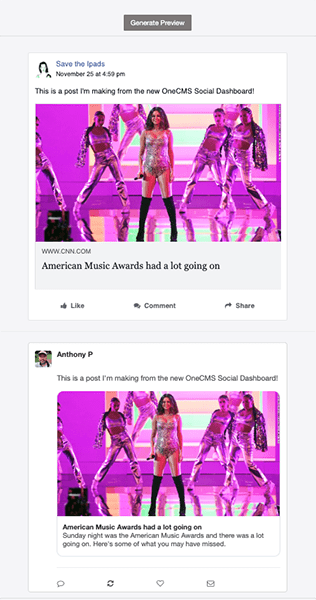
After filling in all the post fields, you can preview what it will look like on Facebook and Twitter by clicking the Generate Preview button at the bottom of the Social Dashboard.
This step is optional and purely informational. If you make changes to your post, click the Generate Preview button again to see the updated preview.
Publishing, Scheduling, and Saving Your Post as a Draft
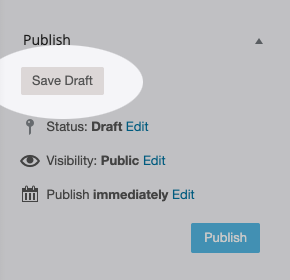
Publishing a social post works similarly to other OneCMS content types. In the publish metabox, you can:
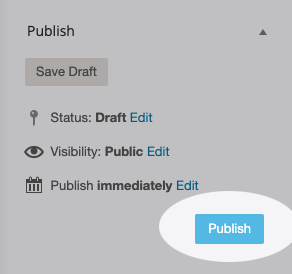
- Click Publish to post immediately.
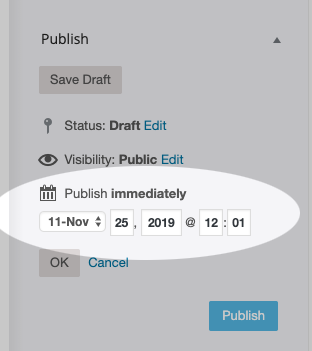
- Select a future date and time and then click Publish to schedule the post.
- Click Save Draft to continue working on the post later or save your progress.
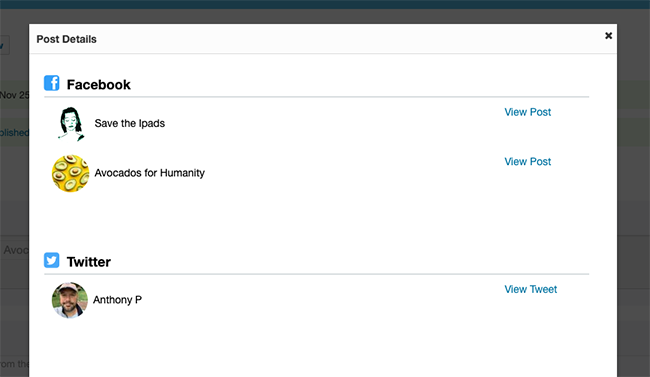
After publishing, you’ll receive a notice with a link to view the post on the respective social network.

Clicking the link will open a window with links to the post on each social network account you published it to.
Managing Social Posts
The Social Post listing screen displays all the posts you’ve previously made and those scheduled for future publication. You can edit posts in draft or scheduled status, but once a post is published on Facebook or Twitter, it cannot be edited. Deleting a post is permanent and removes it from the social network as well.
