Customizing form confirmations is a fantastic way to make your website’s user experience more personal and helpful. By default, users receive a simple “Thank you!” message when they submit a form.
In this guide, we’ll show you how to tweak this message or create custom confirmations tailored to users’ submissions.
Adding and Changing Confirmation Messages
Okay, you’ve created your form, and it’s time to spruce up the confirmation message.
- To begin, find the form you want to edit the Confirmation for in the Form Listing screen.
- Hover over the Settings option in the quick links menu, then click Confirmations.
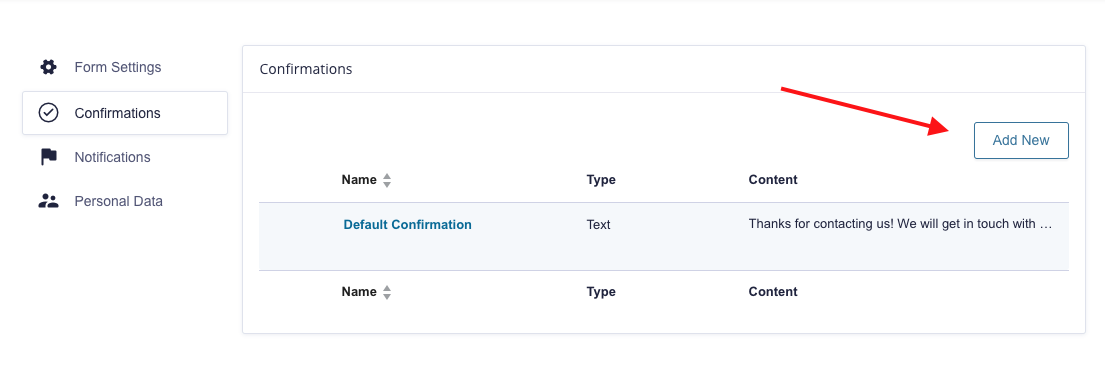
On this page, you’ll see current confirmation schemes being used on this form.
- If you wish to edit an existing confirmation, click on its title.
- If you’d like to add a new confirmation, hit the Add New button.
 The first thing you’ll see is a spot to give your confirmation a name. This is just for your reference – pick something that makes sense to you.
Types of Confirmations
Next up, you’ll encounter the “Confirmation Type” option, which allows you to choose between three types:
Text Confirmations
These are the simplest. You display a text message to the user when they submit the form. If all you need is a simple “Thanks for your submission!” message, this is the way to go.
- Select “Text” and start typing your confirmation message in the box below.
Page Confirmations
If you’d like to send the user to a specific page on your website after they submit the form, choose the Page option. Use the dropdown to select the page you want the user to land on.
Redirect Confirmations
Want the user to be redirected to an external site (like a sponsor’s website) upon form submission? In that case, pick Redirect and enter the full URL where you want users to go after submitting the form in the Redirect URL field.
Advanced Options
Pass Query Strings
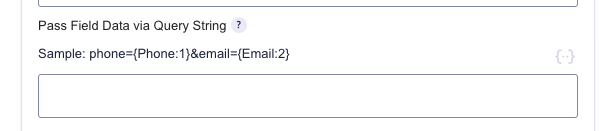
If you are redirecting the user to a page on your site or an external website, you can pass field data that were submitted via the form in a query string. Set the parameters in the Pass Field Data via Query String field.
Conditional Logic
Like Notifications, Confirmations support optional conditional logic, allowing you to define specific conditions that determine whether or not this confirmation is used. Select the option to enable conditional logic here, you can then configure your conditions.

Once you’ve set things up as you like, click the Save Confirmation button.
Your new confirmation will now be active on the form submissions.