Configuring notifications for your forms is vital in streamlining your workflow and ensuring you stay informed when users submit their forms.
A good notification scheme eliminates the need to manually check form submissions, allowing you to receive timely updates. This tutorial will guide you through setting up notifications for your forms.
Creating Form Notifications
To begin, find the form you wish to establish a notification for in the Form Listing screen. Hover over the Settings option in the quick links menu, then click Notifications.
You will now see a list of existing notification schemes associated with the form. By default, a single notification should be set up to send submissions to the admin email address associated with your OneCMS site.
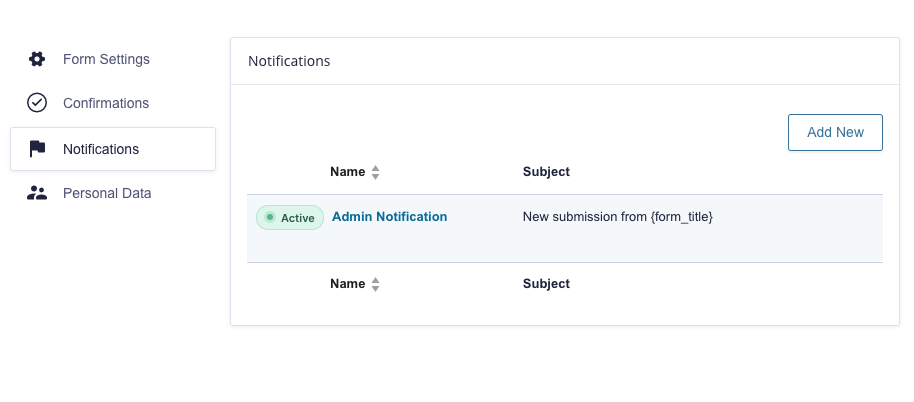
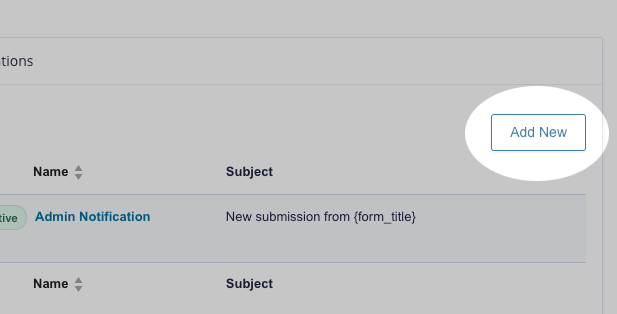
To create a new notification, click the Add New button.
- Start by giving your notification a name, which serves as an identifier.
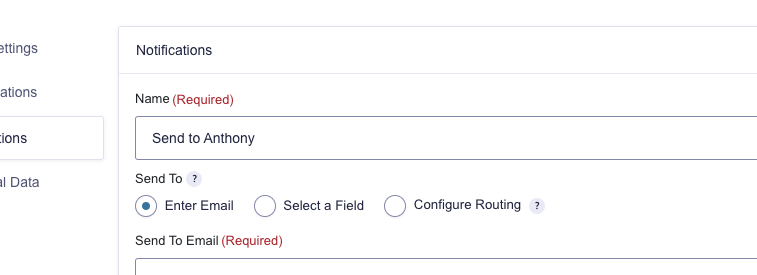
Who will receive the Notification?
Next, you’ll encounter the “Send To” setting, which lets you specify how the notification is sent. You have several options:
- Enter Email: You can designate a single email address to which all form notifications for this form will be sent.
- Select a Field: This choice allows you to send notifications based on the contents of an email address field within the form.
- Configure Routing: This option enables you to send notifications to different destinations based on the selections made by the user in the form.
Notification Email Settings
Next, you’ll need to configure various fields related to the notification email. Let’s break them down:
- From Name: This is the name that will be displayed as the sender of the notification email. You can set this as a fixed name or dynamically generate it from the user’s form submission.
- In this example, we’ll use the “Your Name (First)” and “Your Name (Last)” fields from the form as the sender’s name.
- From Email: This is the email address displayed as the sender. Similar to the “From Name,” you can set it as a static email or choose a field to use as the sender’s email address.
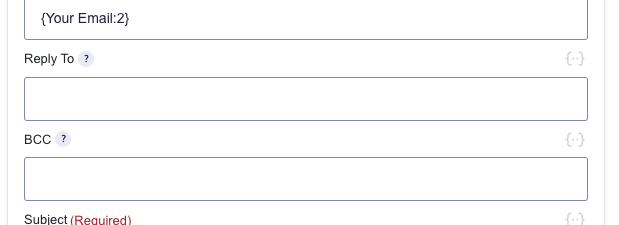
- Reply To: This optional field allows you to set a reply email address. It can be a static email or use merge tags. You can leave this blank.
- BCC: Use this field to specify an email address where the notification email will be copied. This is useful when you want multiple individuals to receive all notification emails.
- Subject: This required field you would generally want the Form title to be included (in case you have multiple forms on your website). A good subject line would be:
New submission from {form_title}
- Message: This is where you would want the details of the form submission to be included. There’s a simple merge field for that:
{all_fields}
-
- You can also find it in the merge tags dropdown:
Advanced Options
- Disable Auto Formatting: If you wish to disable automatic formatting of the message, you can select this option located below the message field.
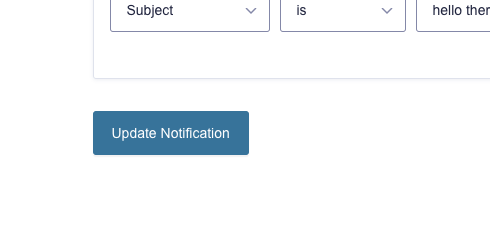
- Conditional Logic: Notifications support optional conditional logic, allowing you to define specific conditions that determine whether or not this notification gets sent. Select the option to enable conditional logic here, you can then configure your conditions.
When you have entered all of the required fields, click Update Notification to activate the notification for the selected Form.
By configuring these notification settings, you can ensure that you and your team receive timely notifications whenever a form is submitted.