So, you’ve successfully set up your Subscriber Lists, created sign-up forms, and built a thriving base of subscribers. Now it’s time to engage with them through email blasts with VIP Club – a straightforward process accompanied by step-by-step guidance. Let’s dive into the process.
Sending Email Blasts to Subscriber Lists
Begin by clicking on the Email tab within VIP Club.
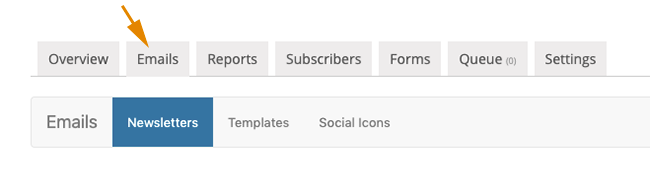
- This takes you to the Newsletter tab of the Emails screen. This will list all of your previously sent (and scheduled emails).
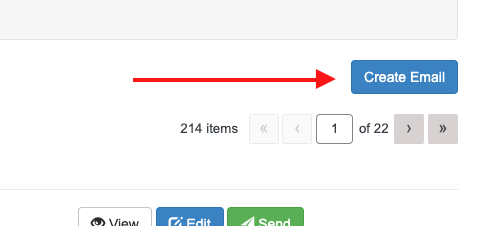
Next, click the Create Email button located in the upper right corner of the screen.
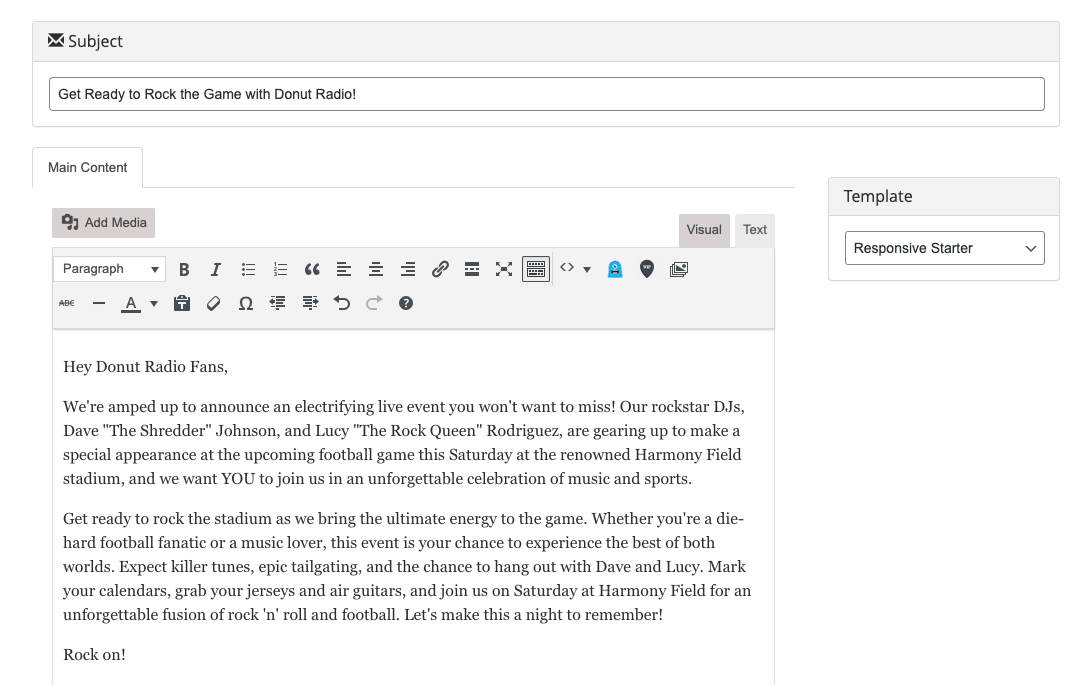
- On the next screen, input the Subject Line of your email, which will be displayed in your recipients’ mailboxes.
- If you use multiple templates for your emails, select the correct Template for this email.
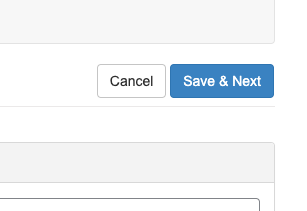
- Leave any other fields at their default settings and click the Save & Next button.
Crafting the Email Content
Now, it’s time to create the body of your email. Utilize the same editor tools you employ for crafting regular posts.
Personalize Your Emails
VIP Club’s email editor offers a special tool for personalization.
![]()
Click on the VIP icon in the editor, which allows you to:
- Insert a single post or recent posts from a specific category into your email.
- Add banners to your email.
- Use mail merge fields to personalize your email, such as including the recipient’s first name, last name, or email address.
Test Your Email
Concerned about how your email will appear in your recipients’ inboxes? Send a test version to yourself by entering your email address in the Test This Email section and clicking Send Test.
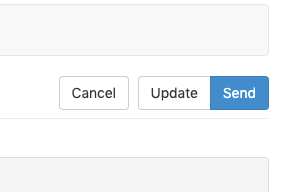
Sending the Email
When your email is ready, click Send (note that this doesn’t immediately send the email).
On the following screen, you can choose:
- Which subscriber lists will receive the email.
- Whether to send the email immediately or at a later date and time.
In the Date & Time section, select Send Later if you prefer to schedule the email for a future date and time.
Next, Choose the Subscriber List(s) to which you want to send the email.
Sending Your Email
Ready to send the email? Click the Send button in the upper right corner.
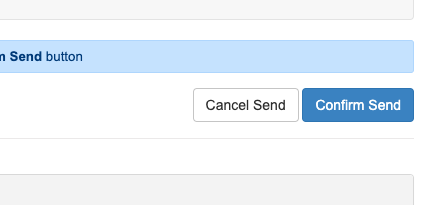
You’ll receive a confirmation detailing the scheduled sending time, the recipient lists, and a preview of the email. Note that the email has not been sent yet!
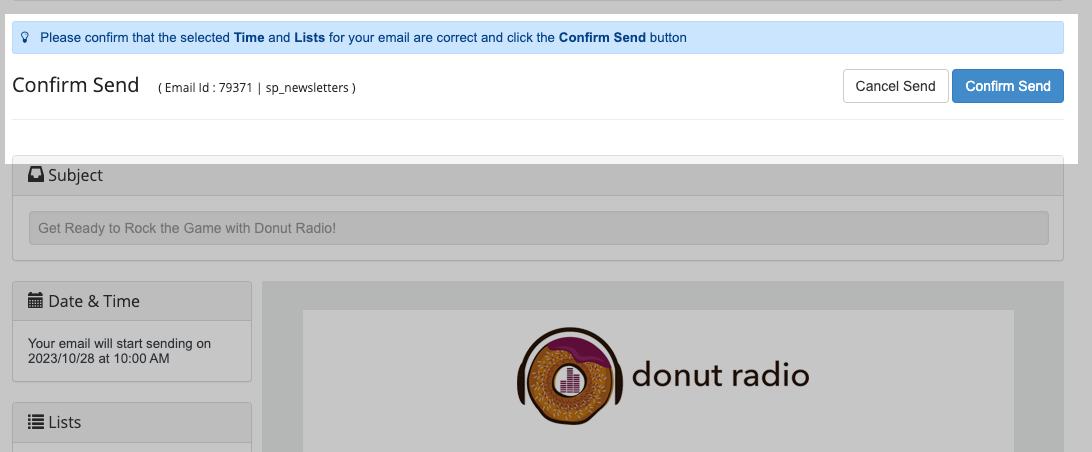
If everything looks good, click the Confirm Send button to initiate the email sending process.
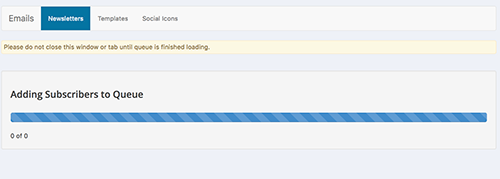
After clicking Confirm Send, your subscribers will be added to the email queue. The time required for this process depends on your list’s size. Please do not leave this page during the queuing process.
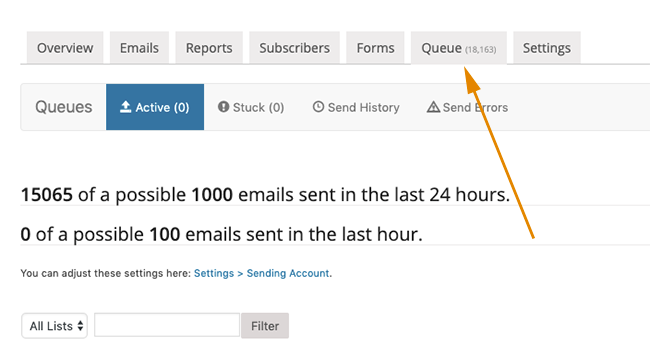
If you chose to send the email immediately, or when the email is scheduled to send, the VIP Club will send the email in the background to all the subscribers in the queue. The Queue screen will update in real-time, showing you the number of users in the email queue and those who have already received the email.
Now that you’ve successfully sent your email, let’s check out the performance analysis of your email blasts with VIP Club Reports!