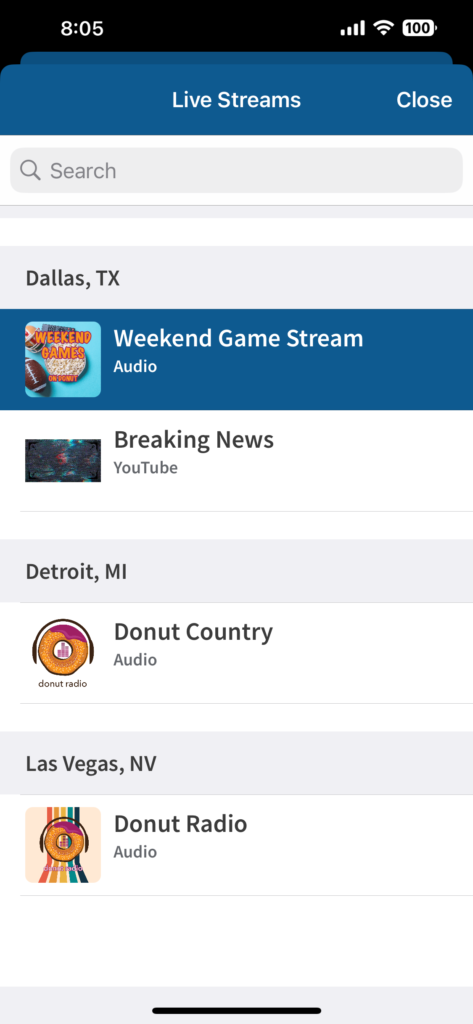
Wherever your live streams originate, OneCMS allows you to centrally manage them, giving you the ability to control their access on your website, app, and voice skills, all from one place.
The Stream Manager
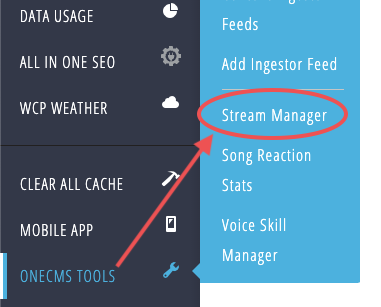
To access the Stream Manager, go to OneCMS Tools > Stream Manager
This will lead you to the Stream Manager’s main screen. At the top of the screen, there are four tabs for managing different items such as your website Player, Now Playing, and more.
The default landing tab is Streams, which we’ll delve into in this tutorial.
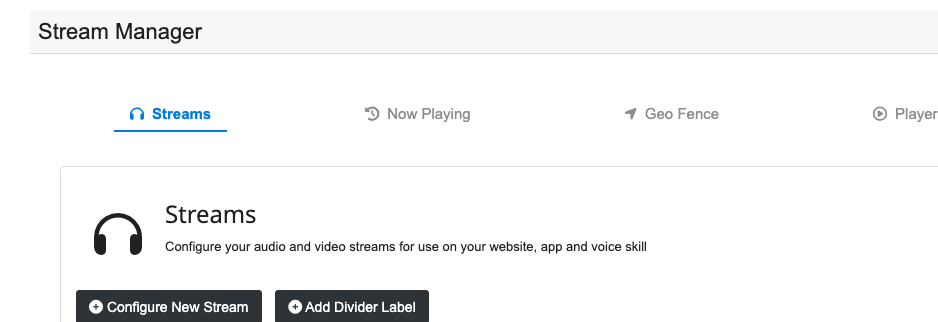
Streams
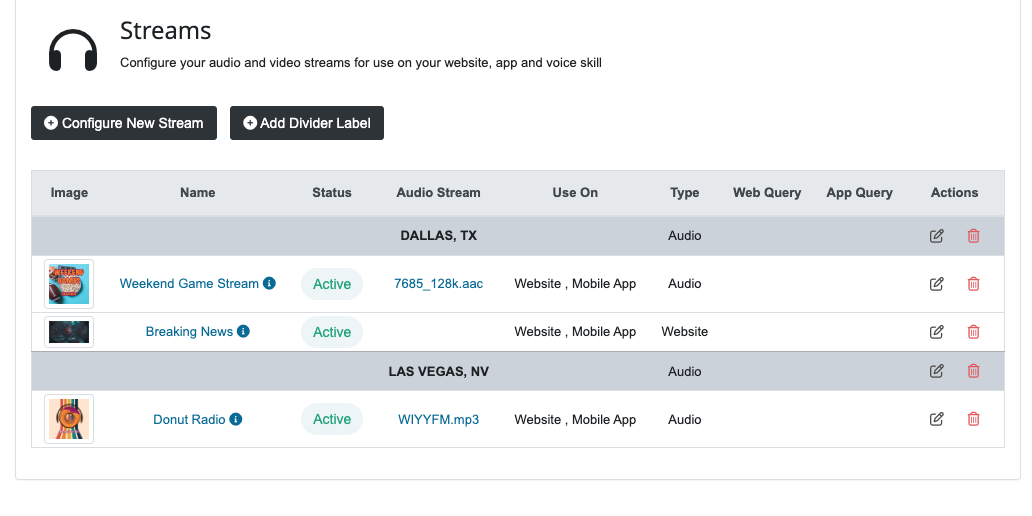
Within the Streams Tab, you can add and manage your website and app’s audio and live video streams. If you have any existing streams, you’ll see them listed.
Adding a New Stream
Now, let’s walk you through the process of adding a new stream. Click on the Configure New Stream button, and a form will open up for you to input the details of the new stream.
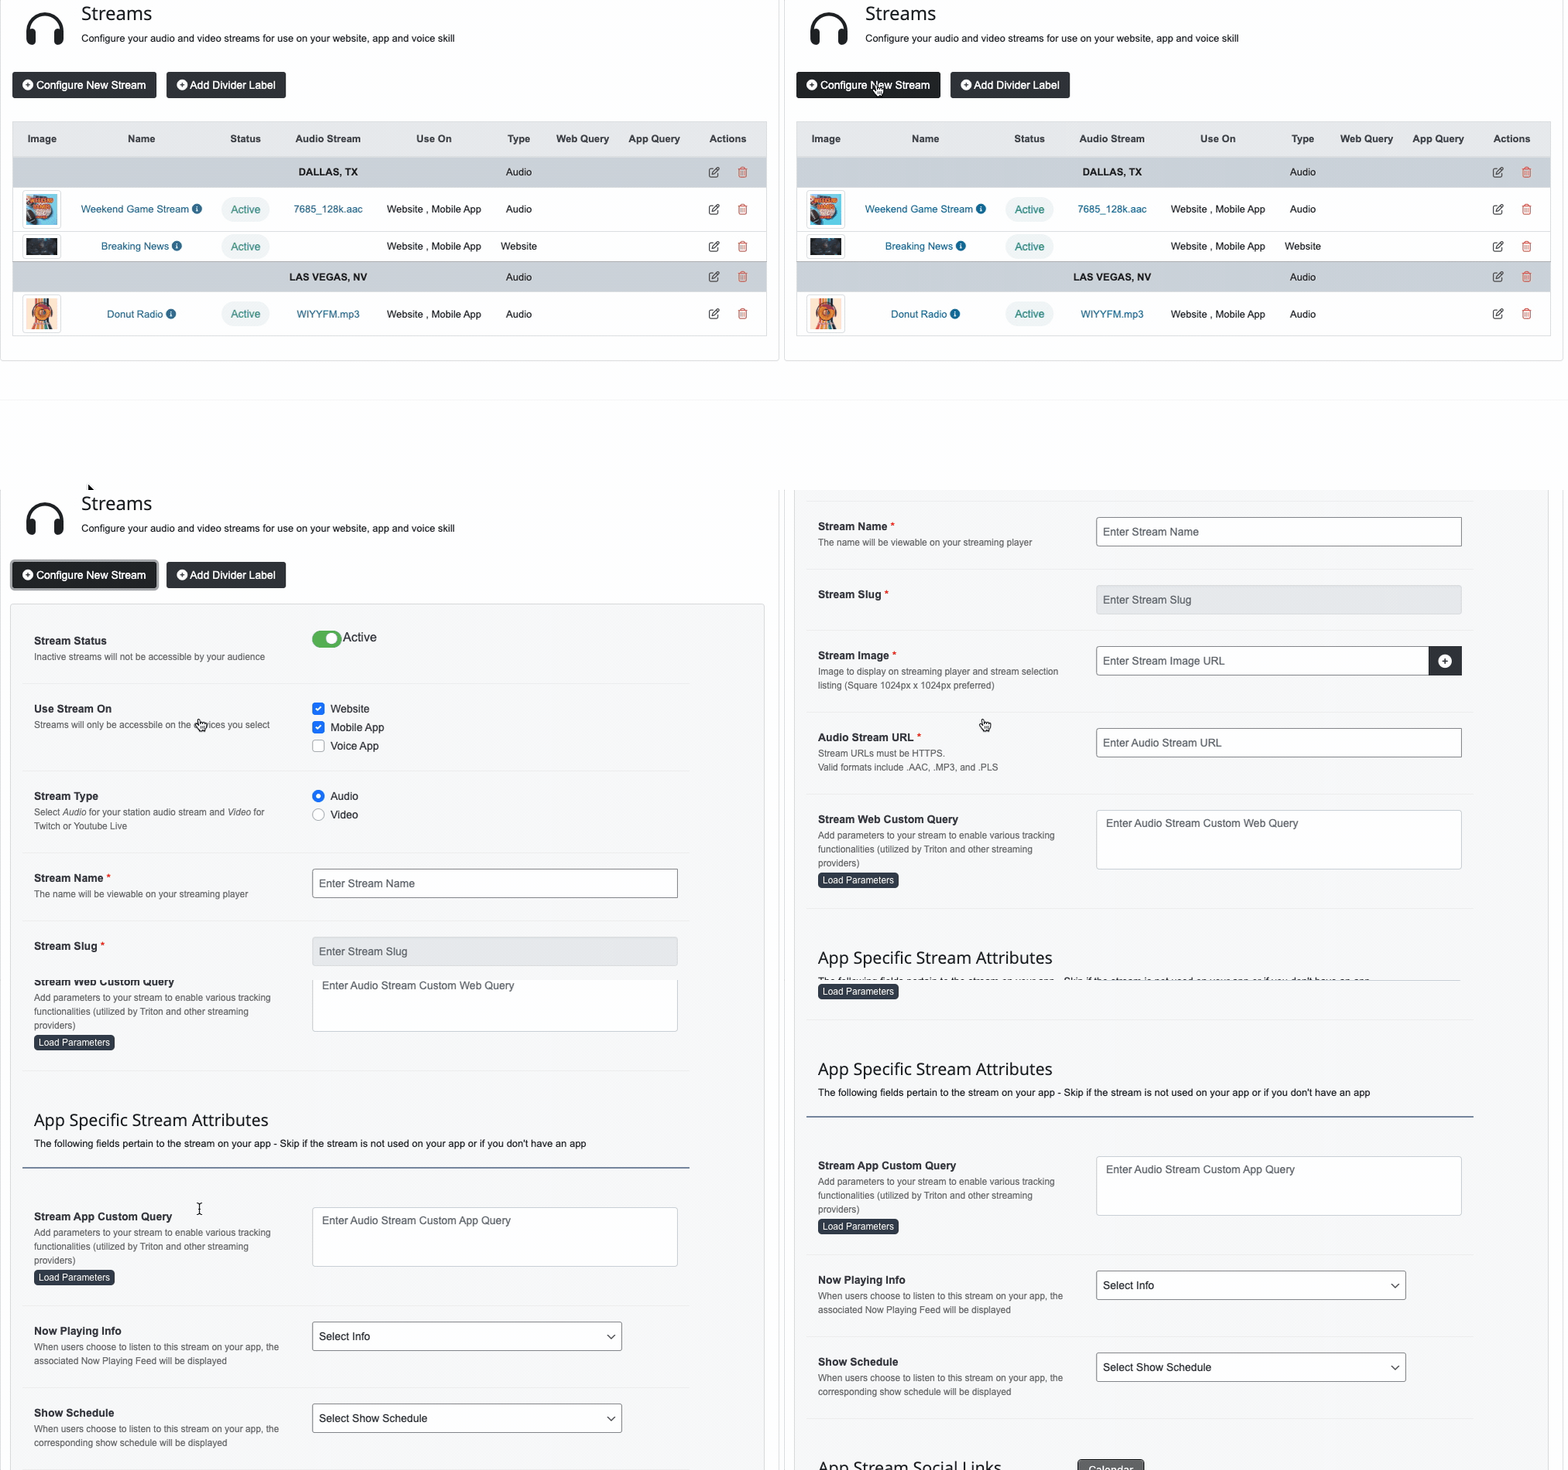
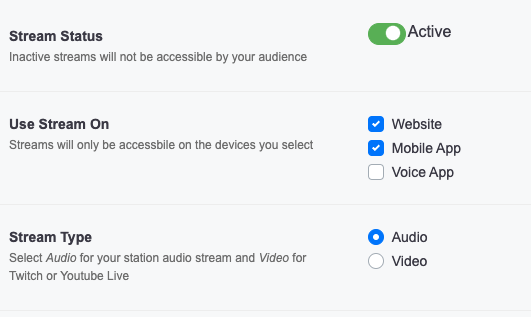
The initial fields establish the stream’s status, availability on your website, app and voice skill, and whether it’s an audio or live video stream.
In the example below, the stream will be Active and accessible on both the website player and app, and it is an audio stream.
Next, provide a Name for the stream. This name will be visible to your users when they choose a stream to listen to on your website and app, so keep it descriptive yet short. A slug will automatically be created based on the name you supply.

Now upload your Stream Image. This image will be showcased on your web and app player, as well as in the stream selector list. Ensure the image is square and has dimensions of 1024px by 1024px.
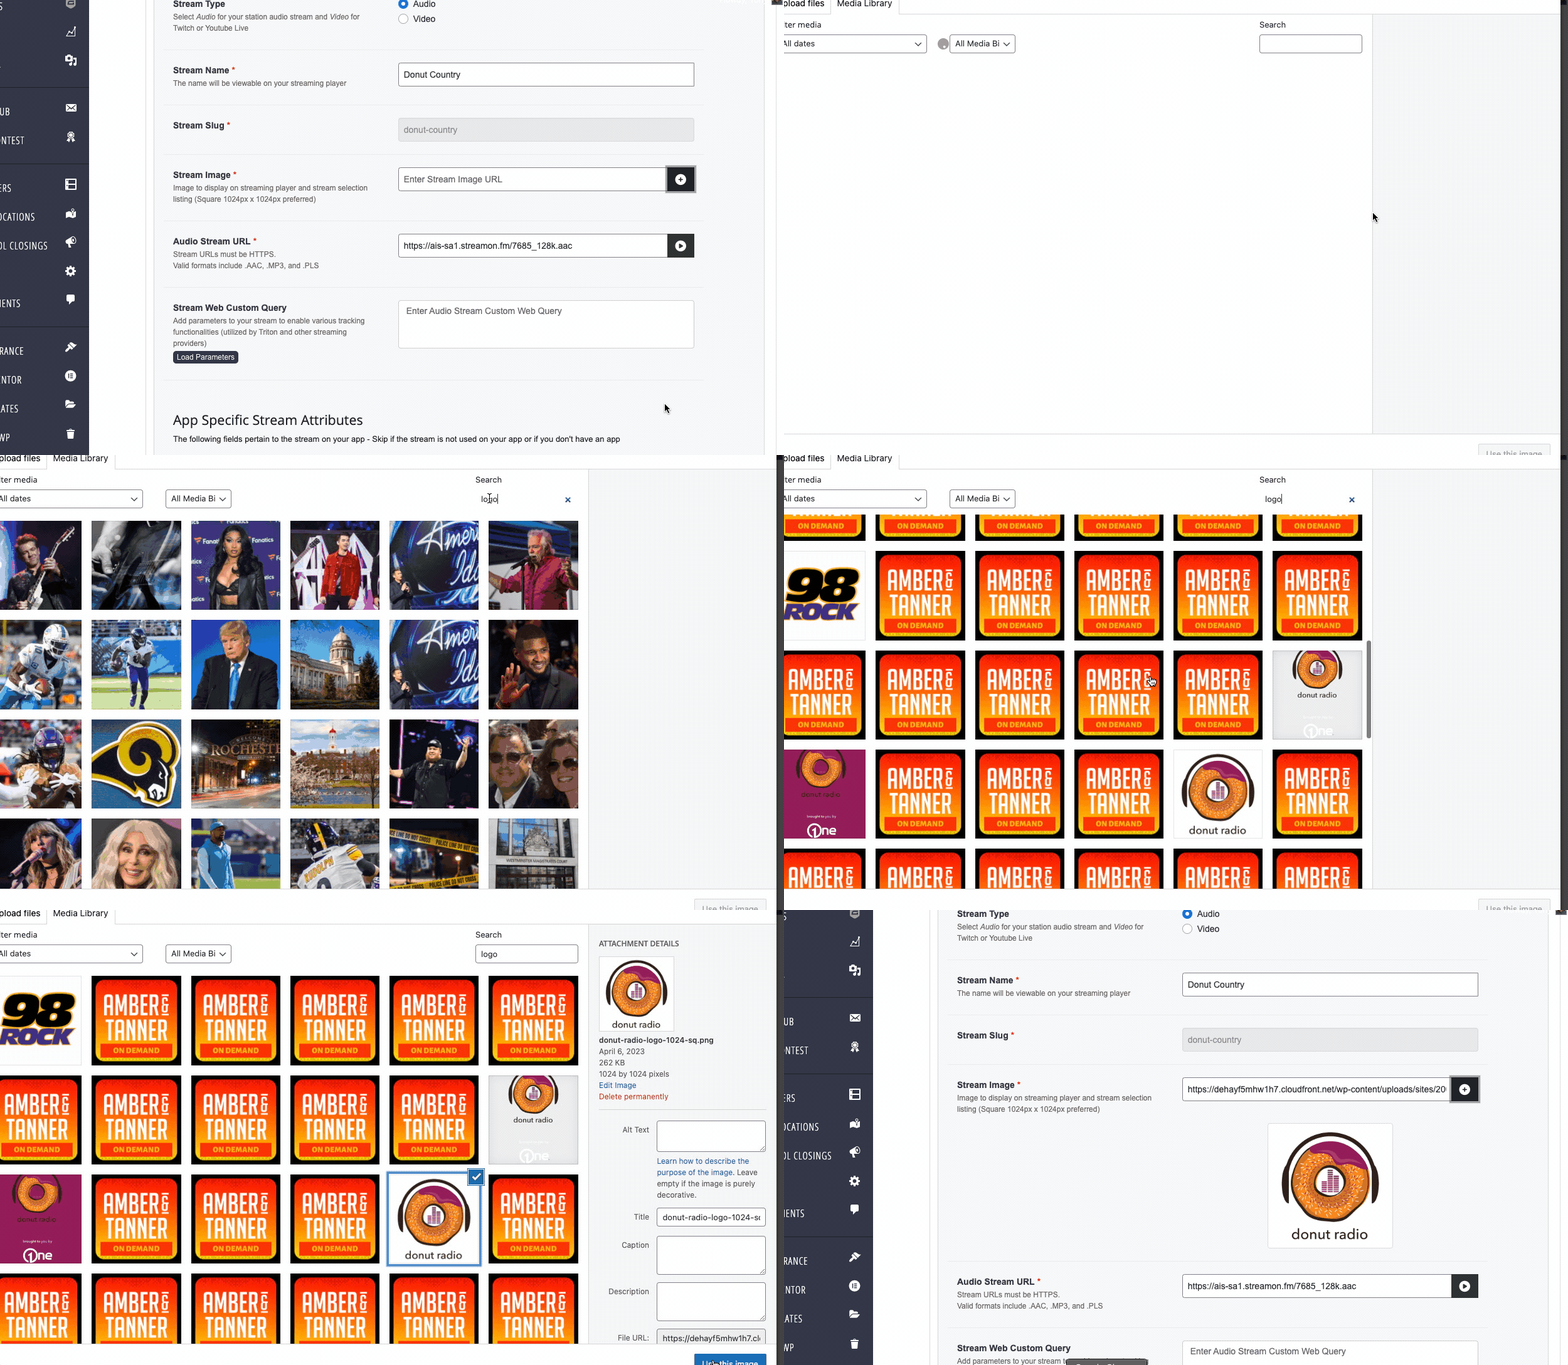
Next, paste in the Audio Streaming URL. You can also test the stream by clicking the play button next to the field to ensure the stream is working.

Important Notes about your Streaming Link
The streaming link must be secure (HTTPS), and valid formats include .AAC, .MP3, and .PLS.
In the following section, you can include parameters for the stream to enable various tracking functionalities (utilized by Triton and other streaming providers). For custom query parameters in the web player and app player, click the Load Parameters button next to each field and use the Load Data button to insert the query parameters.
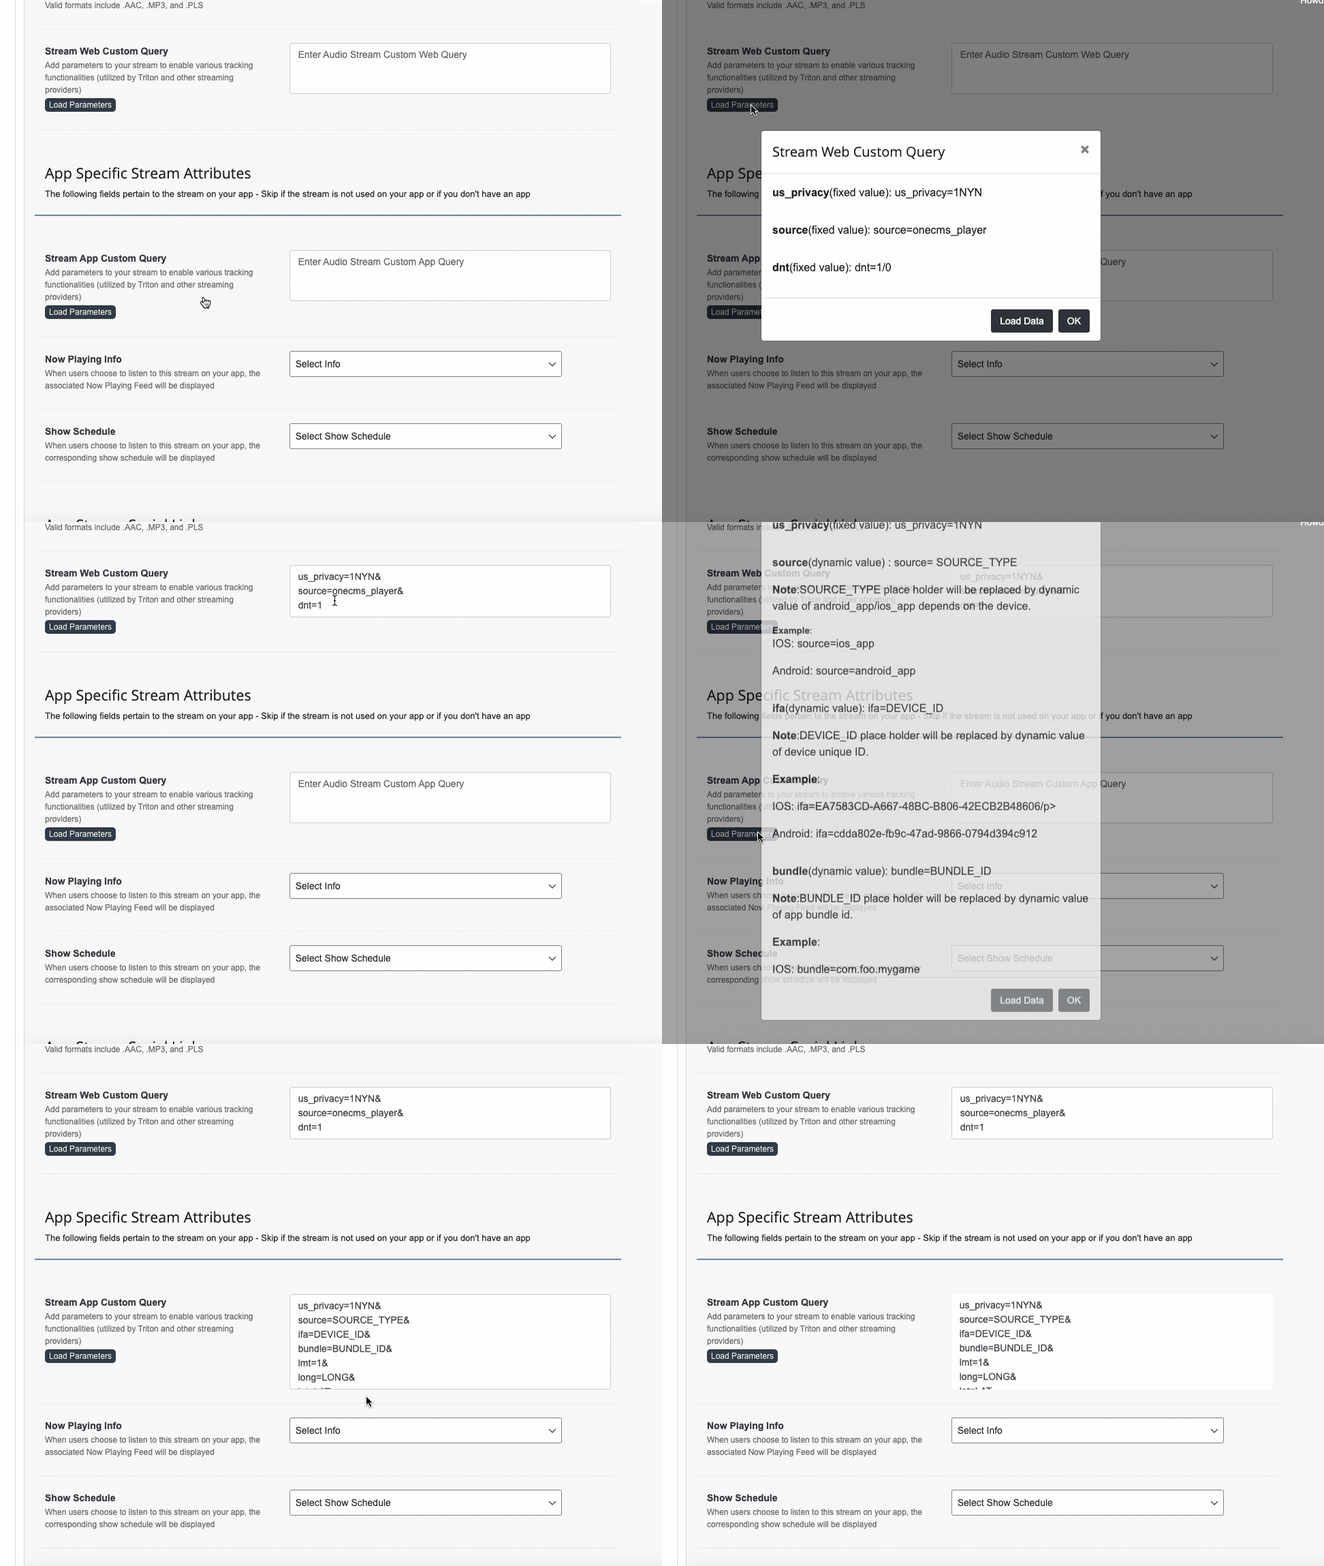
App Specific Fields
The remaining fields are used only if the stream will be used on your app.
Select the Now Playing Feed that you want to pair with this stream. When users choose to listen to the stream on the app, the associated Now Playing Feed will be displayed.

Next, choose the Show Schedule that you want to associate with this stream. Similar to the Now Playing feed mentioned earlier, when a user plays the stream, the corresponding show schedule will be displayed.

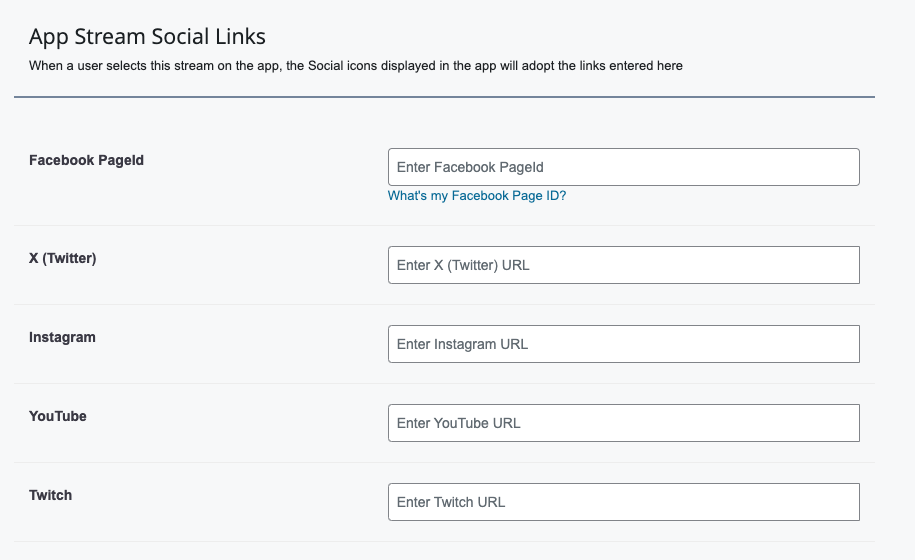
The remaining fields consist of Social Media links that you wish to link with this stream. When a user plays this stream on the app, the Social icons displayed in the app will adopt the links entered here.
Saving your Stream
Once you have filled out all of the necessary fields, click the Save button at the bottom of the form.
Your newly saved Stream will now display in the stream listing.

To modify the stream, click the Edit icon next to the selected stream. To delete the stream, click the Trash icon.

Adding Dividers and Rearranging Your Streams
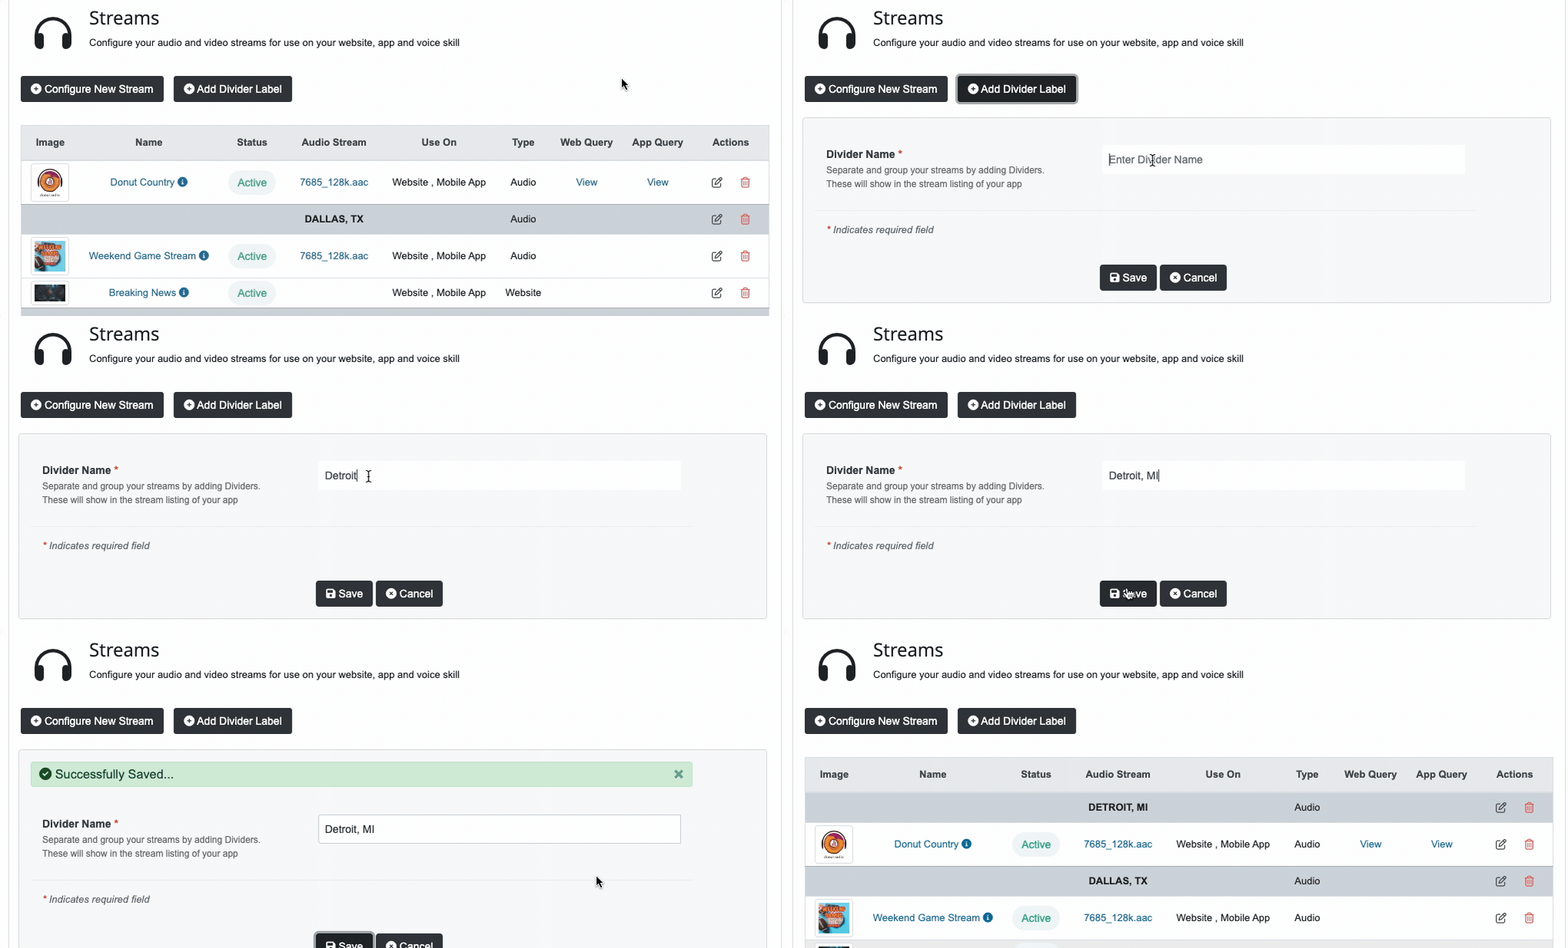
If you have numerous streams in your app, you can organize them by incorporating dividers. Whether you prefer to categorize your streams by market or genre, you can clearly communicate this to your users by adding one or more dividers.
Click the Add Divider Label button, input your Divider Label name, and then click Save.
Rearranging Streams
To rearrange the order of your streams and dividers, drag and drop them into the sequence you prefer.
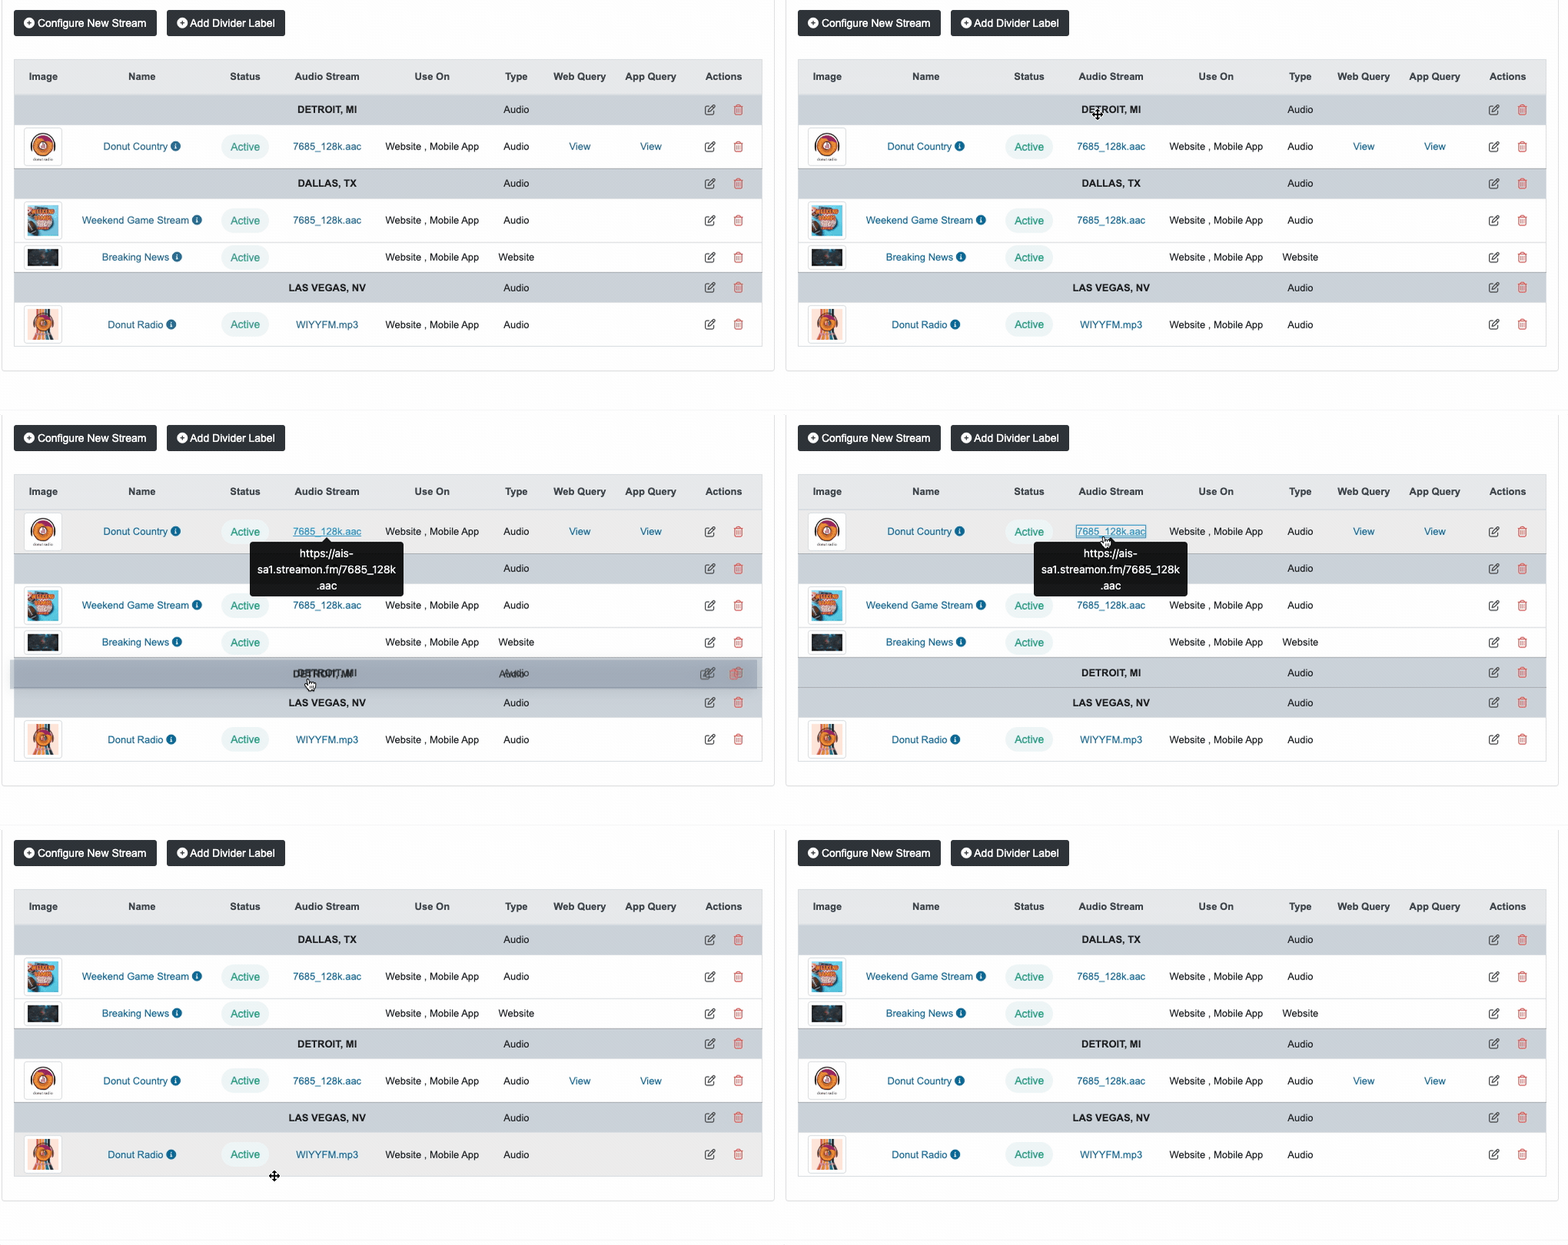
When accessing the stream listing in our app, we can see the correct order and dividers.
