OneCMS Video simplifies the process of adding video content to your website directly from the dashboard. It also automatically transcodes all uploaded videos for seamless online playback.
One CMS Video supports various video formats, including:
| file extension | type |
| mp4 | video/mp4 |
| m4a | video/mp4 |
| m4p | video/mp4 |
| m4b | video/mp4 |
| m4r | video/mp4 |
| m4v | video/mp4 |
| mov | video/quicktime |
| qt | video/quicktime |
| avi | video/x-msvideo |
| wmv | video/x-ms-wmv |
Publishing Video Episodes
Access your Video episodes, both previously published and for creating new episodes, by navigating to Video > All Videos.
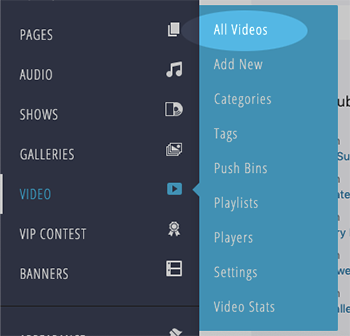
- This will take you to the Video listing screen, displaying your previously published videos.
To create a new video episode, click the Add New button at the top of the screen, or alternatively, you can select Add New from the Video menu.
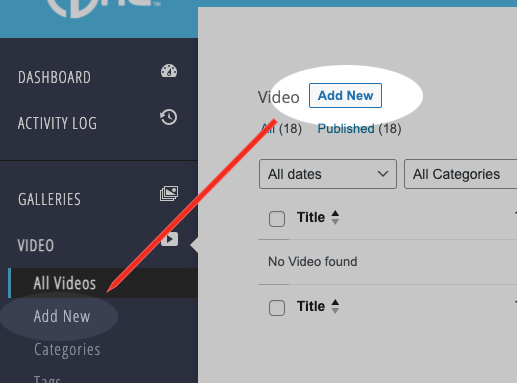
- You’ll be directed to the Add New Video screen, which resembles the process of creating a post or page in OneCMS.
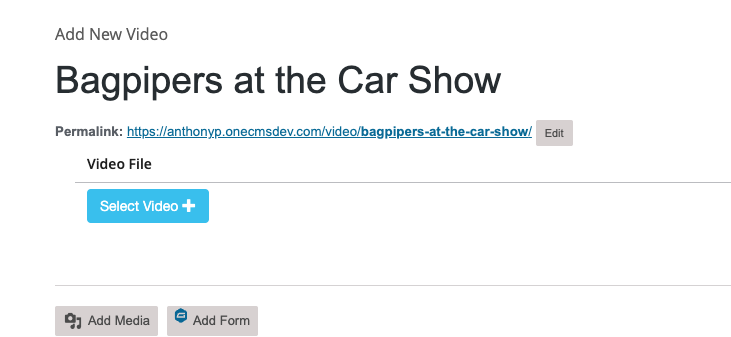
Start by giving your video a Name.
Uploading Your Video
Next, upload your video by clicking the Select Video button. Choose and select the video you wish to upload.
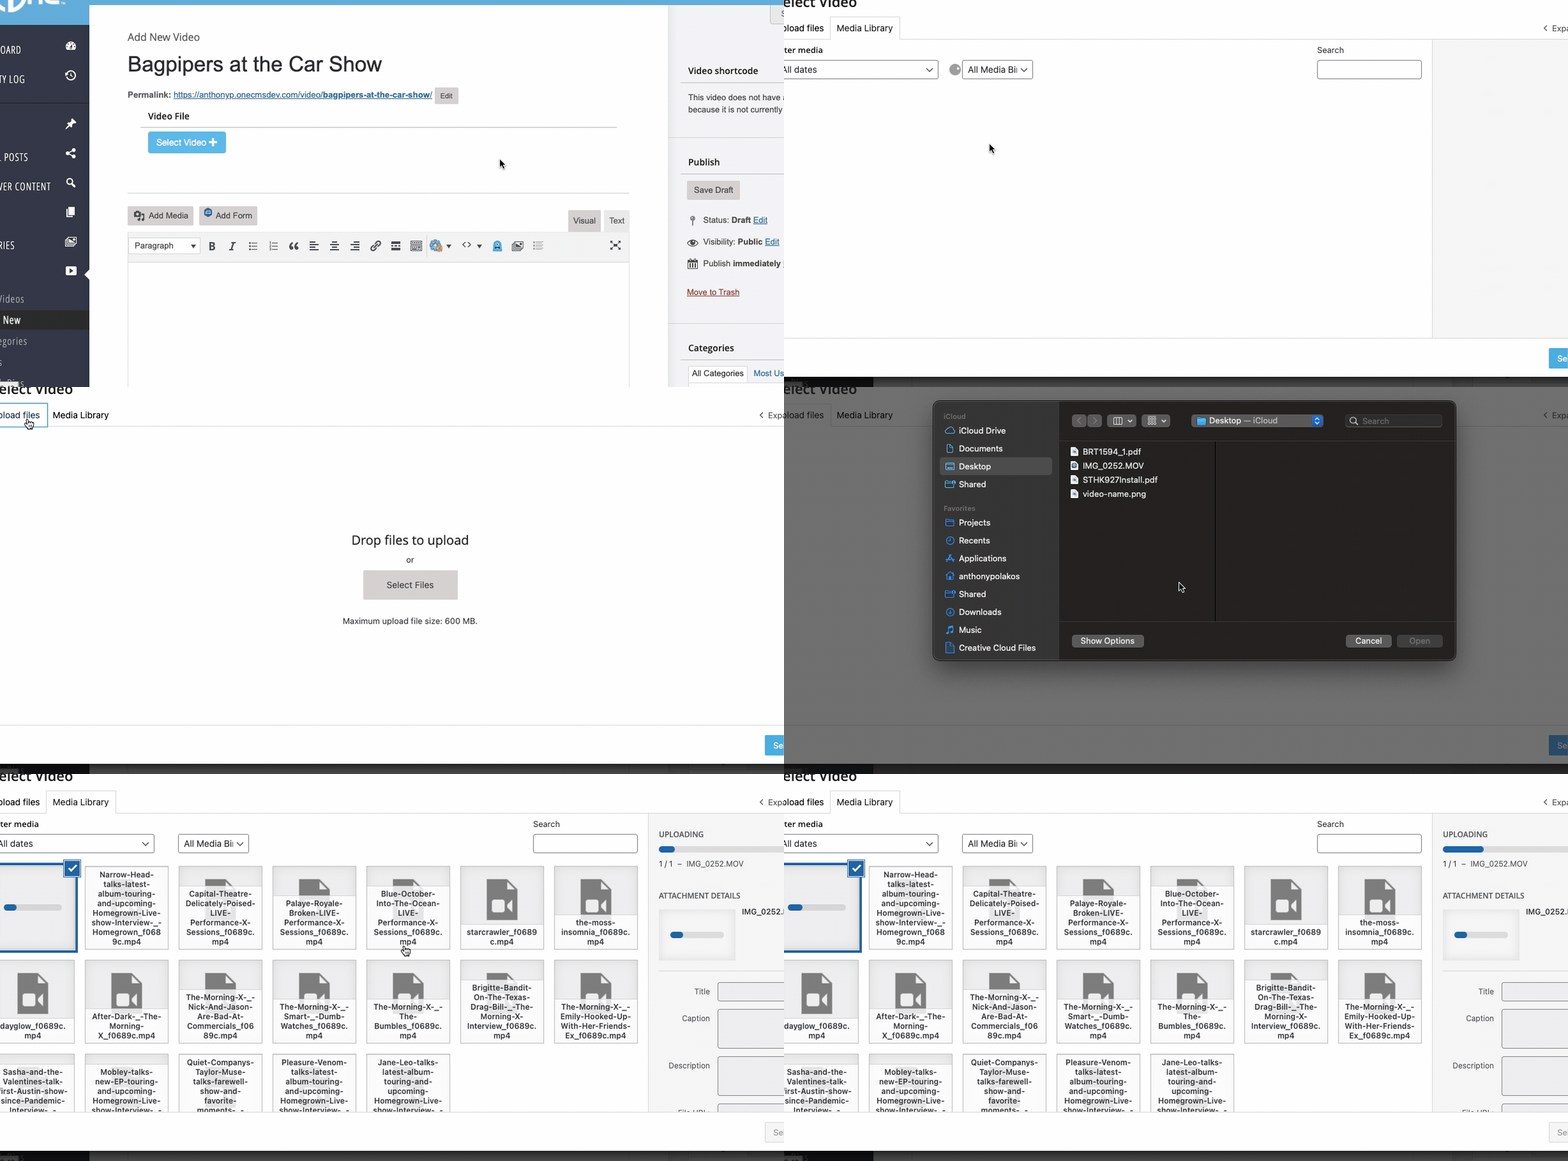
After the video is uploaded and selected, it will undergo the transcoding process. During this, you can continue to fill out the remaining fields for the video episode or wait for the process to finish.

Once transcoding is complete, you’ll see a video preview with up to six poster images from the video’s frames (e.g., at 5 seconds and 10 seconds into the video).
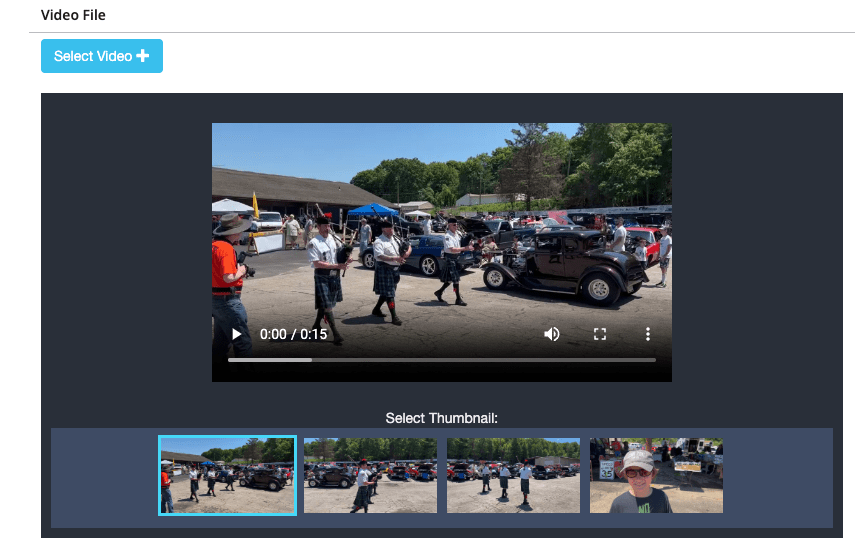
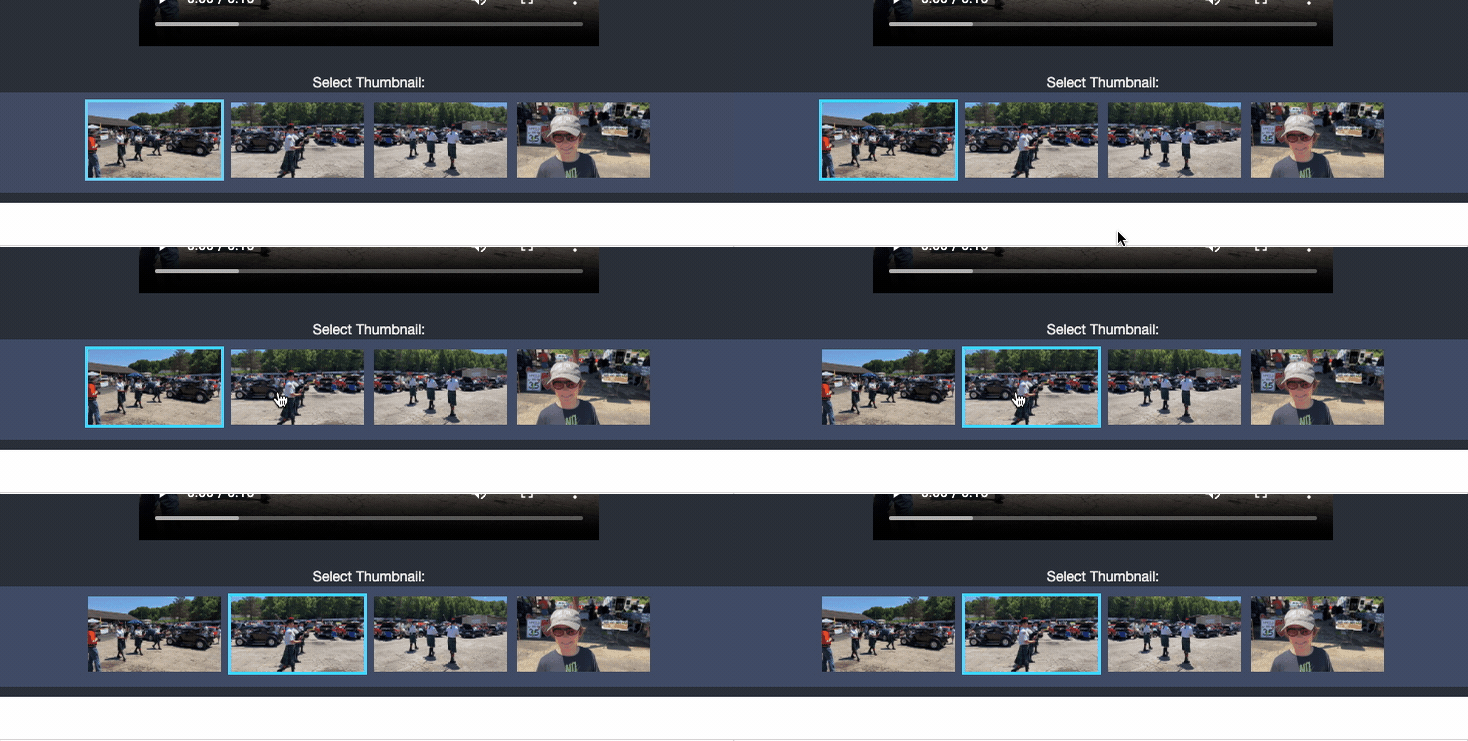
Poster Image
Select a Poster Image from those generated from the video. This image will be displayed when the video player loads before the user presses play. It also serves as the Featured Image for the Video episode post.
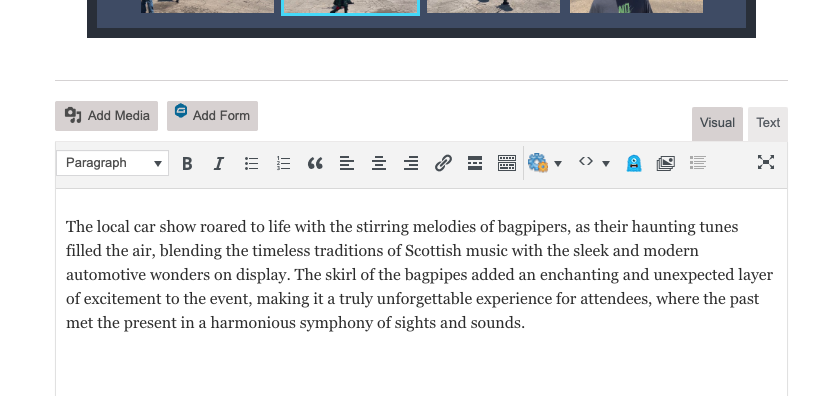
Description
Optionally, you can provide a description for your video episode. This description will appear on the Video Episode post page and when the video is paused or stopped in the player.
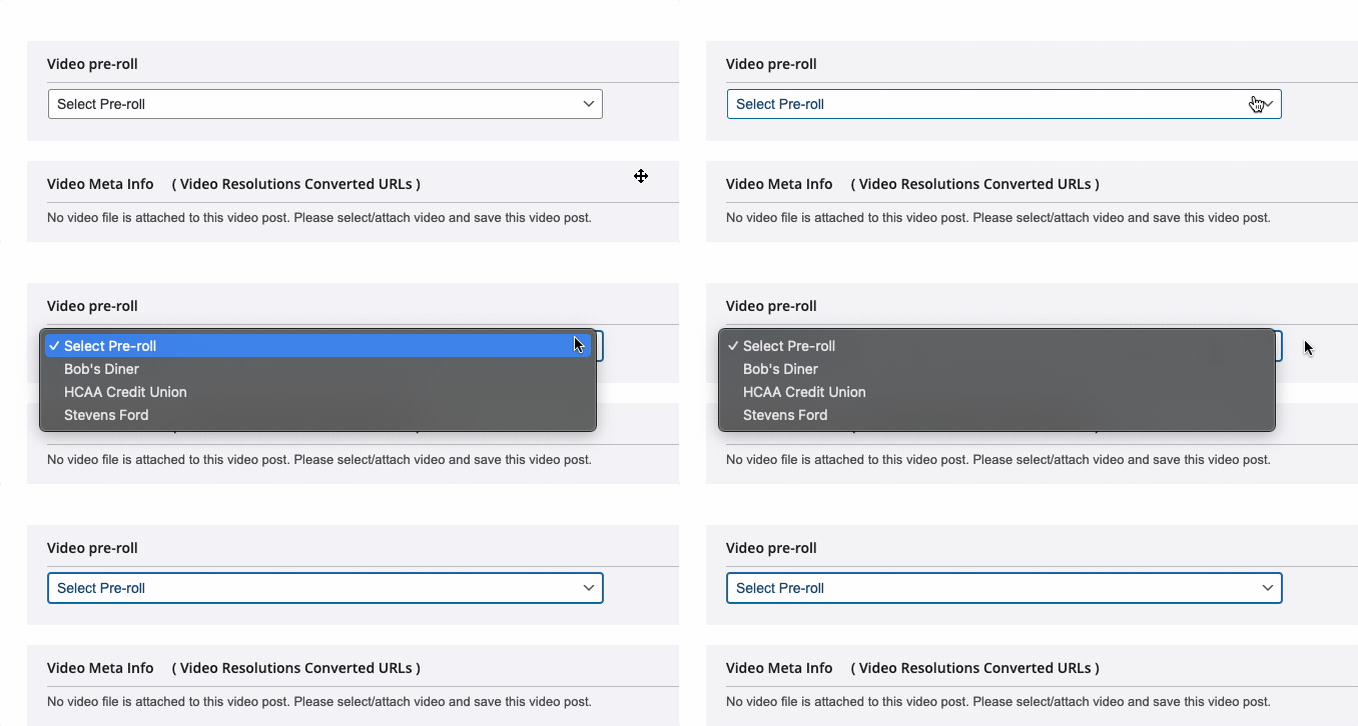
Pre-Roll
- If you’re using the built-in Video Pre-Roll for video advertising, you can associate an advertisement directly with a video episode.
Select the Pre-Roll advertisement from the dropdown, and it will play before the video episode.
Tags (for Dynamic Playlists)
- Tags are used to direct video episodes in to Dynamic Playlists.
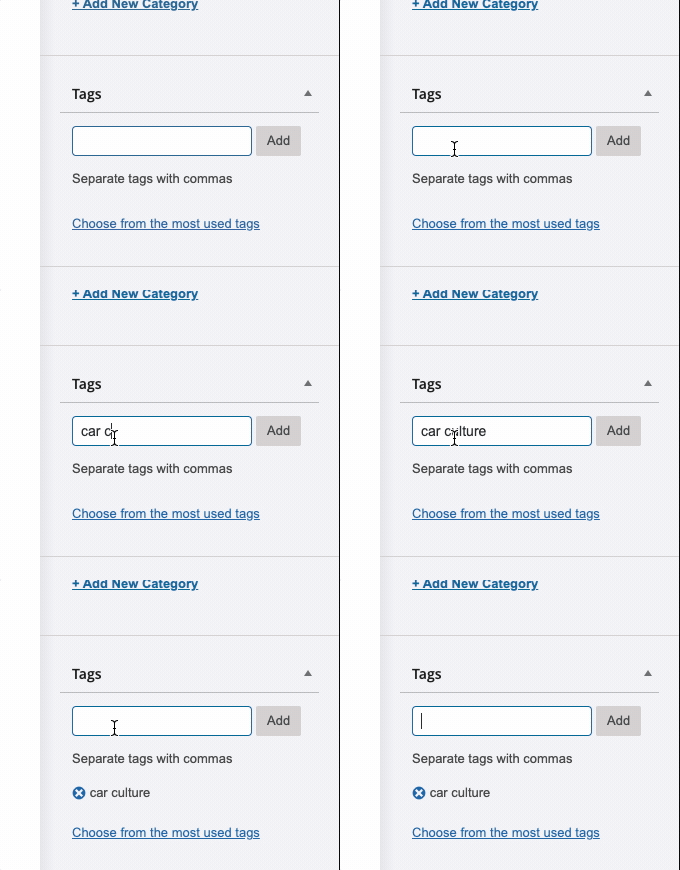
Add Tags to your video episode, just as you would for posts. Start typing a tag name, and if it already exists, it will be suggested to you. If it doesn’t exist, type the name and press Enter to create it.
Playlists (for Manual Playlists)
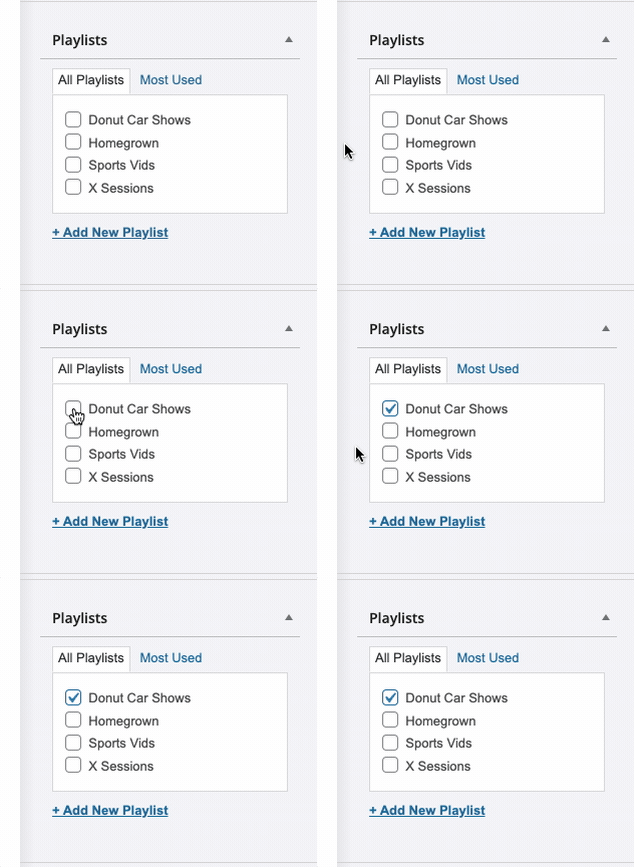
In the Playlists metabox, you can manually select one or more playlists to add your video episode to.
Featured Image
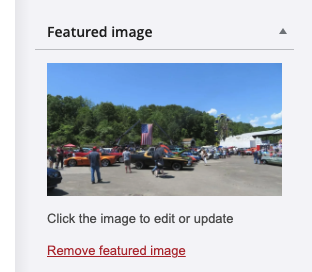
The Featured Image is used on the post page for the Video Episode (not on posts where the video is embedded). By default, this is populated with the Poster Image you selected earlier, but you can override it by uploading a different image.
Publishing the Video Episode
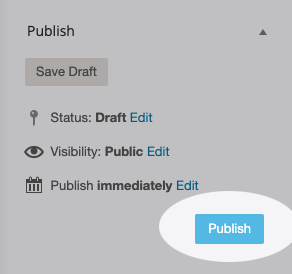
Once you’ve filled out the necessary details, you’re ready to publish the video episode. Click the blue “Publish” button in the Publish metabox.
Each time you create a video episode, a dedicated frontend video post page is automatically generated. This feature allows you to easily create direct links to your videos with unique URLs (and share on social media).
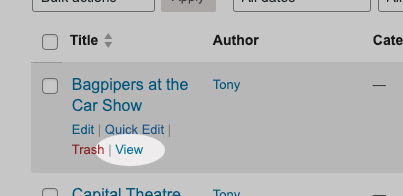
To access this video post page, click the View Post link on a video episode.
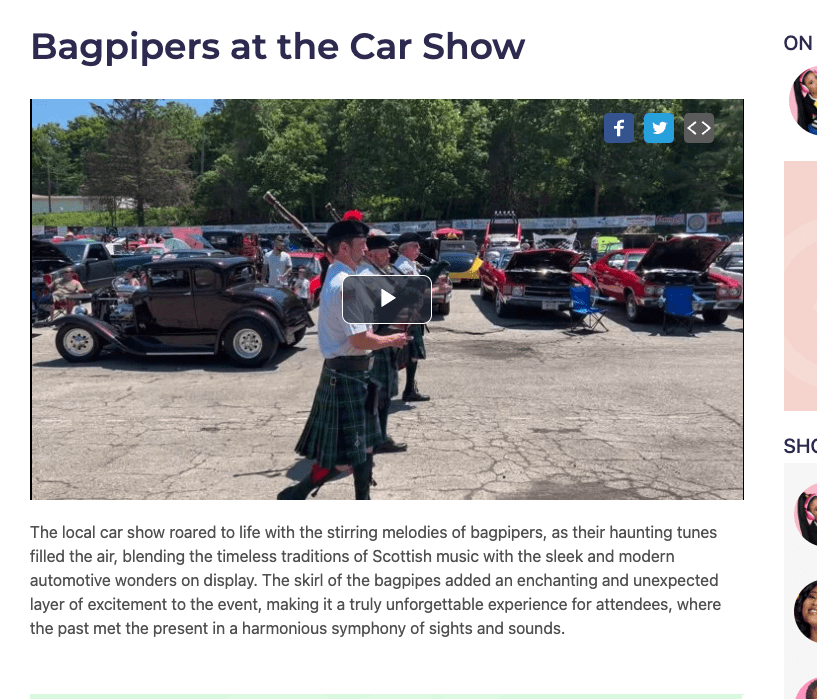
On the video post page, you’ll find essential information, including the video’s Name and Description. Most importantly, you can watch the video episode using the Default Player.
- Note that the player displays the Poster Image you selected earlier.
While you may opt to embed videos into written blog posts or playlists strategically placed on your site – having the Video post page serves as another valuable tool in your content arsenal, ready to be utilized when the need arises.
