Now, let’s dive into creating your very own podcast in OneCMS. Here’s a step-by-step guide:
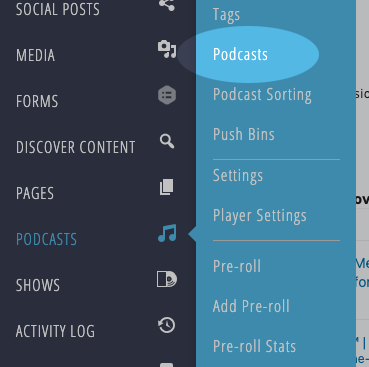
Start by clicking on Podcasts > Podcasts in your admin menu.
This will take you to the Podcast Listing page, where you can view your existing podcasts and create a brand new one.
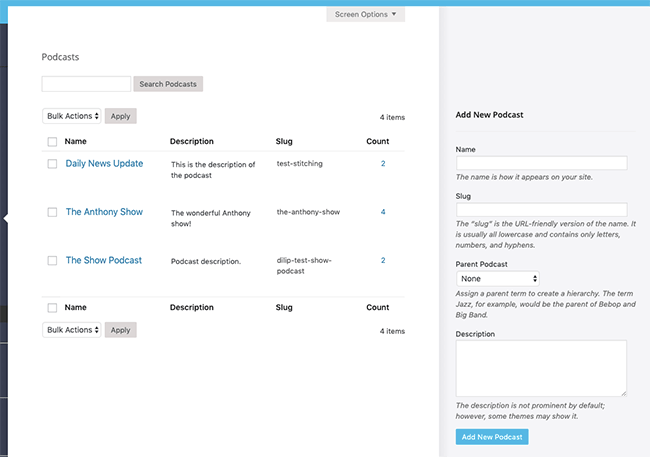
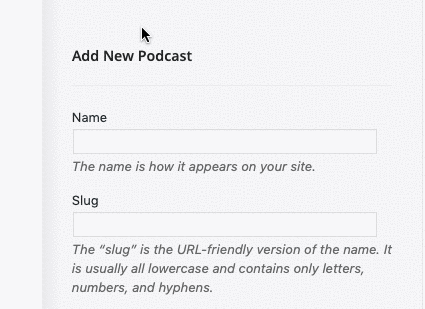
On the right side of the page, you’ll find fields to input information for your new podcast. The only required field at this stage is the Podcast name. We can explore additional customizations after you’ve created the podcast and started adding more details to it.
With your Podcast name filled in, simply click the Add New Podcast button. Voila! Your new podcast is now part of the listing.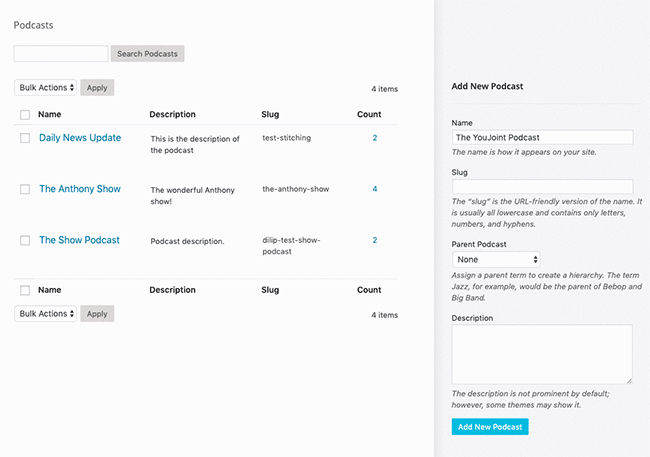
Editing Your Podcast
Creating a podcast is just the beginning. You can enhance its functionality and make it ready for 3rd party syndication services like Apple Podcasts and Spotify. Here’s how:
Click the Edit link right beneath the podcast in the listing.
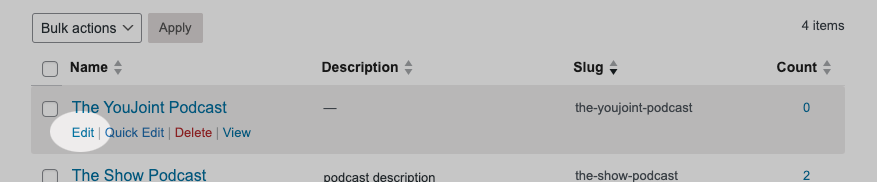
This will take you to the edit screen for the selected podcast.
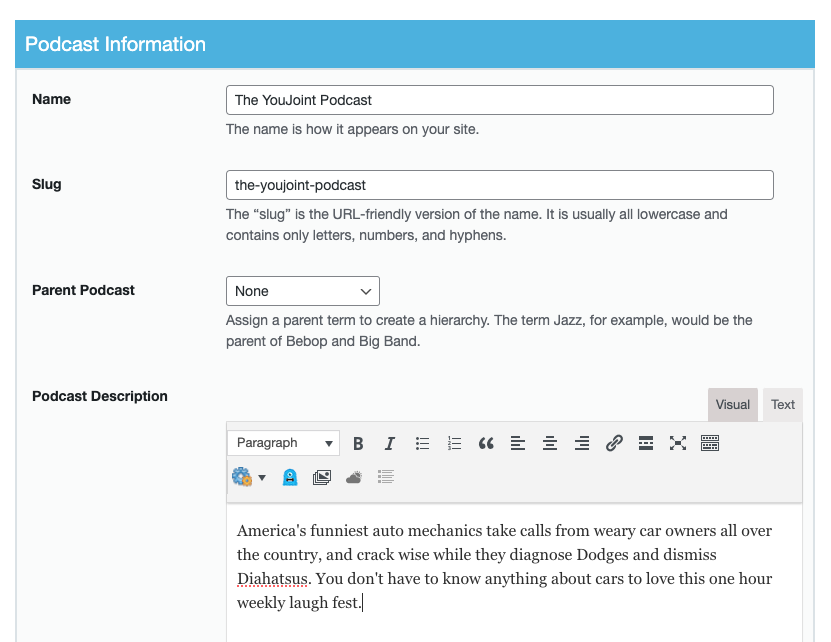
At the top of the edit screen, you’ll find familiar fields that resemble the ones you encountered when initially creating the podcast.
- The slug is generated automatically.
- You can choose a Parent Podcast to establish a hierarchy among your podcasts, but it’s not necessary, especially if you have just a few.
- While the Description is not obligatory, adding one is a good practice. It will likely also display on your website, depending on your website’s theme.
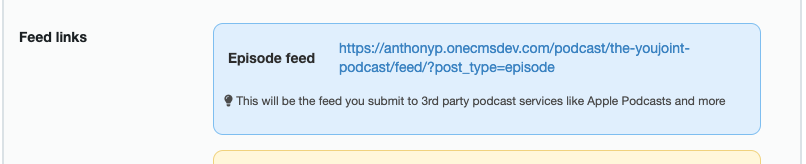
Syndication Feeds
The Episode Feed is crucial if you plan on syndicating your podcast to platforms like Apple Podcasts and other 3rd party services. This is the feed you’ll submit to these services, allowing them to be notified, and subsequently, notify your subscribers when new episodes are released.
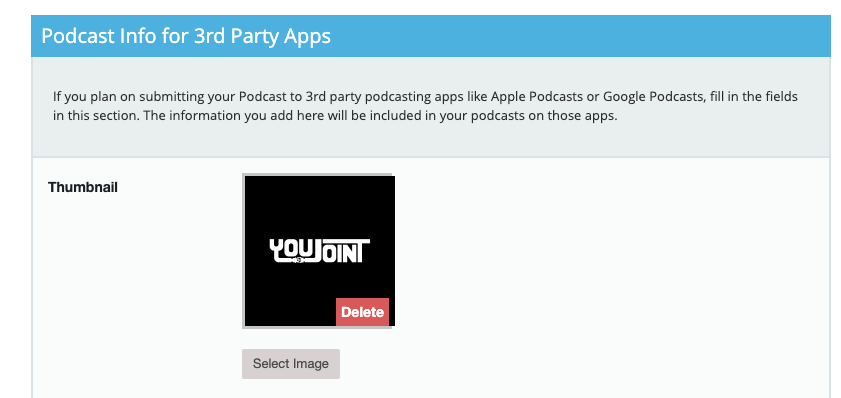
Podcast Info for 3rd Party Apps
Most of the fields in the Podcast Info for 3rd Party Apps section are aimed at providing thorough information to 3rd party podcasting services. Completing these fields ensures that the information is included in the Episode Feed you submit to these services. Fill out as many of these fields as possible.
- Podcast Thumbnail Image: Depending on your theme and player, this image will display in your audio player if the episode being played lacks its own image. So, it’s recommended to always add a podcast image.
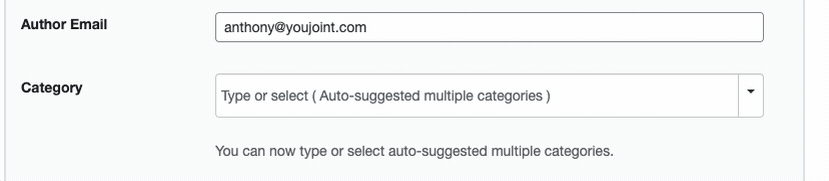
- Categories: You can select categories that align with your content. These have been pre-populated based on the official Apple Podcasts categories, and you can add your podcast to as many categories as you see fit. These are added to your feed and will categorize your content in third party services.
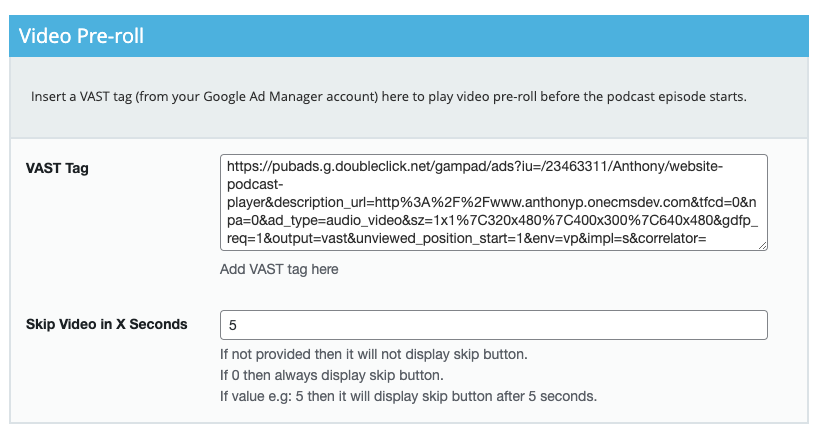
VAST (Google AD Manager) Video Interstitial Pre-roll
Here, you have the option to add a VAST tag to play audio or video pre-roll before your podcast episodes using Google Ad Manager (GAM).
Enter your GAM Ad Tag (VAST URL) in the input field.
You can also specify how many seconds your audience must view the video before a “skip” button appears, allowing them to jump straight to the podcast.
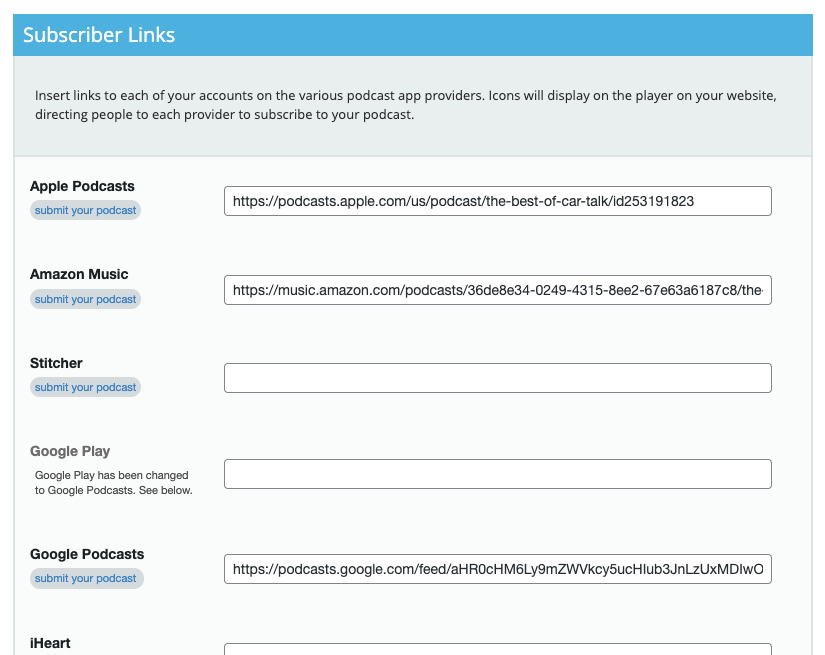
Subscriber Links
The Subscriber Links serve two purposes:
- Submit Your Podcast to 3rd Party Services: Each 3rd Party service listed has a link to “Submit Your Podcast”. This will redirect you to the 3rd party provider’s podcast submission screen so you can submit your Episode Feed.
- Allow your Audience to Subscribe to Your Podcast Via 3rd Party Services: After submitting your podcast to a service, you’ll receive a link from each service where your audience can subscribe to your podcast via their chosen service.
Insert links to each of your podcasts on the various podcast app providers. Icons will display on the player on your website, directing people to each provider to subscribe to your podcast.
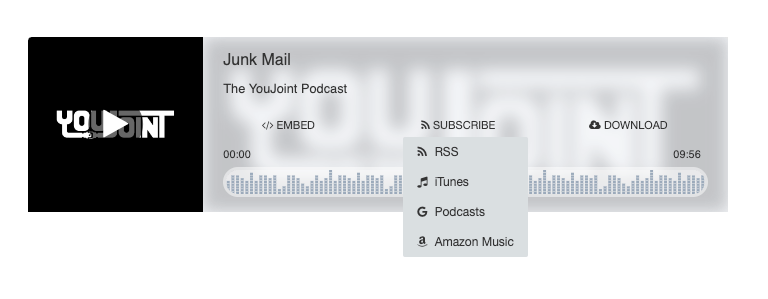
On the frontend, your audience can view all the various services they can access the podcast on from the Subscribe menu:
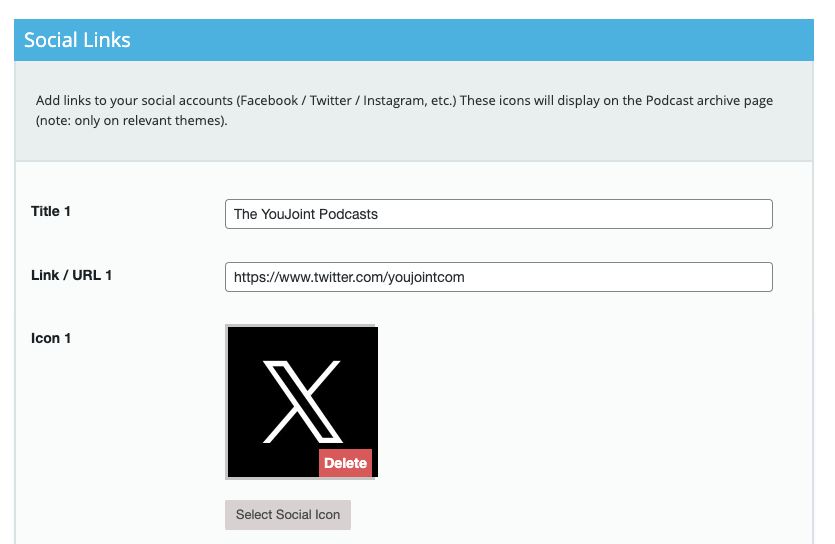
Social Links (Optional)
If your theme supports social links on the Podcast page, you can add them in the Social section.
For each link, you can add a Title, Link, and an Image. These will be displayed on the Podcast page for this particular podcast.
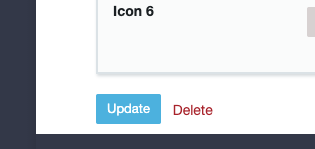
Saving Your Podcast
Once you’ve filled out all the necessary fields for your podcast, click the Update button to save all the new data fields.
Your new podcast is now created, and you’re all set to begin adding audio episodes to it. Happy podcasting!