Now, let’s explore how to add audio episodes to your podcasts.
Click on Podcasts > Add Episode in your admin menu.
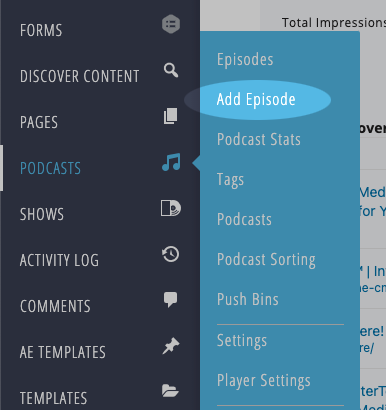
This will take you to the Add New Audio Episode screen.
Similar to most content in OneCMS, you’ll need to add a Title and a Description for your audio episode. These will be displayed on your website (and in the Podcast RSS feed).
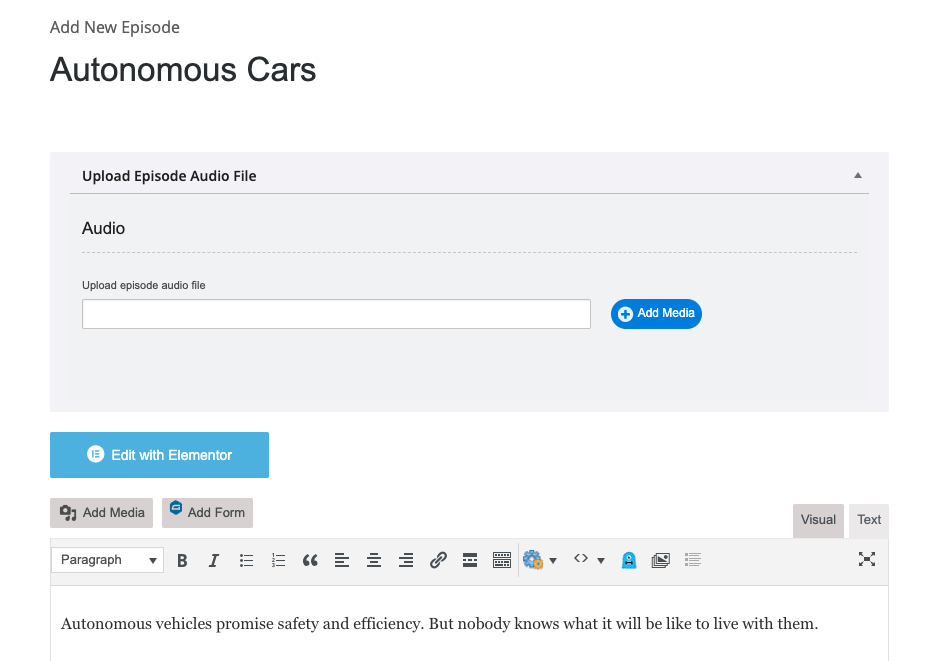
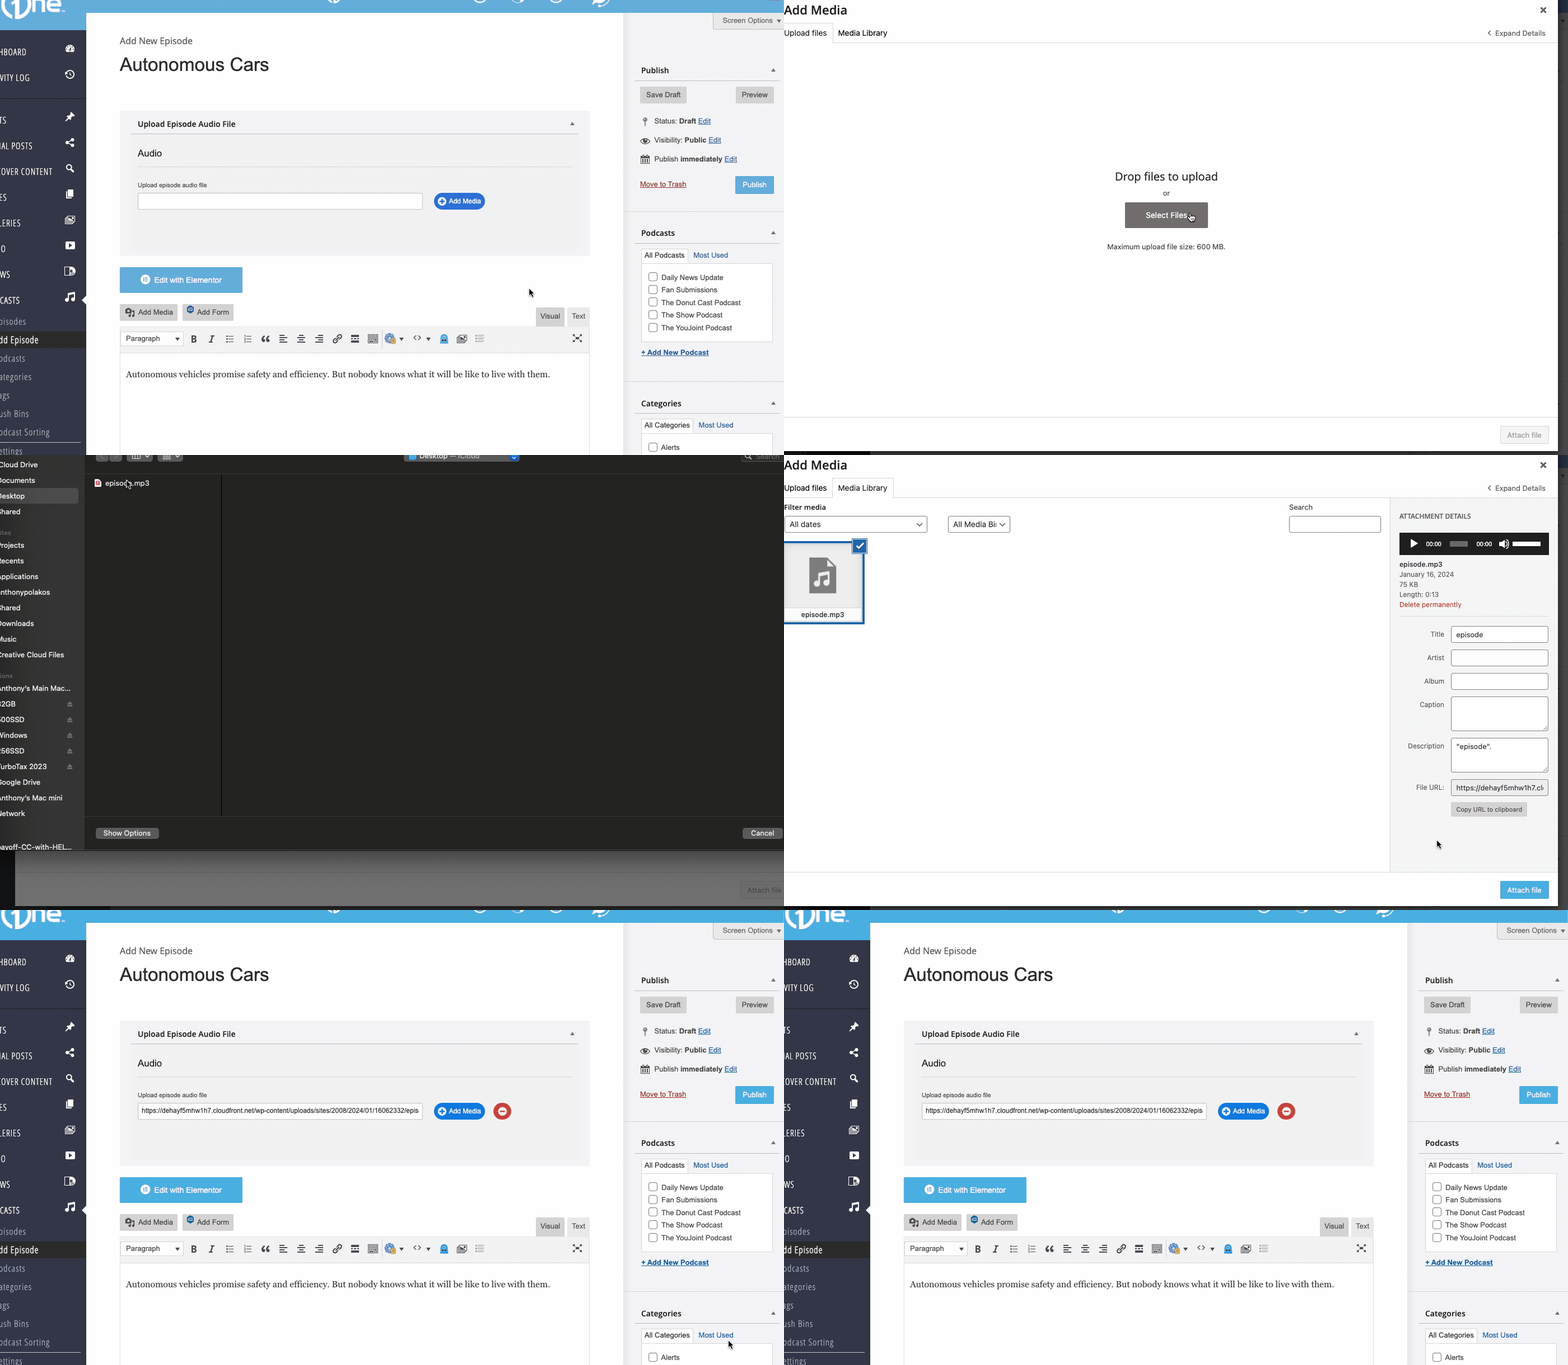
Adding the audio file to your episode is as simple as uploading the file from your desktop, just like adding an image to your Media Library.
Adding the Episode to a Podcast
You can add the episode to one or more podcasts that you’ve already created. If you syndicate your podcasts, the episode will syndicate to any service this podcast has been submitted to.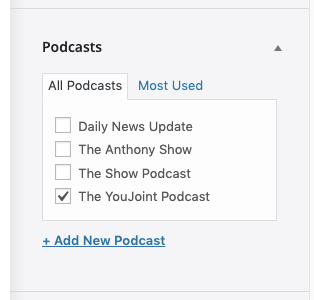
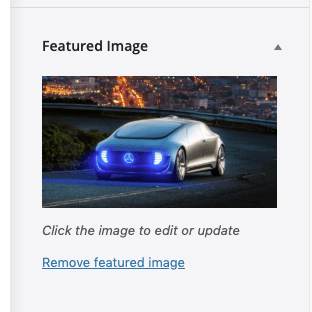
Featured Image
The Featured Image may seem unusual for an audio episode, but it serves several purposes. It’s used in the OneCMS Advanced Audio Player to display the image as the audio plays. Additionally, it’s associated with the audio track in the Podcast RSS feed and may be visible in services like Apple Podcasts or other podcast platforms if you’ve submitted your podcast there.
Publishing the Episode
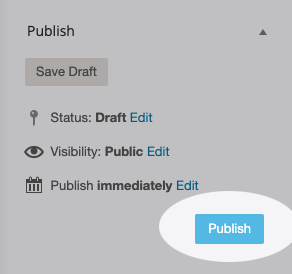
When you’re ready to publish the audio episode, click the blue Publish button.
Once the episode has been published it will be listed in the episode listing screen: Audio > Audio Episode. On this screen you can also see which podcasts each episode is associated with.

Advanced Options (Optional)
OneCMS has additional options to make revenue generation easy to manage right from within the episode screen.
Overriding Podcast Pre-roll
For the PreRoll, you’ll typically associate it with an entire podcast (so the ads you create play with any episode within the podcast). However, you can associate a preroll ad with a single episode, which will override any ads you set at the podcast level.

Host Read Ads Tracking
In the next section, you can enter information about any Host Read Ads you’ve read during the episode. By providing the approximate time you start reading the ad and its duration, you’ll have access to advanced statistics to inform you and the advertiser about how many times that ad was heard.
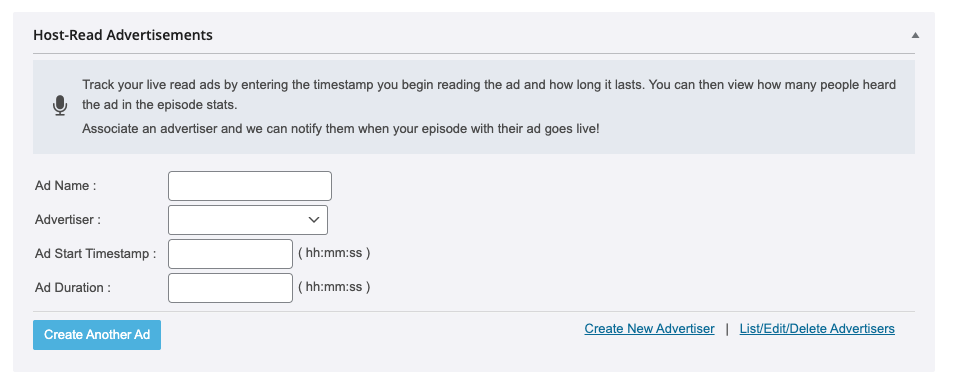
- Select the Advertiser for the Host Read Ad from the dropdown. Any previous advertisers you’ve created will be available.
- If the Advertiser you are creating the Host Read Ad for has not been used before, you can create them by clicking the Create New Advertiser link.

- This will open a modal where you can give the new Advertiser a name, a contact email and also decide if you want OneCMS to automatically email the advertiser when the episode goes live (so they know their ad is now being heard by listeners).
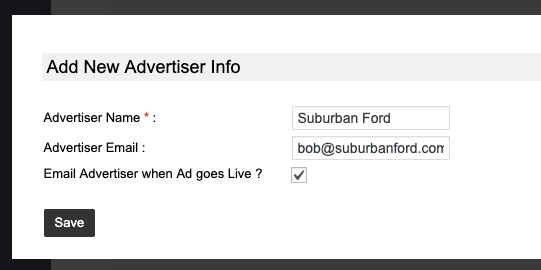
- Once you click Save, the new Advertiser is created and automatically associated with the new Host Read Ad.
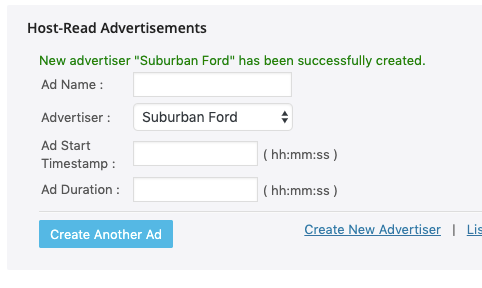
- Name the Host Read Ad, and enter the beginning timestamp and the duration of the ad.
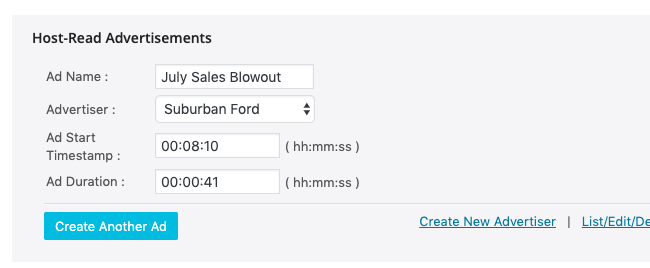
- You can create multiple Host Read ads for each episode if needed.
